Ghostty Configuration Guide: Themes, Fonts, and Keybinds
Ghostty configuration puts themes, fonts, shortcuts, and shell behavior in one plain-text file. Find it and shape tabs, splits, and window settings.
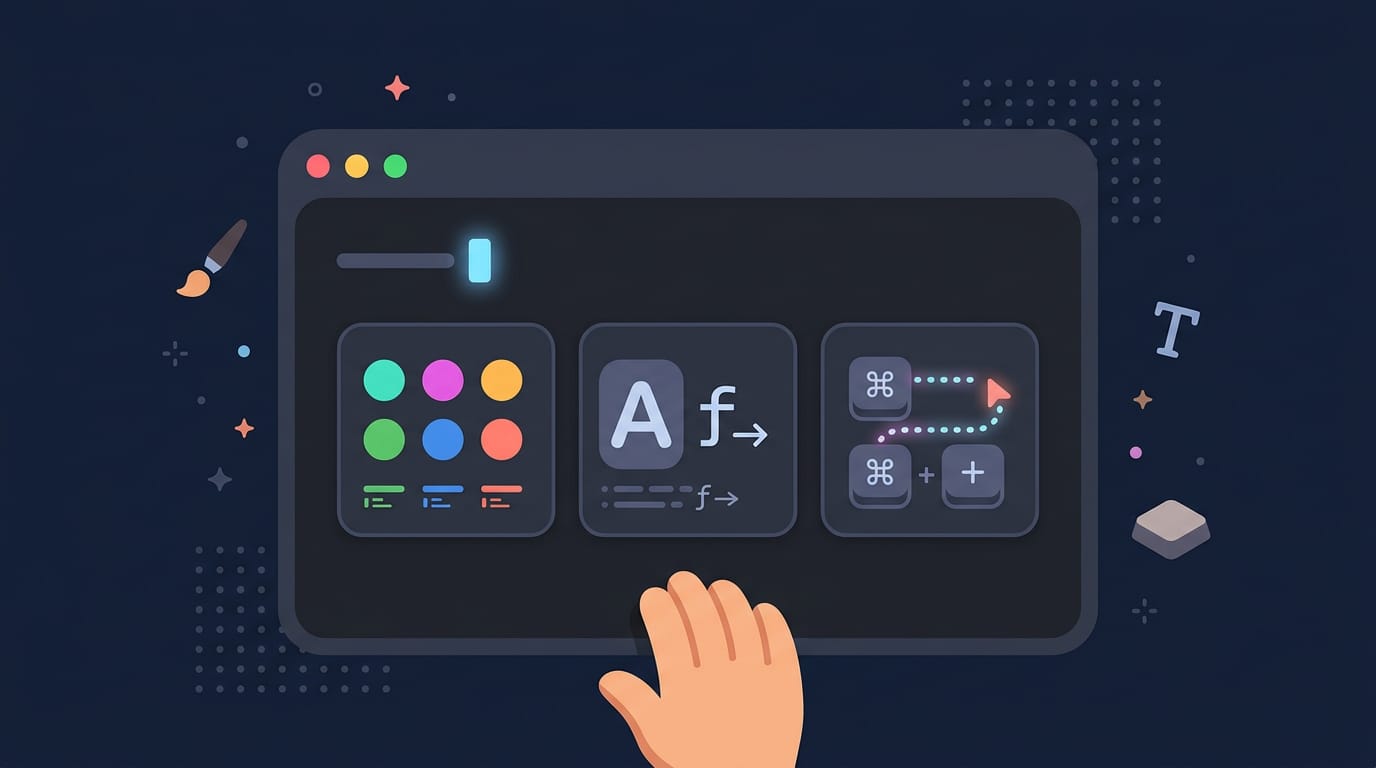
tl;dr the short answer
Ghostty configuration is the plain-text file that controls how the Ghostty terminal looks and behaves, including its colors, fonts, keyboard shortcuts, window, and shell features. Set options in a readable file, check the correct platform path and load order, validate changes, and use shared config files or dotfiles to keep setups consistent. Start with a small set of changes and adjust one setting at a time, so your terminal fits your workflow without making updates hard to troubleshoot.
Think about moving into a new apartment. The walls and furniture are there, but it doesn’t feel yours until you hang a few pictures and pick the right lamp. Your terminal works the same way.
Ghostty is a terminal emulator, and its settings live in a plain text config file. That file controls your themes, fonts, keybinds, and shell behavior, so it’s worth learning.
In this post, we’ll cover the config file end to end, plus the Linux details most guides skip, like GTK (the toolkit that draws the window) and dotfile management (keeping your config files organized and backed up).
Ghostty Configuration Basics and Design Goals
Before you edit anything, it helps to know what Ghostty is, why people switch to it, and how its settings are designed.
What Ghostty is and who built it
Ghostty is a terminal emulator, the program that gives you a window for your shell. It’s GPU-accelerated, handing drawing work to the graphics processing unit (GPU).
The project is written in Zig, a programming language, and was created by Mitchell Hashimoto. It was open-sourced at the end of 2024.
Is Ghostty free to use? Since it’s open source, yes. As for Windows, don’t assume support: check the official Ghostty site for the current platform list before you plan a setup around it.
Why people switch to Ghostty from iTerm2
Here’s what draws people over from iTerm2:
- Speed and smooth scrolling. Ghostty is built for speed, so long logs scroll smoothly.
- Zero-configuration setup. It works well out of the box, so you can start before writing a single line of config.
- Split-screen support. Split one window into panes, like a shell beside a running build.
If iTerm2 feels sluggish on your machine, or you’ve lost too many evenings tuning it, those are the pain points this switch addresses.
How Ghostty keeps settings simple and readable
Ghostty uses a code-as-config approach: you change behavior by editing a file rather than clicking through a menu. The result is a plain-text, human-readable file anyone can open in an editor.
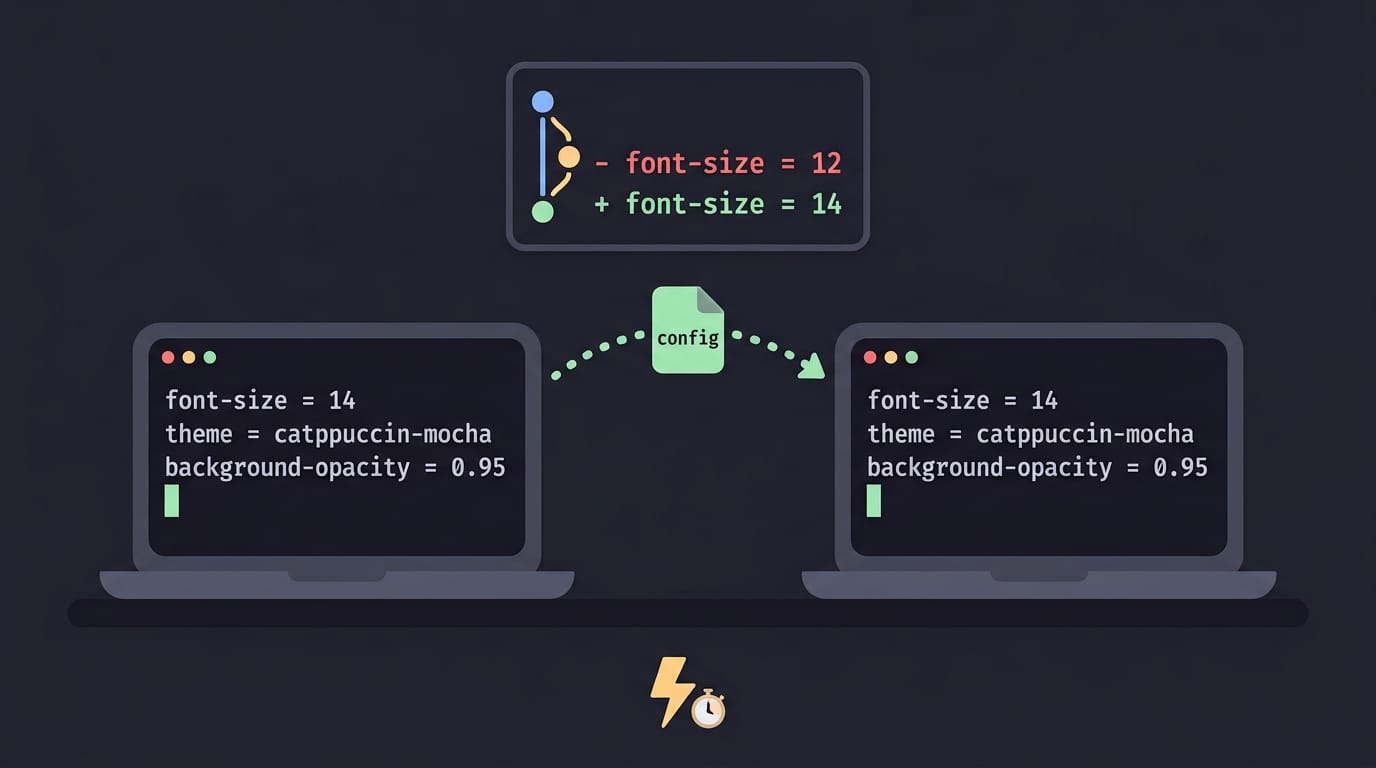
Plain text is also version-control friendly. Think of a Linux user who keeps their dotfiles in git: on a second laptop, they copy one file over, and every later tweak shows up as a readable diff. Plain text, clean history.
The format is also fast to parse, so Ghostty reads it quickly.
Finding Your Ghostty Configuration File
Before you change a setting, you need to know where Ghostty reads its config. If you haven’t installed it yet, Homebrew handles macOS with brew install --cask ghostty, and Nix users can get it with nix profile install nixpkgs#ghostty.
Which paths load, and in what order
Here’s where Ghostty looks:
- Linux (XDG path):
~/.config/ghostty/config. XDG is the freedesktop.org base directory standard. - macOS (native path):
~/Library/Application Support/com.mitchellh.ghostty/config.
Load order matters because Ghostty reads top to bottom, and when a key appears twice, the later line wins, not the first one you wrote. A stray font-size line at the bottom of your file quietly overrides the one you tuned.
On Linux, if XDG_CONFIG_HOME is set, Ghostty reads $XDG_CONFIG_HOME/ghostty/config instead. If your edits seem to do nothing, check that variable first.
When a setting misbehaves, run ghostty +validate-config to list any errors. For every option with its default and docs, run ghostty +show-config --default --docs.
Syncing dotfiles and managing several setups
Your Ghostty file is a dotfile, so keep it in a git repo and symlink it into ~/.config/ghostty/. Picture a Fedora user who reinstalls every spring: one ln -s brings back their font, palette, and keybinds.
The config-file option pulls another file into yours, so you can keep one shared base plus a small file per machine. An Arch desktop and a Fedora laptop might share a palette and font, while each sets its own font size.
Change the palette once and both match. Same look, less fuss.
Choosing Themes and Tweaking Colors
Ghostty gives you two routes to your colors: start from a bundled theme, or build your own palette. We’ll cover the easy route first.
Using the themes that ship with Ghostty
Ghostty ships with bundled themes, so you don’t need to write a color scheme from scratch. To see what’s installed, run ghostty +list-themes, then set your pick with the theme key in your config.
Want to customize one? Save a copy in the themes directory inside your Ghostty config folder and edit that copy. Vesper makes a solid base: change a few values and you’ve got a look that’s yours.
For example, a Hyprland user who wants their terminal to match their waybar can start from Vesper, swap in the background hex from the bar, and stop squinting at a mismatched window during every screen share.
Build your own color palette
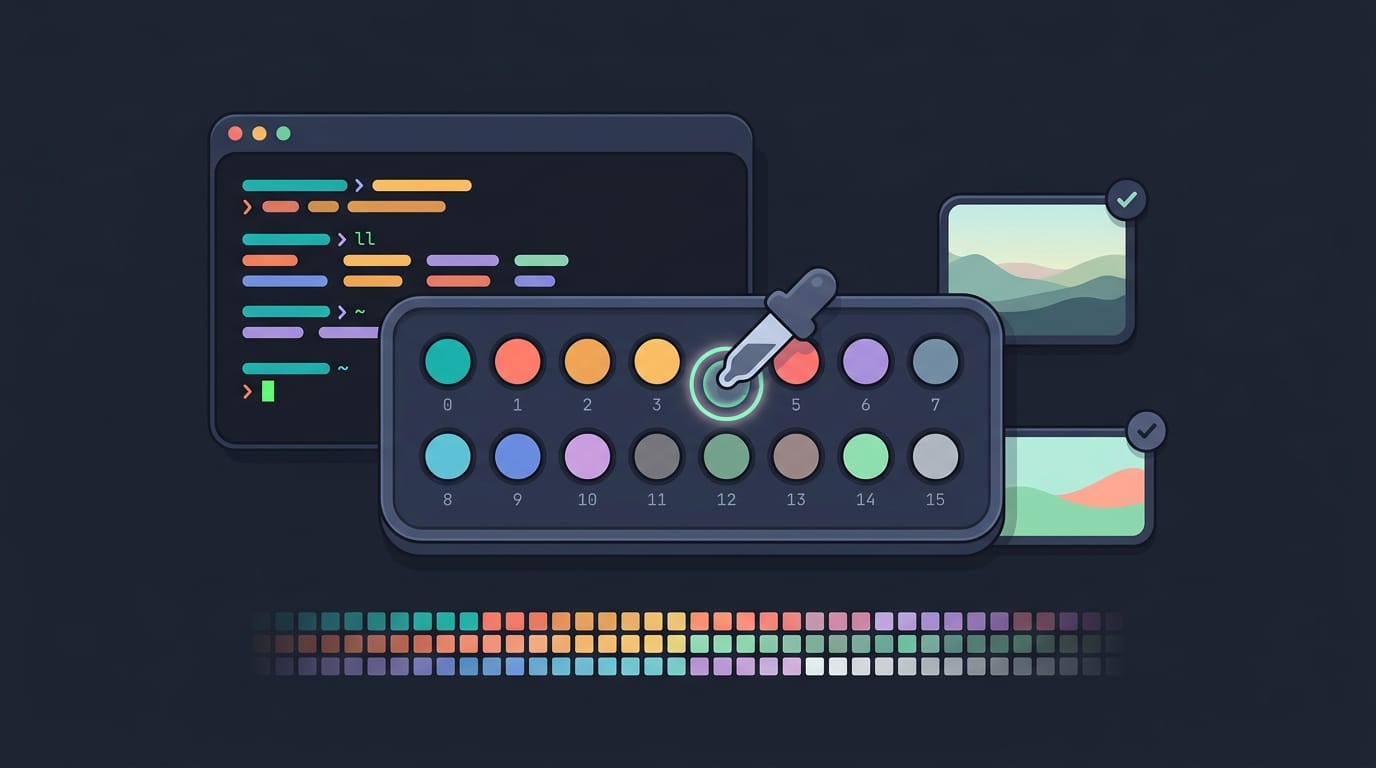
Once a theme feels close, you’re working with the palette: the numbered colors your programs draw from. Entries 0 to 15 are the standard 16 colors, and your prompt, ls output, and many editor highlights pull from them.
Set one with a line like palette = 1=#rrggbb.
- Background and foreground:
backgroundsets the page color andforegroundsets default text. - Cursor:
cursor-colorkeeps your cursor easy to spot. - Selection:
selection-backgroundandselection-foregroundkeep highlighted text readable.
Palette indices go up to 255, not just 15. A 256-color reference chart lets you pick by seeing rather than guessing at hex codes. Start small. Change one color, check it against your wallpaper, and repeat.
Adjusting How the Window Looks and Feels
Most visual tweaks in Ghostty are about how the window looks rather than what it can do. Change one setting at a time so you can see exactly what each one does.
Setting font size and text spacing
The font-size setting controls how large your text is, measured in points. Once that feels right, fine-tune the space around it. adjust-cell-height changes the vertical room each line gets, so dense code can breathe a little.
window-padding-balance evens out the margin around the text so it doesn’t sit lopsided in the window.
Consider a Linux user on a ten-year-old ThinkPad who likes two editor splits side by side. Dropping font-size a step and nudging adjust-cell-height up gives them more code on screen without the lines feeling cramped. Small change, real payoff.
Cursor shape, transparency, and titlebar style
The cursor-style setting controls the shape of your cursor. The block shape is the classic look and easy to spot in a busy terminal, but you can switch shapes if it doesn’t suit you.
Background opacity lets your wallpaper show through the window. Lower values mean more see-through, so keep it high enough that text stays readable over a busy image. The macOS titlebar style option only applies on macOS, so you can skip it on Linux.
Window state saving remembers your window’s size and position between launches, so you aren’t resizing it every morning. The Display-P3 colorspace option switches to a wider range of colors on screens that support it.
If your monitor is a standard one, leave it alone.
On Linux, the GTK window decoration options decide whether Ghostty draws its own titlebar or lets your desktop handle it. If your bar or theme already styles window edges, let the desktop do it so nothing clashes with the rest of your desktop.
Keyboard Shortcuts for Tabs and Splits
Tabs and splits let you run several shells in one Ghostty window, and keybinds let you drive them without reaching for the mouse.
How to write keybinds and key sequences
A keybind pairs a key combination with an action, such as opening a new tab. A key sequence chains keys: the cmd+s> prefix means you press Cmd+S, then the next key. Sequences let you group related shortcuts under one prefix.
Bind a reload config shortcut too, so you can apply edits without restarting Ghostty and test each tweak right away.
Opening, moving, and switching tabs
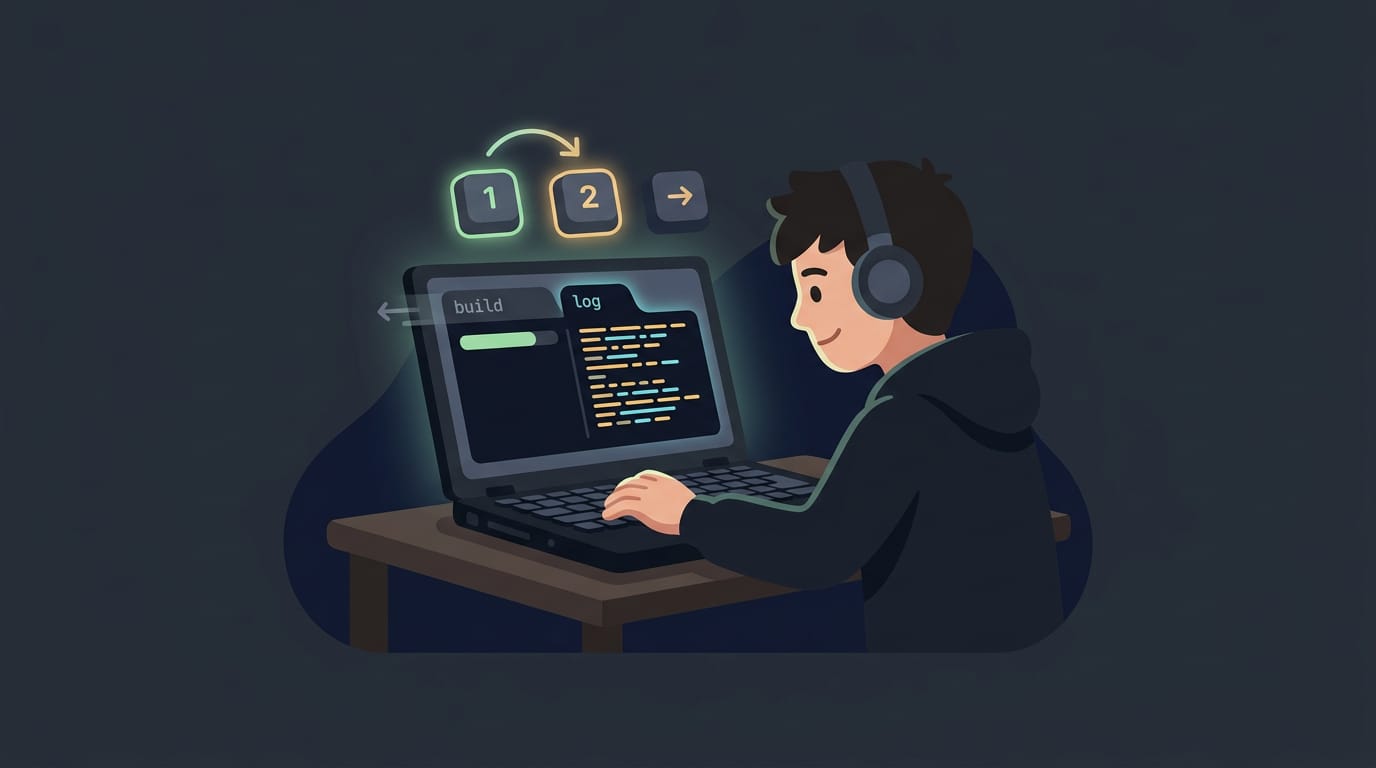
Consider a student on a ten-year-old ThinkPad who keeps a build running in one tab and a live log in another.
Shortcuts for new, next, and previous tabs let them hop between the two with one keystroke, with no time lost hunting for the right tab with the mouse. Moving tabs lets you reorder them so your most-used one sits first.
Go-to-tab-by-number shortcuts are about jumping to a tab rather than cycling through every one.
Creating, moving through, and zooming splits
A split divides one tab into panes, so you can watch two things at once. Create right and down splits to arrange them, then move focus between panes with a navigation shortcut.
When one pane needs your full attention, zoom it to fill the window, and equalize to make all panes match. Cmd+D gives you a quick split in one keypress. Splits are about seeing more at once rather than hopping between windows.
Keep your hands on the keys. That’s the whole point.
How the Shell and Input Behave
Ghostty also shapes the small moments between your keyboard, your mouse, and your shell. Here’s where we’ll tune copying, scrolling, and the pointer.
Shell integration features and input tweaks
Start with shell integration, the link that lets Ghostty see what your shell is doing. The shell-integration-features setting picks which of those extras are switched on, so you can keep the ones you want and leave the rest off.
Copy-on-select copies text the moment you highlight it, so there’s no separate copy step. Consider a student on a ten-year-old ThinkPad who highlights an error message and pastes it into a chat window in seconds.
The catch: every stray highlight replaces what’s on your clipboard, so test it for a day before you trust it.
The mouse scroll multiplier scales how far each scroll step moves the text. Raise it if pages crawl, and lower it if you keep overshooting the line you were reading. You’re tuning distance per step, not speed.
Last, hide mouse while typing keeps the pointer out of your way. Picture a self-hoster tailing logs on a home server while the pointer sits right over the prompt. Hiding it as you type keeps every line readable. Small switch, clean screen.
A terminal is where you spend much of your day, so it should look and behave the way you want. Once you know the config file, its syntax, and the settings for themes, fonts, keybinds, and shell integration, changes stop feeling risky.
Keep the file small, store it with your other dotfiles, and change one setting at a time so you always know what caused a fix or a break.
Make it yours, and make sure it still opens cleanly after your next update.
Questions
How do I install Ghostty terminal using Brew?
On macOS, install Ghostty with Homebrew by running `brew install --cask ghostty` in your terminal. Open Ghostty from your Applications folder after installation.
How can I install Ghostty using Nix?
With Nix, run `nix profile install nixpkgs#ghostty` to install Ghostty from nixpkgs.
Is Ghostty free to use?
Yes. Ghostty is open source and free to use.
Can I use Ghostty on Windows?
Check Ghostty’s official site for its current supported-platform list before setting it up on Windows, since platform support can change. Do not assume Windows is supported without confirming there.
Read next.
Linux Tree Command Explained: Install, Flags, and Usage
The tree command in Linux turns nested folders into a readable hierarchy. See which flags customize output, target a folder, and compare practical alternatives.
Shell Scripting Explained: Write Your First Script
Shell scripting turns repeated commands into a runnable routine. Write your first script, practice core syntax, and schedule recurring tasks with cron.
Mac Terminal Commands: A Complete Beginner's Guide
Mac Terminal commands take you from a blinking cursor through safe basics, customization, admin work, Homebrew, and fun tricks, including macOS quirks.