Linux Tree Command Explained: Install, Flags, and Usage
The tree command in Linux turns nested folders into a readable hierarchy. See which flags customize output, target a folder, and compare practical alternatives.
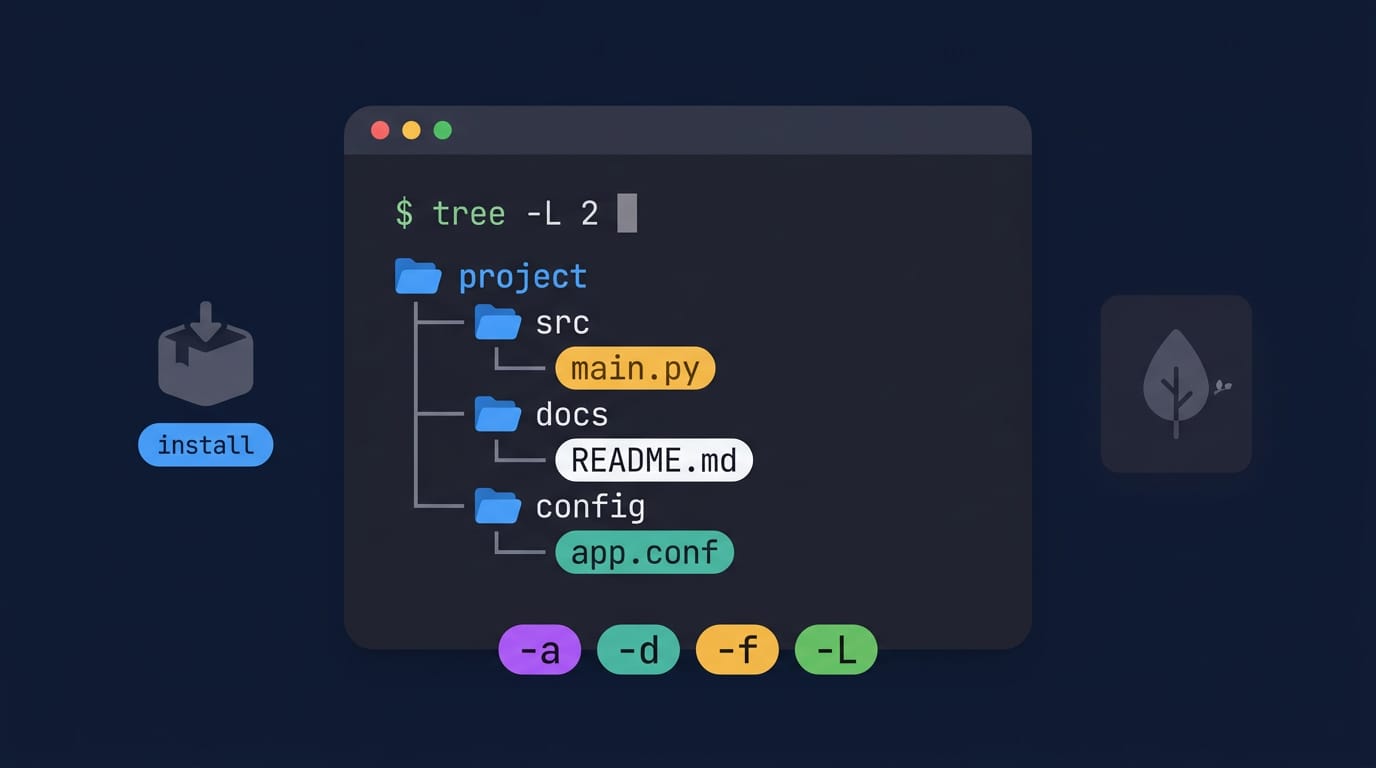
tl;dr the short answer
The Linux `tree` command displays files and folders as an indented hierarchy, making a directory’s structure easier to understand than a flat listing. Run it in the current folder or give it a path, then use options to limit depth, show only directories, exclude patterns, or respect `.gitignore` rules. It is a quick way to locate files and share a cleaner view of a project; if it is unavailable, `eza --tree` is a practical alternative.
Ever opened a project folder and stared at a jumble of nested directories, wondering where everything lives? The tree command fixes that. It prints a directory’s contents as an indented hierarchy, so you can see the whole layout at a glance.
In this post, we’ll cover installing tree on the major distros, the flags worth knowing, and pointing it at a specific folder. We’ll also look at fallbacks, handy aliases, gitignore-aware output, and modern replacements like eza.
Understanding and Using the Tree Linux Command
The tree command prints a folder’s contents as an indented outline, so you can see the whole layout at a glance. Here’s how to get it and how to read what it shows you.
Why tree makes folders easier to navigate
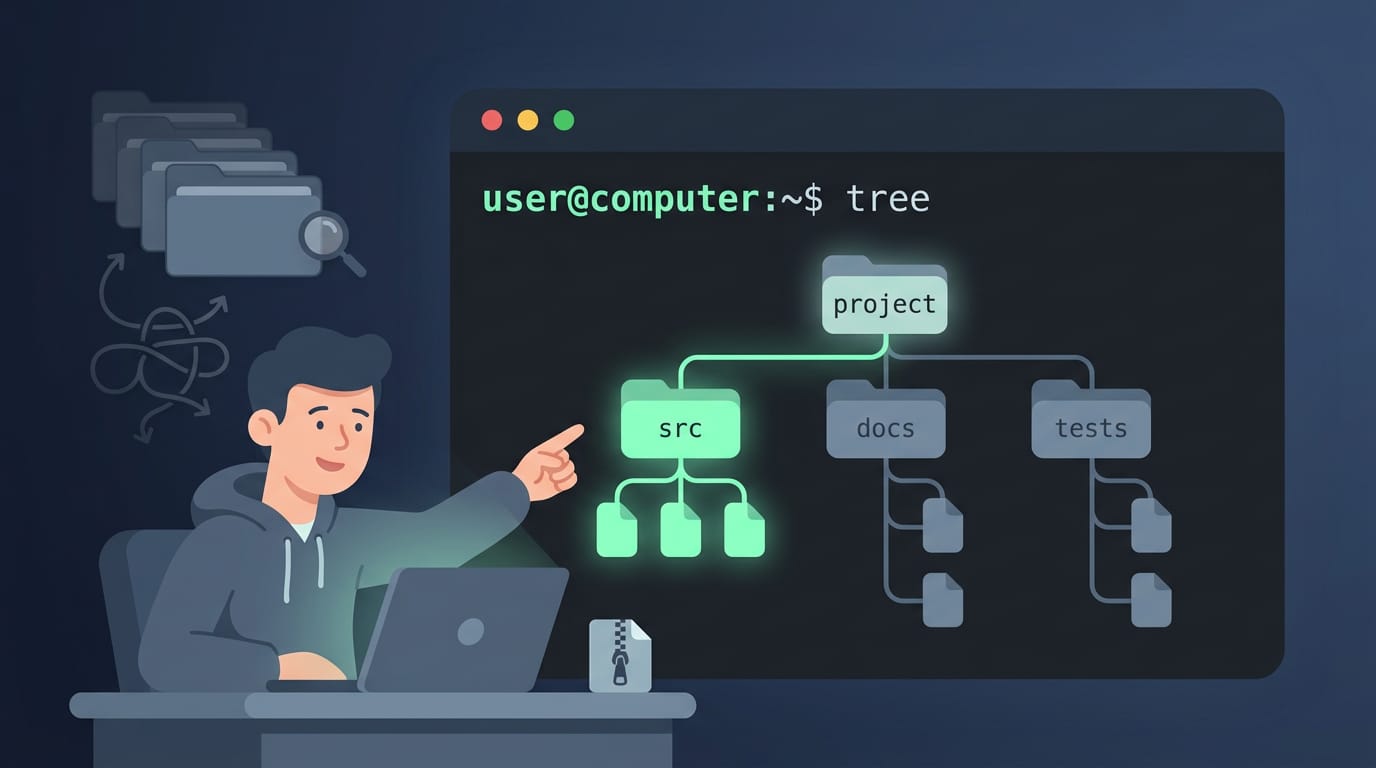
Plain ls shows one level at a time, so finding a file in a nested project means a lot of cd and ls. The tree command displays directories as a tree, with branches for subfolders and leaves for files.
That helps you visualize the file system hierarchy and see the whole shape of a project on one screen.
Consider a student who unzips a project from a classmate and can’t tell where the source code lives. Running tree in that folder shows src right beside docs in seconds, with no clicking through folders to hunt for it.
The real win is seeing where things live rather than searching for them.
How do I install tree on Ubuntu?
On Ubuntu, tree installs with apt. Refresh your package list, then install it:
sudo apt-get updatesudo apt-get install tree
Not sure whether it’s already there? Run tree --version. A version number means you’re set, while command not found means you need the steps above.
For example, a developer on a fresh Ubuntu install runs that check, sees the error, and has tree ready after two commands. That’s all it takes.
On other systems, use that system’s package manager:
- Fedora (dnf):
sudo dnf install tree - Arch (pacman):
sudo pacman -S tree - Homebrew (macOS or Linux):
brew install tree
Running tree and reading its output
Once it’s installed, we’ll start with the basics: run tree with no options and it starts at your current directory. Move into a project first with cd, or pass a path like tree ~/projects/site. Here’s what a small folder looks like:
.
├── docs
│   └── setup.md
├── readme.md
└── src
    ├── main.py
    └── utils.py

2 directories, 4 files
The first line, ., is the starting folder, and each indent is one level deeper. Notice the structure rather than just the filenames. The last line gives the directory and file totals: 2 directories and 4 files.
The starting folder isn’t counted, so those totals describe what’s inside it. Easy to scan at a glance.
Handy Flags to Customize Tree Output
Plain tree prints everything, which gets noisy fast, so let’s shape the output to show only what you need. A few flags do most of the work.
Controlling sizes, depth, and which files appear
-h: human-readable sizes like 4.0K or 1.2M instead of raw byte counts, so the folder eating your disk stands out.-d: directories only, with no files cluttering the view.-L: a depth limit.-L 2stops after two levels.-I: excludes a pattern, such astree -I 'node_modules|*.log'.-f: prints the full path for each entry, handy when you want to paste a path into a script.
For example, a web developer checking a new project’s layout can run tree -d -L 2 to see the skeleton without wading through every source file.
Finding the full list and experimenting
Tree has too many options for any cheat sheet, so run man tree for the full list. Sorting and color flags are worth a look too:
-tsorts by modification time.-Cadds color.-Fappends a marker to directories and executables.
Saving is simple: tree -o layout.txt writes the output to a file. Add --gitignore to respect your .gitignore rules and skip anything they list.
A Linux user sharing a project in a README can run tree --gitignore -o layout.txt for a clean snapshot without build folders or cache clutter.
Tree is less about memorizing every flag and more about knowing which question each one answers. Experiment in a throwaway folder, and you’ll reach for the right one when the output gets out of hand. Less noise, same tree.

Pointing Tree at a Specific Folder
By default, tree shows the folder you’re standing in, but you can aim it anywhere. Here’s how we’ll point it at the folder you care about, then try it on a sample you build yourself.
Viewing one or several directories
Give tree a path argument and it prints that folder’s contents, no cd required. The trick is where you run it, not which folder you’re sitting in.
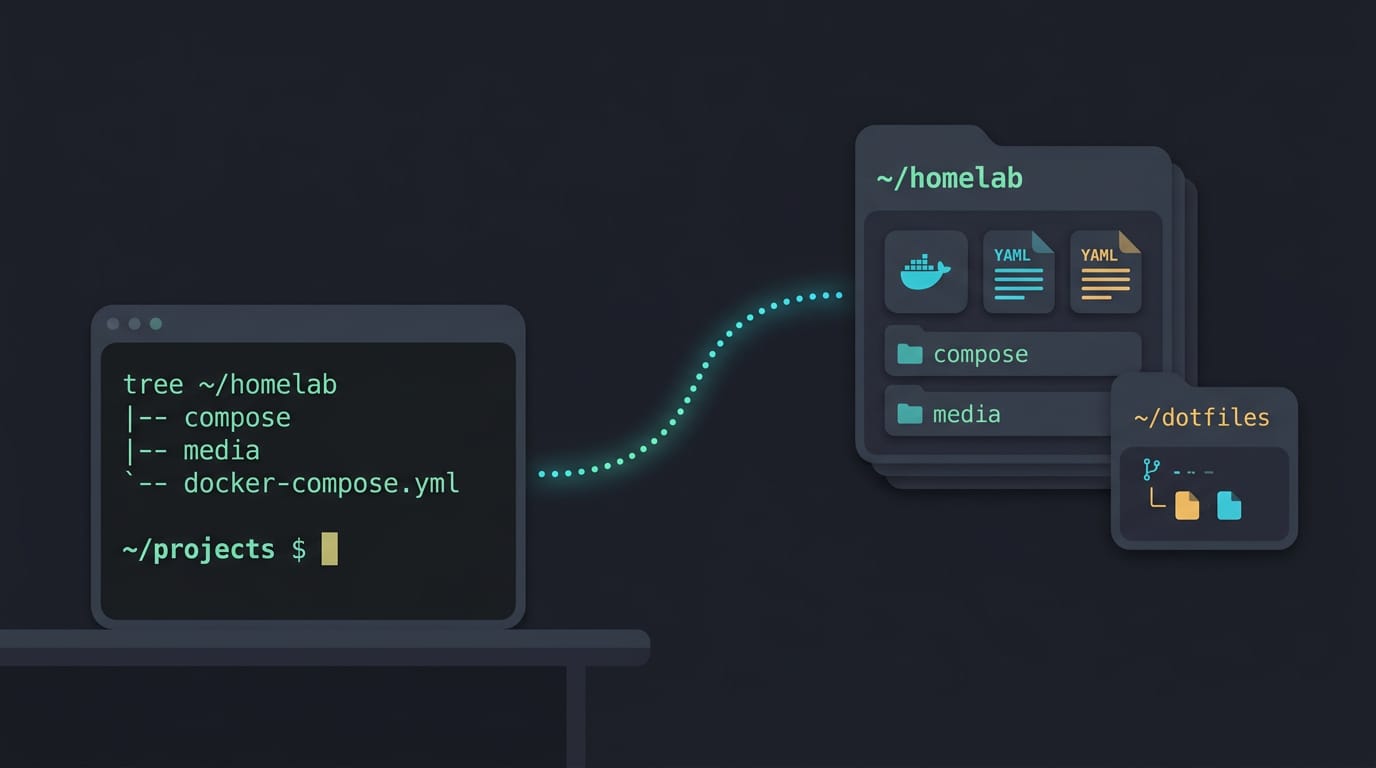
Say you’re a self-hosting tinkerer who keeps Docker Compose files in ~/homelab, and your terminal is parked in a totally different directory. One path is all it takes to peek inside that folder from wherever you are. Simple enough.
tree ~/homelabshows the whole homelab folder.tree ~/homelab/compose/medianarrows the view to one specific directory’s contents.tree ~/dotfiles ~/homelabtakes multiple directories as arguments and prints each one in turn.
Build a sample folder to try it
Experimenting on your real files is risky, so build a throwaway sample tree first. A new Arch user who wants to see how tree handles nested folders can do it in seconds and delete it afterward.
- Create nested folders with
mkdir -p sample/docs/2024/notes sample/scripts. The-pflag builds every parent folder in one go and won’t complain if one already exists. - Add files with
touch sample/README.md sample/docs/2024/notes/todo.txt sample/scripts/backup.sh.touchcreates empty files, which is alltreeneeds to list them. - Run
tree sampleto see the structure you just built, branch by branch.
Alternatives to the Tree Linux Command
Can’t install tree, or need a quick look without it? On Windows, tree is a built-in Command Prompt command that prints a folder structure in indented form. For a process tree on Linux, pstree shows running processes as nested branches.
Piping ls, grep, and sed into a listing
Start with ls -R, a recursive listing of a folder and everything under it. The output is a flat list, not a nested view, so you’ll need to filter it.
A student checking a project folder before submitting it can run ls -R | grep ':$' to keep only the folder headers, which end in a colon, then pipe it through sed (a stream editor that rewrites text) with sed 's/:$//' to strip the colons.
It works, until it doesn’t.
Getting tree’s indentation means more sed rewrites, and that’s where regex (regular expression, the pattern language these tools use to match text) gets fiddly. Every extra rule makes the chain harder to read later.
The result can look like tree, but each line is still just text. Plain ls -R | grep gives you the same underlying information as tree, just without the picture.
If you’d rather skip the pipeline, install eza, a modern ls replacement, and eza --tree prints a real nested view in one step.
Picture a tinkerer who wants to review a dotfiles folder before a fresh install: one command, nothing to filter, no regex needed.
Where to learn sed and regex
Piping only pays off once sed and regex feel comfortable. Plenty of sed and regex tutorials cover the basics well, so start there before you chain more commands together.
Picture a forum user who pastes a working one-liner and asks what the sed part actually does, only to get back a reply full of unexplained symbols.
A short tutorial would let them read the pattern themselves, and that’s the real payoff: the next pattern they meet won’t look like magic.
Tree is one of those small tools that quietly earns a permanent spot in your workflow. Once it’s installed and you know the flags that matter, you can map out any folder in seconds.
Add a few aliases, lean on gitignore-aware output, and keep eza in your back pocket, and your directory views stay clean wherever you go.
Clear structure beats guesswork every time, and tree gives you that clarity in one command.
Questions
What is the tree command in Windows?
In Windows, `tree` is a built-in Command Prompt command that displays a folder’s directories and files as an indented hierarchy. Run `tree` to show the current folder, or provide a path, such as `tree C:\Users\Name\Documents`.
How do I install the "Tree" command in Ubuntu?
Update the package list, then install the `tree` package with apt: run `sudo apt-get update` followed by `sudo apt-get install tree`. You can check whether it is installed by running `tree --version`.
How to find process tree in Linux?
Use `pstree` to display running Linux processes as a tree of parent and child processes. If it is not installed, install the package that provides it with your distribution’s package manager; on Ubuntu, that package is commonly `psmisc`.
What does top do?
`top` is an interactive Linux utility that displays running processes and system resource use, including CPU and memory usage. It refreshes the information periodically and lets you monitor processes or sort them by resource use.
Read next.

Shell Scripting Explained: Write Your First Script
Shell scripting turns repeated commands into a runnable routine. Write your first script, practice core syntax, and schedule recurring tasks with cron.
Mac Terminal Commands: A Complete Beginner's Guide
Mac Terminal commands take you from a blinking cursor through safe basics, customization, admin work, Homebrew, and fun tricks, including macOS quirks.

Alpine Linux package manager commands you need every day
The Alpine Linux package manager, apk, installs and upgrades software. Get daily commands, package sources, version locking, and fixes for common errors.