Ubuntu Screenshot Shortcut: Capture Full, Window, or Area
Ubuntu screenshot shortcut options cover screen, window, and area captures. Compare Scrot and editing tools, then set a custom key for the capture you need.
tl;dr the short answer
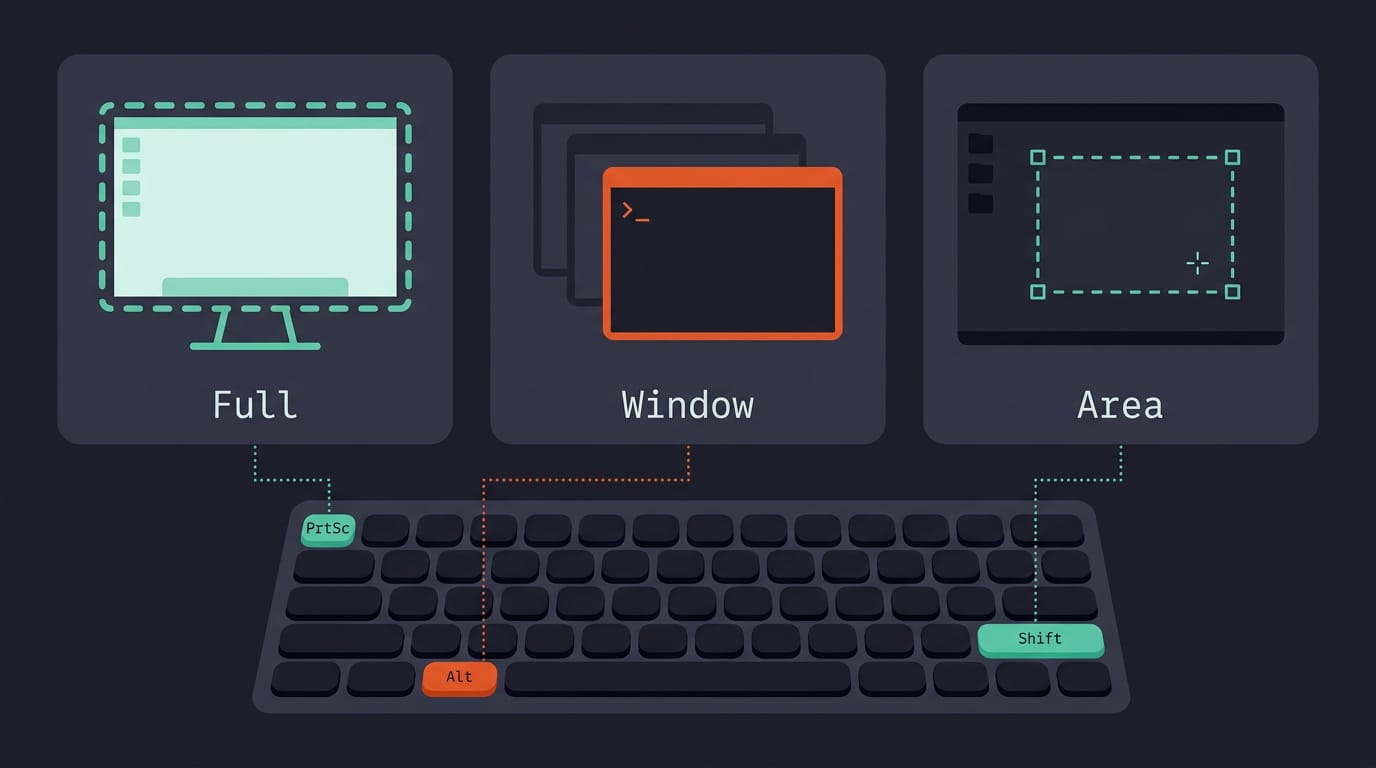
Ubuntu screenshot shortcuts are keyboard commands that capture the full screen, a selected area, or a recording without needing to open an app first. On Ubuntu 24.04, Print Screen opens the screenshot dialog, Shift+Print lets you select an area, and Ctrl+Shift+Alt+R starts a recording; other desktop environments may use different tools, and Scrot can capture from the terminal. Use the built-in options for quick captures, an editing app for annotations, or a custom shortcut to save screenshots where you want them.
Ever grabbed a screenshot of an error message, only to get the wrong part of your screen? On Ubuntu, it’s simpler than it looks.
Think of it like a camera with a few lenses: one captures the whole room, another zooms in on a single window, and a third frames just the area you need.
This guide is your complete, current reference for those shortcuts. We’ll cover full screen, window, area, clipboard, and recording captures, plus the built-in, graphical, and command-line options for each.
We’ll also flag Wayland vs. X11 differences (the two display systems Linux desktops use) and the quirks that catch people off guard.
The Ubuntu Screenshot Shortcut and Default Tools
Yes, there’s a keyboard shortcut, and Ubuntu 24.04 ships with a few handy ones:
- Print Screen: capture the display
- Shift+Print: capture a certain area
- Ctrl+Shift+Alt+R: start a screen recording
Press Print Screen to capture your display
On Ubuntu 24.04, just press the Print Screen key and a Save Screenshot dialog opens. Enter a file name and choose where the image should go, or use the Copy to clipboard option to paste it straight into a chat. If the name needs changing later, you can rename the file on Ubuntu.
For example, a student on a ten-year-old ThinkPad needs one error message for a forum post. They grab it from the clipboard and move on, with no stray file left behind.
Is it Ctrl+Shift+S to screenshot? No. That’s a myth, and Print Screen is the key you want.
Open the default GNOME or Unity tool
Ubuntu 24.04 runs GNOME by default, so the Screenshot app is the tool you’ll meet. Launch it from search or the Dash, then pick full screen, window, or area mode. Choose area when you need part of the screen rather than the whole thing.
To grab a certain area, press Shift+Print and select the region you want. Set a delay if a menu must stay open: a tinkerer grabbing a dropdown sets a few seconds, opens it, and lets the timer work. Click Take Screenshot, then save the file. That’s it.
Using KDE’s KSnapshot tool
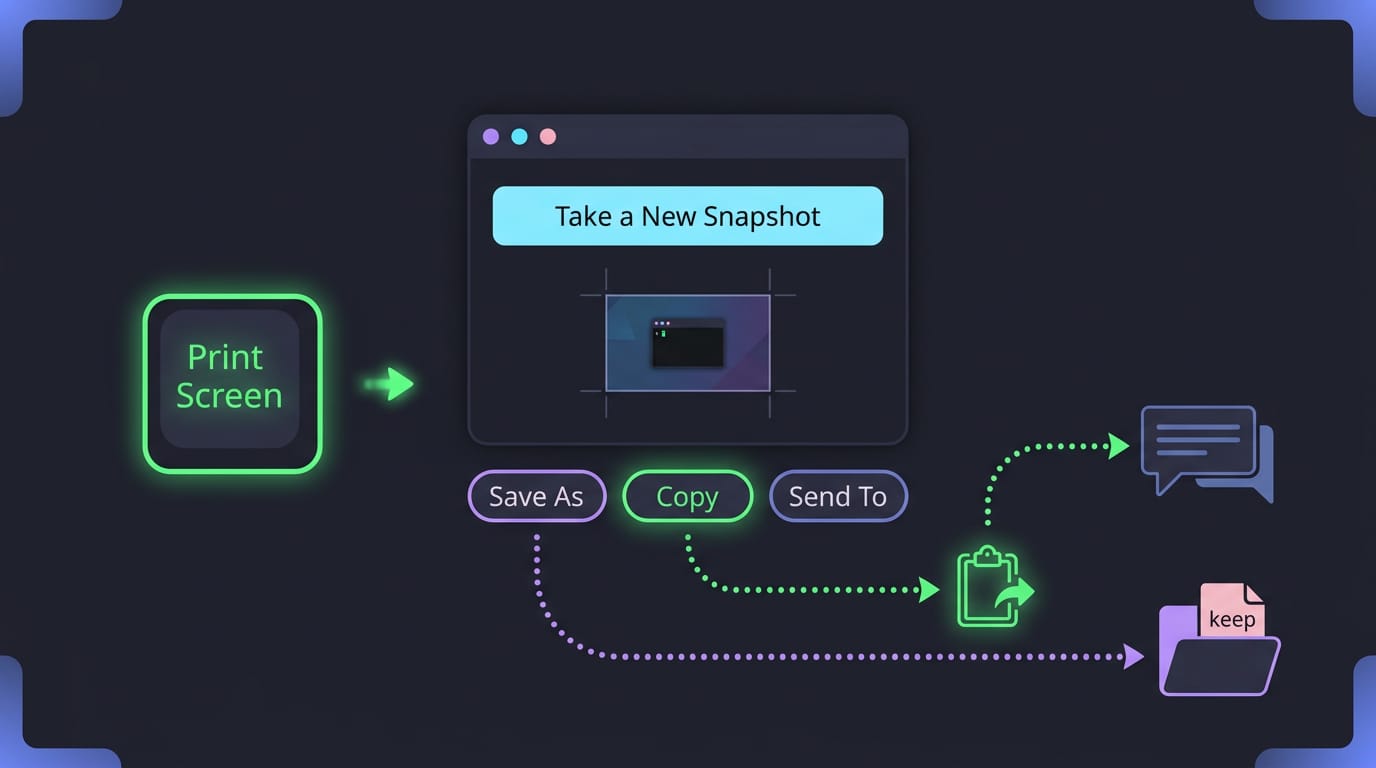
If you run KDE, such as Kubuntu, Print Screen opens KSnapshot instead, so the steps change. Click Take a New Snapshot, then choose Save As, Copy, or Send To to finish. Pick Copy for a quick paste, and Save As when you want to keep the file.
Third-party Tools for Editing Screenshots
The built-in tools handle capturing well, but editing is where third-party apps earn their spot.
Flameshot for annotating your screenshots
Flameshot is a free, open-source tool with rich annotation features. After you capture, you can:
- draw lines and boxes
- blur sensitive details
- add text right on the image
For example, a student blurring a username and boxing an error before pasting the shot into a bug report finishes in one pass, without opening a second app.
To edit a screenshot in Ubuntu this way, capture the area, mark it up, then save or copy the result. Flameshot installs via apt.
Is there a snip tool for Ubuntu?
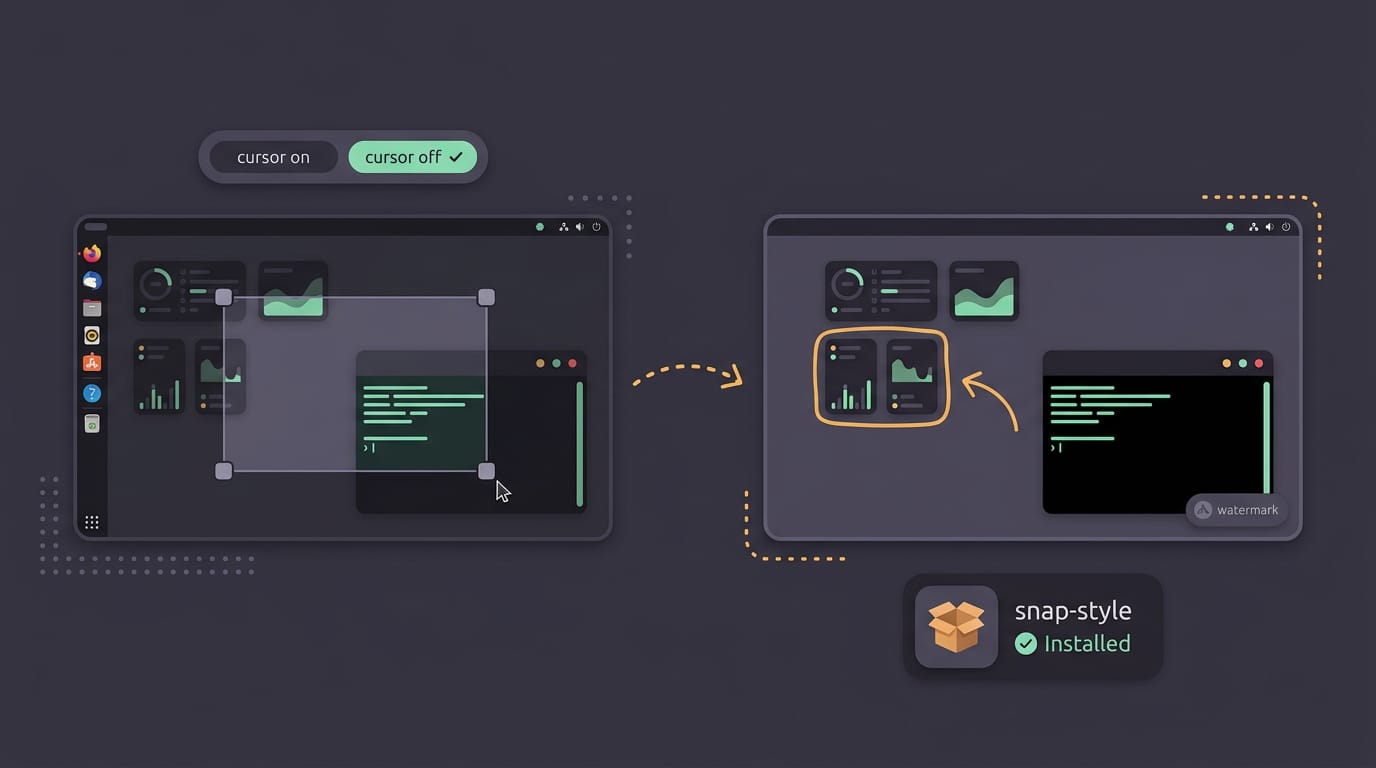
Yes. If you’re coming from Windows, a snip tool will feel familiar. Many are cross-platform, so the habits you build on Ubuntu carry over to other systems. Capture modes let you capture with the cursor for a how-to or without it for a clean shot.
Annotation tools and a watermark option help you tag images before sharing. Consider a ricer sharing a desktop setup on a forum: they grab the shot without the cursor, then add a watermark before posting. Install via snap, and you’re set.
Kazam for recording video and screenshots
Kazam handles both screenshots and video recording, so one app covers a quick still and a short demo. You can capture:
- the full screen
- a single window
- a selected area
Turn on the capture delay option when you need a moment to open a menu before the shot fires. Think of a tinkerer recording a clip of a new bar theme, then pulling a still from it for a post. Record once, grab a still. Kazam installs via apt.
Taking Screenshots from the Terminal with Scrot
Scrot is a lightweight tool that captures your screen from the command line. Instead of clicking through menus, you type one command. Here’s how we’ll get it running:
Install Scrot from the terminal
Open a terminal and run:
sudo apt-get install scrot
Scrot is available in the repositories of major distros, so there’s no third-party download to hunt for. If you forget a flag, ask the tool itself with scrot -h, or read the full manual with man scrot. If you run these commands often, the terminal shortcut keys are worth learning.
Setting up Scrot’s options and filenames
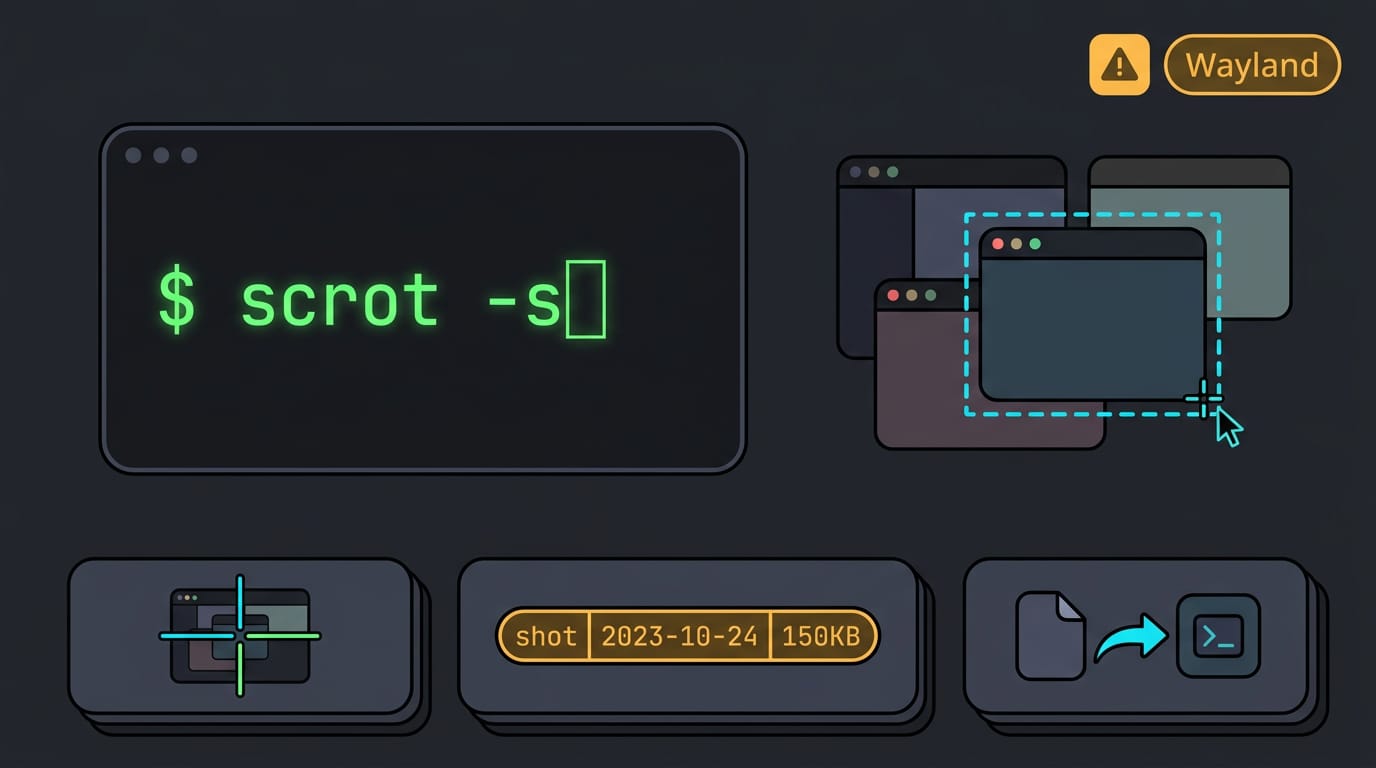
By default, Scrot captures the full screen and saves the file in your current directory. The default filename includes a timestamp and the screen size, so you can tell captures apart.
These three are worth learning first:
- -s lets you select a window interactively with your mouse.
- Filename placeholders let you build names from details you choose.
- -e passes the saved file to another command.
The options have a learning curve, so don’t worry if the flags look cryptic at first. One caveat: Scrot is limited on Wayland, a newer display system, so test it before you rely on it.
Try a command and check the output
Run scrot with no options first, so you see the default behavior before adding flags. Then check the filename and output folder: the file should appear in the directory where you ran the command.
For example, a developer chasing a flaky build types scrot in the project folder, gets a timestamped file right there, and attaches it to a bug report in seconds.
If the file isn’t where you expected, check which folder your terminal was in. That’s all it takes.
Set Your Own Keyboard Shortcut
Sometimes the built-in keys just don’t fit your hands, and a custom shortcut lets you bind a screenshot action to a combination you’ll actually remember. Setup takes a few minutes in Settings.
Build a custom shortcut in Settings
Here’s the process from start to finish:
- Open Settings, go to Devices, and choose Keyboard.
- Scroll to the Custom Shortcuts section and click the plus sign (+).
- In the Name field, enter a label you’ll recognize later, such as ‘Region screenshot.’
- In the Command field, enter the command the shortcut should run.
- Click the shortcut field and press the key combination you want.
- Check for conflicts before you save. A combo already bound to another action will clash, so if yours is taken, pick a different one.
The dialog has no separate save-location field, so the folder comes from the command. If you want every capture in one place, put that path right in the command.
Keep the roles straight: the shortcut decides when the command runs, while the command decides what happens.
Consider a student on a ten-year-old ThinkPad who screenshots every lab step for a report. They name the shortcut, point the command at one course folder, and bind it to a combo that clashes with nothing.
Now each capture lands in the same place with a single keypress, and the report comes together without a folder hunt.
Test it once before you trust it.
Once the right shortcut is in muscle memory, screenshots stop being a chore. Use the built-in keys for quick captures, a graphical editor when you need to annotate, and the terminal when you want to script it.
Keep the Wayland and X11 notes handy, since they explain most of the ‘why didn’t that work?’ moments.
Learn the keys once, and every screenshot after that is just a keystroke away.
Questions
How do I take a screenshot?
On Ubuntu 24.04, press **Print Screen** to open the screenshot tool, then choose where to save the image or copy it to the clipboard. Use **Shift+Print Screen** to select a specific area.
How to edit screenshots in Ubuntu?
For quick annotations, use Flameshot to add text, lines, and boxes or blur sensitive details, then save or copy the edited image. Install Flameshot with apt.
How to screenshot a certain area on Linux?
Press **Shift+Print Screen**, then select the region you want to capture. You can also open the Screenshot app and choose its area mode.
Is there a snip tool for Ubuntu?
Yes. Ubuntu’s built-in Screenshot app lets you capture the full screen, a window, or a selected area. Flameshot is another option when you want to annotate or blur parts of a screenshot.
Is it Ctrl+Shift+S to screenshot?
No. On Ubuntu 24.04, **Print Screen** opens the screenshot tool; **Shift+Print Screen** captures a selected area.
Is there a keyboard shortcut for screenshots?
Yes. Press **Print Screen** to open the screenshot tool, or **Shift+Print Screen** to select an area. You can also create a custom keyboard shortcut in Settings for a screenshot command.
Read next.
Ubuntu Change Password: The Complete Guide for Every User
Change your Ubuntu password safely, whether it belongs to you, another user, or root. Find recovery steps for forgotten passwords and encrypted disks.
Install CMake on Every Major Platform: Complete Guide
Install CMake on Windows, macOS, or Linux with package managers, official binaries, or source builds, then check versions and fix Linux PATH issues.
How to Switch from Windows to Linux, Explained
How to switch from Windows to Linux: choose a distro, back up safely, install, move your files, and prepare for hardware, gaming, and update snags.