Unzip on Linux: A Complete Guide to Extracting ZIP Files
Unzip files on Linux with a working install command, useful options, and examples for extracting ZIPs to a chosen folder and handling other formats safely.
tl;dr the short answer
On Linux, `unzip` is a command-line tool that extracts the files and folders stored in ZIP archives. Use `unzip archive.zip` for the current folder, or add `-d` to choose a destination; list or test an archive before extracting, and avoid overwriting files unless you mean to. For other formats, use tools such as `gunzip` for `.gz` files and `tar` for tar bundles, so you can unpack files safely where you need them.
Think of a ZIP file as a sealed moving box. Everything you need is packed inside, but nothing is usable until you unpack it and put each item in its place.
On Linux, the tool for that job is unzip, a small command-line program that extracts ZIP archives into a folder you choose.
Whether you live in the terminal or prefer a file manager, you’ll find a path that works for you. We’ll cover what unzip handles, how to install it, its most useful options, other archive formats, and how to extract safely.
Why You Need Unzip on Linux
Downloaded a project as one .zip file and wondered what to do with it? That’s what unzip is for on Linux.
How unzip opens compressed ZIP archives
A ZIP archive is a container. It bundles many files into one and compresses them along the way. The unzip command writes them back out as normal files. You don’t use the archive itself. You extract what’s inside it.
Here’s why that matters:
- Bundling. A whole project travels as one download, so nothing gets left behind.
- Smaller, faster downloads. Compression shrinks the archive, so it moves across the network more quickly.
- Decompress before use. The files stay packed until you extract them, so you must decompress an archive before anything inside is usable.
Picture a self-hoster with a server backup packed into one .zip. One unzip command brings the config files back, so they can get to restoring services instead of hunting through loose downloads. Less digging, more restoring.
What you need before you start
Before you run anything, check that you have:
- SSH access to a server. If the archive sits on a server, you’ll need SSH (Secure Shell), which lets you log in and run commands remotely.
- A shell user. You need a login account that gives you a command prompt, not just file access.
- A terminal on your home machine. Run the commands in the terminal on the computer you’re sitting at.
- Desktop users. If you’d rather skip the terminal, right-click the archive and choose Extract Here in your file manager.
Run your first unzip command
The basic syntax is:
unzip [options] filename.zip
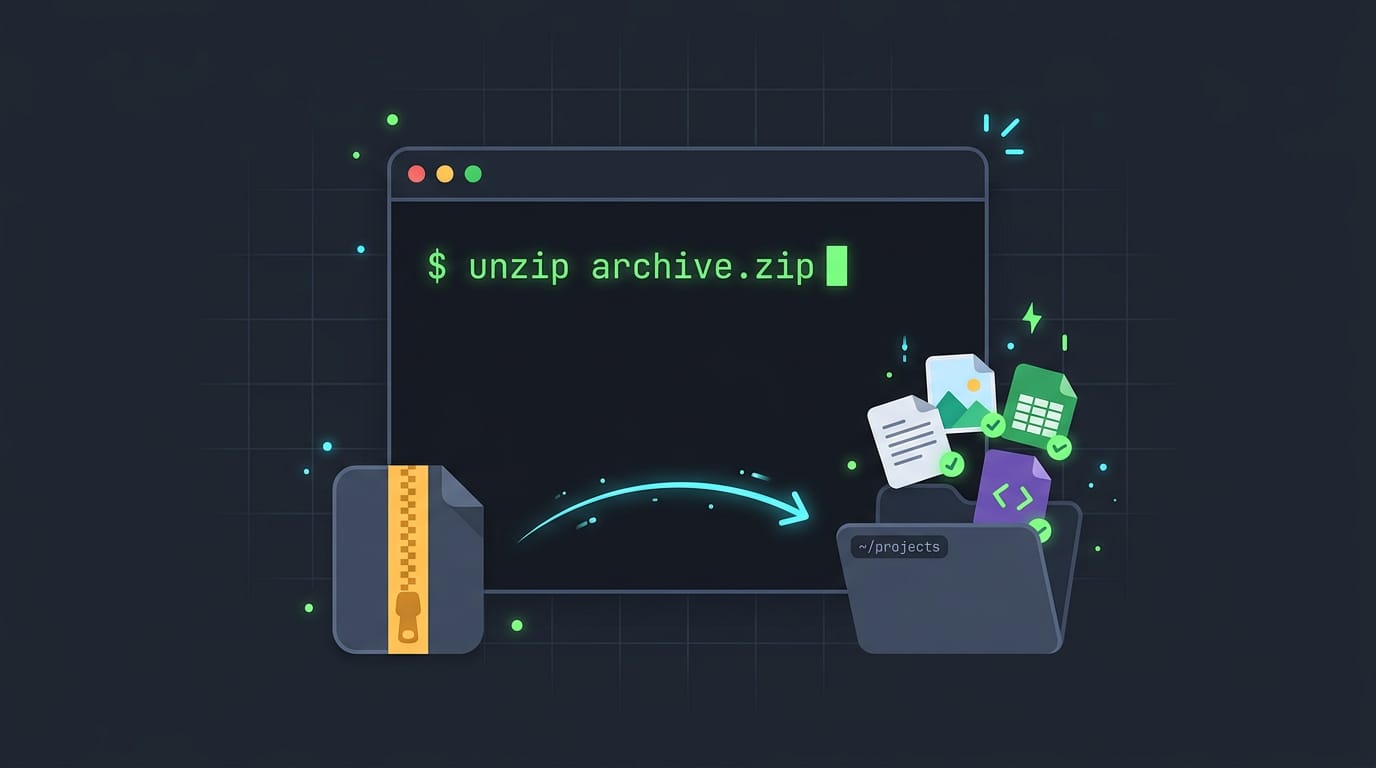
The square brackets mark optional parts, and you swap in your own archive name. For an archive called archive.zip, the simplest version is:
unzip archive.zip
It extracts to the current directory, the folder your terminal is in. One command, and the files are ready to use.
What Unzip Can Handle
Unzip reads far more than plain ZIP files. Here’s what it handles out of the box, and the few spots where you’ll want to slow down.
Archive types and features unzip supports
Unzip reads the standard ZIP format along with several features that trip people up:
- ZIP64 support: Very large archives use ZIP64, the extended version of the format, and unzip reads it like any other archive.
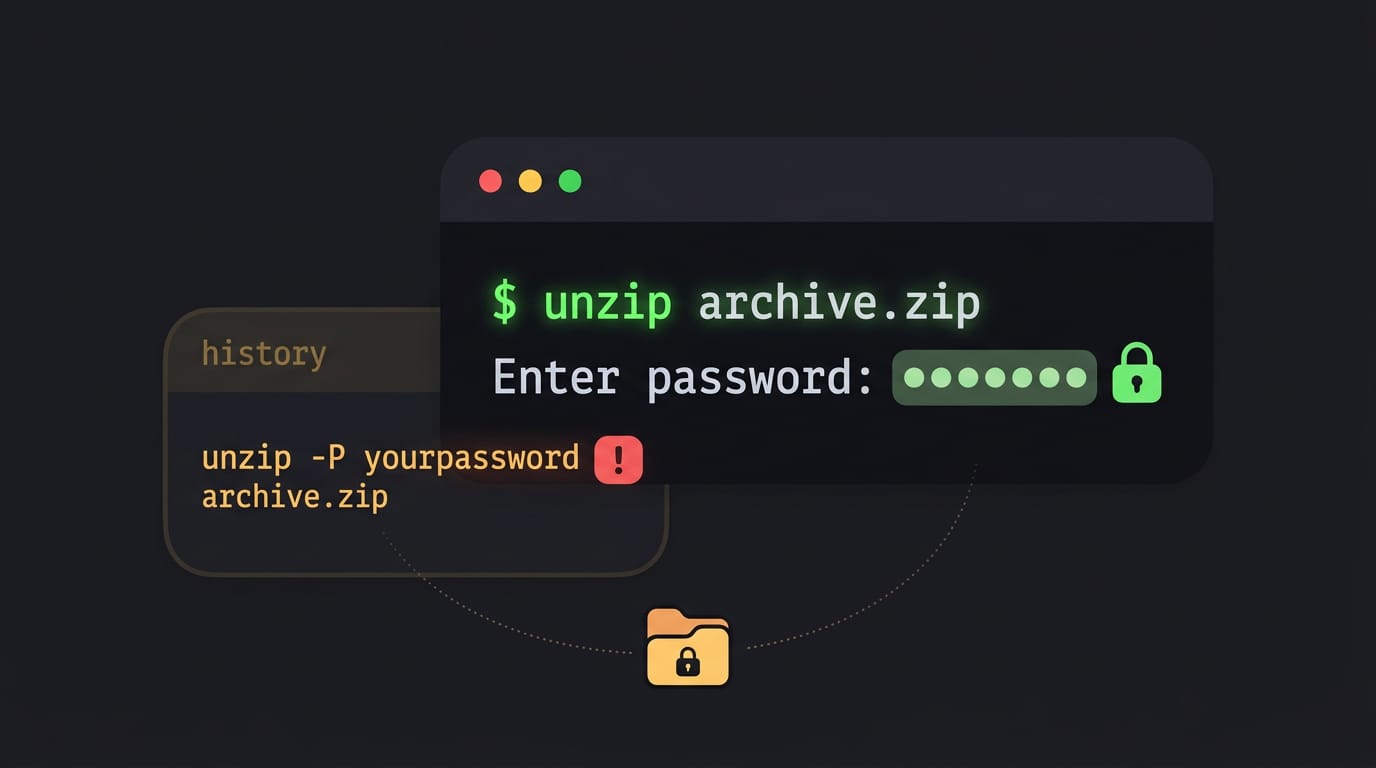
- Encrypted zip support: Password-protected archives make unzip prompt you for the password. Passing it with
-Pworks in a script, but the prompt is the safer habit because the password stays out of your shell history. - Multi-disk archives: Archives split across several disks or files need every part gathered in one folder before you start. A single missing piece stops the whole job.
- Preserves structure and permissions: Folders and file layout come out as they went in. When the archive was made on Linux or another Unix system, the stored permissions come back too.
- Recursive nested extraction: Unzip works on one archive at a time, so an archive inside an archive stays packed. A short loop that unzips each inner file handles that.
Think of a student who receives a password-protected project zip from a professor and extracts it on a ten-year-old ThinkPad. Unzip asks for the password once and keeps the folder layout intact, so the files land exactly where the assignment expects them.
Install Unzip on Your System
Before you can extract anything, you need the unzip tool on your system. The install takes a command or two, and the exact command depends on your distro.
Use your distro’s package manager
Every distro has a package manager, the tool that downloads and installs software for you. Pick the line that matches yours:
- Debian and Ubuntu:
sudo apt updatethensudo apt install unzip - CentOS and RHEL:
sudo yum install unzip - Arch:
sudo pacman -S unzip. Arch uses pacman, not dnf.
Fedora and openSUSE users can use their system’s own package manager, and the check below works on any of them. Update your packages first, as the Debian and Ubuntu line does, so the install pulls from a current list.
For example, a Debian user who just set up a new laptop gets a project zip from a friend. Once unzip is installed, that file opens in one command instead of a dead-end error. The goal is to check that it’s there, not assume it is.
Confirm unzip is installed and working
Run unzip -v to print the version details. If you see a version number, the tool is ready. If you see ‘command not found’, go back to the install step.
Then run a quick extraction on a small zip. Point unzip at it with unzip archive.zip, and the contents land in your current folder. Nothing fancy.
Useful Unzip Options with Real Examples
A bare unzip archive.zip handles most downloads. These flags cover the rest, and we’ll walk through each one.
Pick where files get extracted
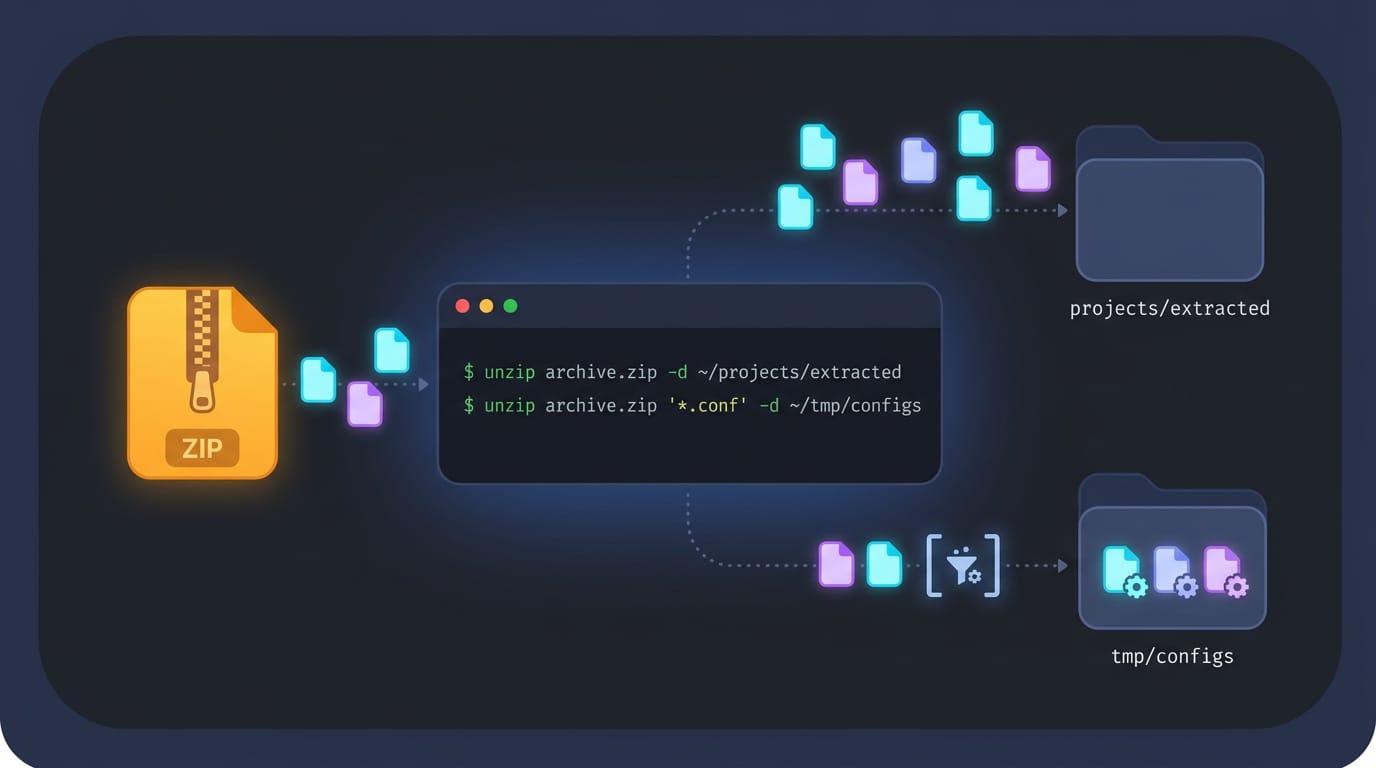
By default, unzip dumps files into your current directory. Use -d (destination directory) to choose elsewhere:
unzip archive.zip -d ~/projects/extracted
To grab one file or a pattern, quote the pattern so your shell leaves it alone:
unzip archive.zip '*.conf' -d ~/tmp/configs
Look inside and test archives first
Look before you extract. -l (list contents) shows each file and its size without writing to disk:
unzip -l archive.zip
- -Z (zipinfo mode) adds detailed entry information:
unzip -Z archive.zip
- -t (test) checks the archive for corruption:
unzip -t archive.zip
Watch out for zip bombs, archives built to expand into an absurd amount of data. If a small download claims to unpack into gigabytes, don’t extract it. Looking is cheap. Extracting a bomb isn’t.
Garbled filenames usually mean the archive came from a system with a different character set. Add -O with the right encoding, like unzip -O CP932 archive.zip for Japanese names. Mind the case: capital -O sets the encoding, while lowercase -o overwrites.
Quiet output and handling existing files
-q (quiet mode) hides per-file output, which keeps scripts clean:
unzip -q archive.zip -d ~/tmp
-o overwrites existing files without prompting. That’s fine for a folder you can rebuild and risky for anything you’ve edited by hand:
unzip -o archive.zip -d ~/tmp/build
-u (update) replaces existing files only when the archive copy is newer. A dotfiles keeper restoring a backup onto a fresh install gets the newer versions, while files edited more recently stay put:
unzip -u archive.zip -d ~/dotfiles
Extract password-protected ZIP files
Encrypted archives need a password at extraction time. -P supplies one inline:
unzip -P yourpassword archive.zip
Skip -P when you can. The password lands in your shell history in plain text. Leave the flag off and unzip prompts you instead.
Lowercase -p is a different flag. It sends contents to standard output (your terminal’s output stream), which suits piping, not passwords. For encrypted extraction, -e is the flag to know, though letting the prompt ask is still the safer habit.
Quick lookup for every option
Run each one on a throwaway archive to see real output.
- -d: set destination.
unzip archive.zip -d ~/out - -l: list contents and sizes.
unzip -l archive.zip - -Z: zipinfo details.
unzip -Z archive.zip - -t: test for corruption.
unzip -t archive.zip - -O: set filename encoding.
unzip -O CP932 archive.zip - -q: quiet output.
unzip -q archive.zip - -o: overwrite without prompting.
unzip -o archive.zip - -u: update with newer copies.
unzip -u archive.zip - -P: supply password inline.
unzip -P yourpassword archive.zip - -p: send contents to standard output.
unzip -p archive.zip notes.txt - -e: encrypted extraction, password at the prompt.
unzip archive.zip
Unpacking Archives Besides ZIP Files
Not every download is a ZIP, so you’ll meet other formats sooner or later. Wondering what the best unzip tool for Linux is?
There’s no single winner, because the right pick depends on the archive: use unzip for ZIP files, 7z when you’re dealing with a mix of formats, and bsdtar for tar bundles (short for tape archive). The commands below focus on gzip and tar.
Decompress .gz files with gunzip
gzip compresses one file at a time, so a .gz file holds a single item. To unpack it, run gunzip filename.gz.
Gunzip prints nothing when it succeeds. Silence means it worked. Picture a self-hoster chasing a crash through old logs, where last month’s entries were rotated into app.log.2.gz.
Running gunzip app.log.2.gz leaves you with a readable log you can search for that crash. To confirm the new file is there, run ls -la and check the listing.
Open uncompressed tar bundles
A tar file is an uncompressed archive bundle: it packs many files together without shrinking them. To open one, run tar xvf filename.tar. The files extract into your current directory, the folder your terminal is sitting in.
Say a student gets a coursework bundle from a classmate and wants it out of Downloads. Running tar xvf coursework.tar -C ~/school/term2 sends everything to that folder instead (create it first if it doesn’t exist).
The -C option is how you point tar at another directory.
Open tar.gz and tar.bz2 files
Compressed tar archives combine both steps: they bundle files and compress them. For gzip-compressed ones, use tar xvzf filename.tar.gz. For bzip2-compressed ones, use tar xvjf filename.tar.bz2.
Either way, the archive creates a folder named after the file, so the contents stay together. To send them elsewhere, add -C and a target directory, just like before.
What each tar flag stands for
Each letter in the command does one job:
- x (extract): pulls files out of the archive
- f (file): tells tar that the archive’s name comes next
- z (gzip): handles gzip-compressed archives
- j (bzip2): handles bzip2-compressed archives
- v (verbose): prints each file name as it’s processed
- C (directory): sets the folder you extract into
Memorize them once and a command like tar xvzf stops looking like gibberish.
Read the man pages for help
The flags above are just the highlights. Run man tar, man gzip, or man zip to open each tool’s full manual in your terminal, and press q to close it when you’re done.
Unzipping on Linux comes down to knowing your tools and building a few careful habits. Check what’s inside before you extract, pick a destination folder on purpose, and reach for the right tool when the archive isn’t a ZIP at all.
Once those pieces click, a downloaded archive stops being a mystery and becomes just another folder waiting for you. Your files should land exactly where you expect them, every time.
Questions
What is the best unzip tool for Linux?
There is no single best unzip tool for every archive. Use `unzip` for ZIP files, `7z` for a mix of archive formats, and `bsdtar` for tar archives.
What is the unzip command?
The basic command is `unzip filename.zip`. For example, `unzip archive.zip` extracts the contents into the current directory.
How do I unzip a file in Linux?
Open a terminal, go to the folder containing the ZIP file, and run `unzip filename.zip`. To choose a destination, use `unzip filename.zip -d /path/to/folder`.
How do I install unzip on Linux?
Install `unzip` with your Linux distribution’s package manager. On Debian or Ubuntu, run `sudo apt update` and `sudo apt install unzip`; on CentOS or RHEL, run `sudo yum install unzip`; on Arch, run `sudo pacman -S unzip`.
Read next.
Surface Pro 4 Linux: Complete Install and Setup Guide
Run Linux on Surface Pro 4 with a fitting distro, then set up a touch-friendly desktop and tiling workflow while checking hardware support.

Linux on MacBook Air: The Complete Installation Guide
Linux on MacBook Air can turn a familiar laptop into your own setup: check model compatibility, choose a distro, install safely, and fix Wi-Fi.
Linux ls Command: List Files and Directories Explained
The Linux ls command lists files and folders. Practice its most useful flags, then use wildcard patterns to narrow results and find specific files faster.