Install nvm on Mac OS: Node Version Manager Guide
Install nvm on macOS to run older and current Node.js versions side by side, switch versions per project, and fix common setup problems from your terminal.
tl;dr the short answer
nvm, or Node Version Manager, is a command-line tool for installing multiple Node.js versions on a Mac and switching between them. After setting it up in your shell profile, you can choose a default version or use an `.nvmrc` file to match each project, while checking that your terminal is using the intended Node and npm. This keeps projects with different requirements from conflicting and avoids repeatedly replacing a single system-wide Node installation.
Think of your Mac as a garage with room for one car. That’s fine until a project shows up that needs a different model. Node.js projects hit this all the time, since one app may need an older release while another wants the latest.
That’s where nvm (Node Version Manager) comes in. It’s a small command-line tool that installs several Node.js versions side by side and switches between them in one command.
Here, we’ll cover prerequisites, installation, version management, per-project switching, troubleshooting, and when Homebrew is the better fit.
Why You Should Install Nvm on MacOS
Before we run the install script, it helps to know what nvm does and why it’s worth the extra minutes.
What nvm actually does
nvm (short for Node Version Manager) is a tool for installing and switching between versions of Node.js, the JavaScript runtime behind much of modern web development.
- Node version manager. nvm installs and switches between Node versions.
- Shell script. It runs in your terminal, so there’s no app window to open.
- Node can’t switch versions itself. Something has to sit in front of Node and pick the version, and that’s nvm’s job.
Is it better to install Node or nvm? For most developers, nvm is the better pick. A plain Node install leaves you with one version, and changing it means installing another by hand. nvm doesn’t replace Node so much as manage it.
Why it helps with several projects
Consider a developer with an older client site that needs one Node release and a new side project that needs another. Without a version manager, one of them is likely to break. With nvm, each project runs the version it expects.
- Different Node versions per project. Each codebase can use the release it was built against.
- Switch without conflicts. Moving between projects doesn’t mean uninstalling the version you were just using.
- Project-based versions. Versions can be set per project, so the right one is ready when you start working.
The goal isn’t one Node install for everything. It’s the right Node for each project. Your projects shouldn’t have to share a version.
What You Need Before Installing
We’ll run a few quick checks before you install nvm (short for Node Version Manager), not after a command fails. The steps below work the same on Apple Silicon (the chips in newer Macs) and Intel-based Macs.
Set up your zsh profile file
macOS uses zsh as its default shell, the program that reads your Terminal commands. Its settings live in a profile file called ~/.zshrc. To check for it:
- Run
ls -a ~to list your home folder, including hidden files (names that start with a dot, which a plainlsskips). - If
.zshrcisn’t there, create it withtouch ~/.zshrc. If it already exists,touchonly updates its timestamp and leaves your contents alone.
If you use bash, use ~/.bash_profile instead, with the same ls -a and touch steps.
Get the Xcode command line tools
Some installers may prompt you to install the Xcode command line tools, developer tools that many Terminal-based installs need. If you’re prompted, or just want to be sure, run:
xcode-select --install
Follow the on-screen prompts, then confirm they’re in place:
xcode-select -p
If that prints a path, you’re set.
See if nvm is already installed
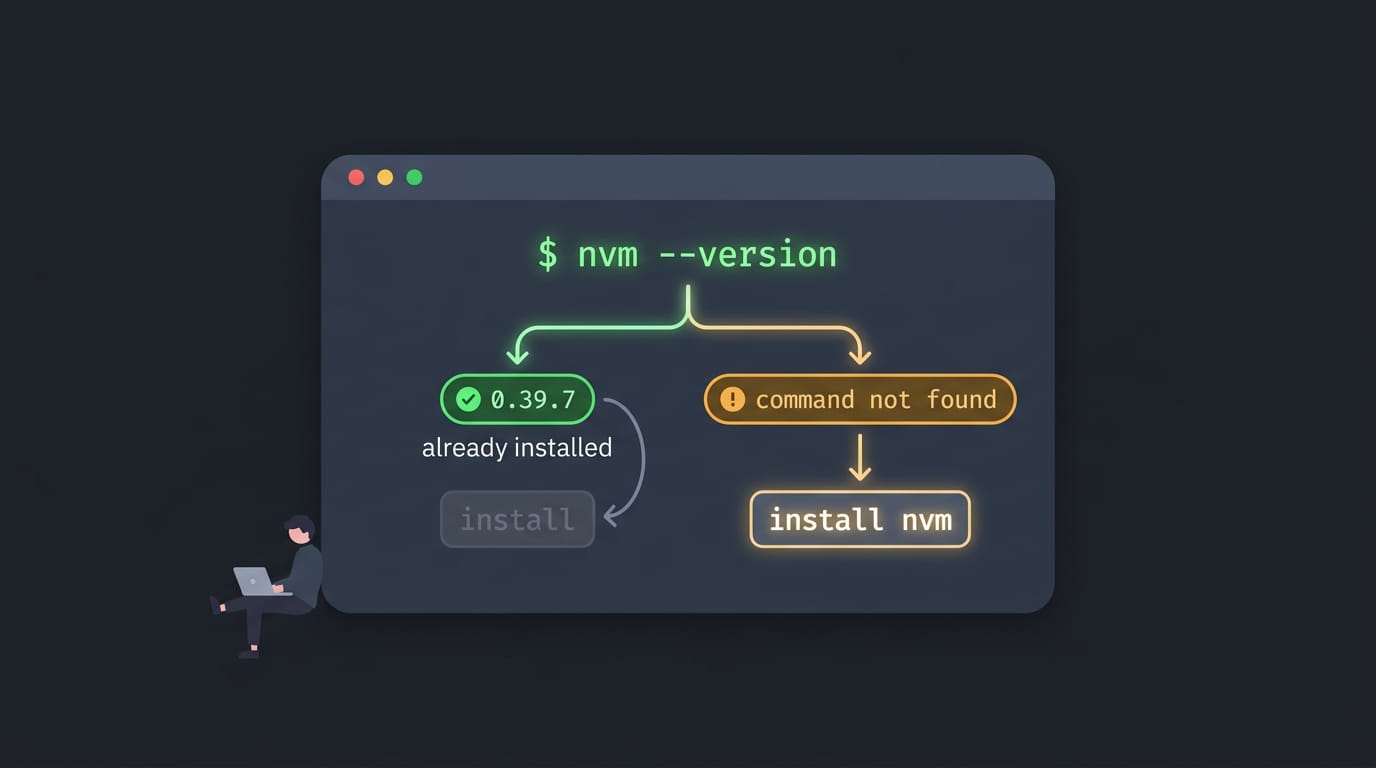
Run nvm --version. If you see a version number, nvm is already installed. If you get command not found, it isn’t installed yet, and you’re ready to move on.
Consider a developer who just moved from a Linux laptop to a new MacBook. They run this check, see command not found, and know they’re starting fresh. Someone who sees a version number can skip the install entirely. One command settles it.
Install Nvm on Your Mac
Installing nvm (the Node Version Manager) takes three steps: run the install script, let it update your shell profile, then reload your terminal and confirm it works.
Run the install script with curl
Open Terminal and run the official nvm-sh install script with curl. Replace vX.Y.Z with the latest version number from the nvm-sh project:
curl -o- https://raw.githubusercontent.com/nvm-sh/nvm/vX.Y.Z/install.sh | bash
The version number in the URL pins the script to one specific nvm release, so you know exactly what you’re installing. The script clones the nvm repository into ~/.nvm, the folder where nvm lives on your machine.
Prefer Homebrew, a package manager for macOS? Run brew install nvm instead of the curl command, and watch for any shell setup notes Homebrew prints after the install.
How the script updates your shell profile
The script edits your shell profile so nvm loads in every new session. On a Mac, that’s ~/.zshrc, the startup file for zsh, which runs each time you open a terminal.
It appends a few export NVM_DIR lines that point your shell at ~/.nvm, along with a line that loads bash_completion, a helper that adds tab completion to your commands.
The key difference is that the script edits the file for you, so you don’t have to copy lines in by hand. Think of a student moving to a new Mac who wants the same Node setup back.
Those lines all live in one file, so carrying the setup over starts with ~/.zshrc.
Reload your shell and confirm it works
Your current terminal session started before those changes, so it won’t see them yet. Pick one of these ways to reload:
- Run
source ~/.zshrcin your current tab. - Open a new terminal tab.
- Run
exec zshto restart the shell in place.
Then check that nvm is working:
nvm --version
If it prints a version number, you’re set. If you get command not found, try another reload option above.
Install and Manage Node Versions
Once nvm is installed, your daily work comes down to four jobs: picking a version, checking what you have, choosing a default, and cleaning up what you no longer need. Here’s how we’ll handle each one.
Pick and install a Node version
You can ask nvm for a version in three ways:
- Latest LTS:
nvm install --ltsgrabs the newest long-term support (LTS) release, the dependable choice for most projects. - Latest with the node alias:
nvm install nodegrabs the newest release by using the node alias. - A specific version:
nvm install 20grabs the latest release in the 20 line, handy when an older project needs it.
Then run node -v to confirm the version you asked for is the one running. If it matches, you’re set.
See which Node versions you have
Three commands tell you where you stand:
nvm ls: shows the versions installed on your Mac.nvm ls-remote: shows the versions available to install.nvm current: shows the version your shell is using right now.
Keep the two list commands apart in your head: nvm ls-remote shows what you could install, while nvm ls shows what you already have.
Make one version your default
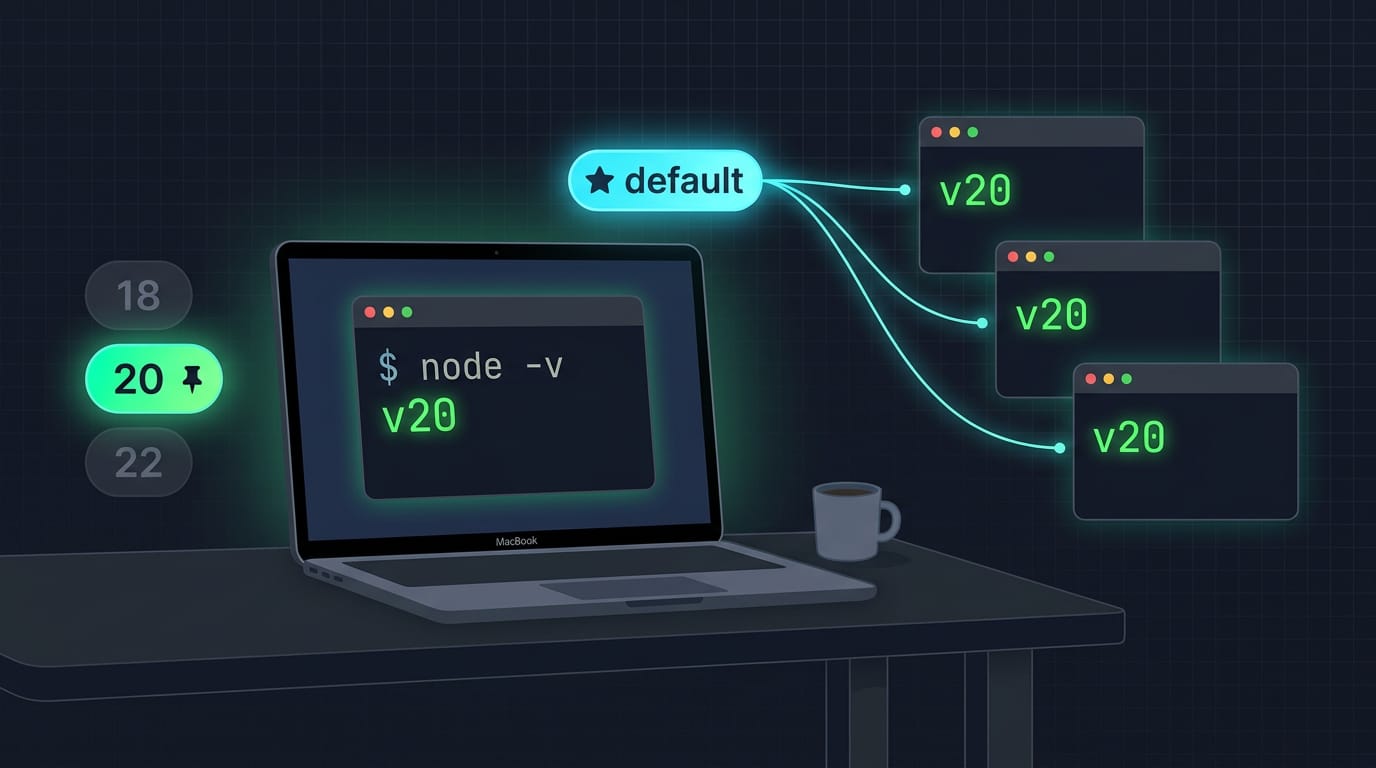
Set a default so new terminal windows don’t have to choose a version every time. Run nvm alias default 20 and nvm makes that version the one new shells start with.
Here’s a handy bit of behavior: the first version you install becomes your default automatically, so you may already have one set.
Think of a web developer on a MacBook who opens a fresh terminal every morning to work on one project. Setting that project’s version as the default means every new window starts with the right Node, with no extra steps. Set it once. Then it just works.
Remove a version and check npm
When you’re done with an old version, nvm uninstall 18 removes it from your Mac.
Each Node version ships with its own npm, the package manager that installs your project’s dependencies, so removing a version removes its npm too. After you change versions, run npm -v to confirm npm is working in the one you’re using.
Switch Node Versions for Each Project
Projects rarely share one Node version, and retyping switches gets old fast. Here’s how we let nvm (Node Version Manager) do the work.
Change versions with nvm use
To switch, run nvm use <version> in your terminal. Confirm it with node -v, which prints the version you’re now running. The switch applies to this terminal session only.
Global npm packages (npm is the Node Package Manager) are tied to each version, so reinstall a tool after switching if you need it there.
Save your version in an .nvmrc file
Retyping nvm use everywhere gets tedious, so save the version in a version file at the project root with echo 20 > .nvmrc. The file records what the project needs, not what you happen to have installed. Two commands read it:
nvm usewith no arguments reads the file and switches for you.nvm installreads the file too, installing that version if you’re missing it.
Picture a developer with a client app on an older Node release and a side project on the newest one. A .nvmrc in each folder means a quick cd sets the right version, with no guesswork.
Let a zsh plugin switch versions
If you use zsh (Z shell), a plugin can handle switching for you. Through Antigen or oh-my-zsh, the nvm plugin adds a few handy features:
- Lazy loading delays nvm until you need it, so new terminal windows open faster.
- Autoload on cd switches to your
.nvmrcversion when you enter the folder. - Auto-install fetches any missing version named in
.nvmrc.
Enable it once in your .zshrc file. Then forget about it. Prefer no plugin framework? The shell-native fnm and Volta handle switching too.
Fixing Common Problems
Most nvm trouble on macOS has a few familiar causes, and each one has a quick fix.
Fix the nvm command not found error
You ran the installer, opened a fresh window, and got nvm: command not found. The setup lines likely landed in your shell profile (a file like ~/.zshrc that your shell reads on startup), but this session never loaded them.
The real question is whether the lines exist and whether your shell has read them.
- Reload your shell or open a new terminal. Profile changes only apply to new sessions. In your current window, run
source ~/.zshrc. - Check your profile lines. Look for the lines that set
NVM_DIRand loadnvm.sh. If they’re missing, the script may have written them to a different file.
Picture a developer who just set up a new MacBook and hit that error right away. Sourcing the file and confirming the nvm lines were there got nvm working again without reinstalling.
When Homebrew’s Node gets in the way
If you installed Node through Homebrew, that copy can sit earlier on your PATH (the ordered list of folders your shell searches for commands). It wins every time, so nvm looks broken. Check what you’re actually running. If you need to change PATH yourself, see how to set environment variables on Mac.
- Run
which -a nodeto list every Node binary on your PATH in search order. The top result is the one your shell uses. - If the top result is Homebrew’s copy (often
/opt/homebrew/binon Apple Silicon or/usr/local/binon Intel), runbrew uninstall node. - Open a new terminal and run
which node. It should now point into~/.nvm.
Clear up the npm prefix warning
npm may warn that a custom prefix (the folder where npm installs global packages) clashes with nvm. nvm keeps global packages separate for each Node version, so a fixed prefix works against it.
Run npm config delete prefix, then open a new terminal and try nvm use again.
When the install script fails
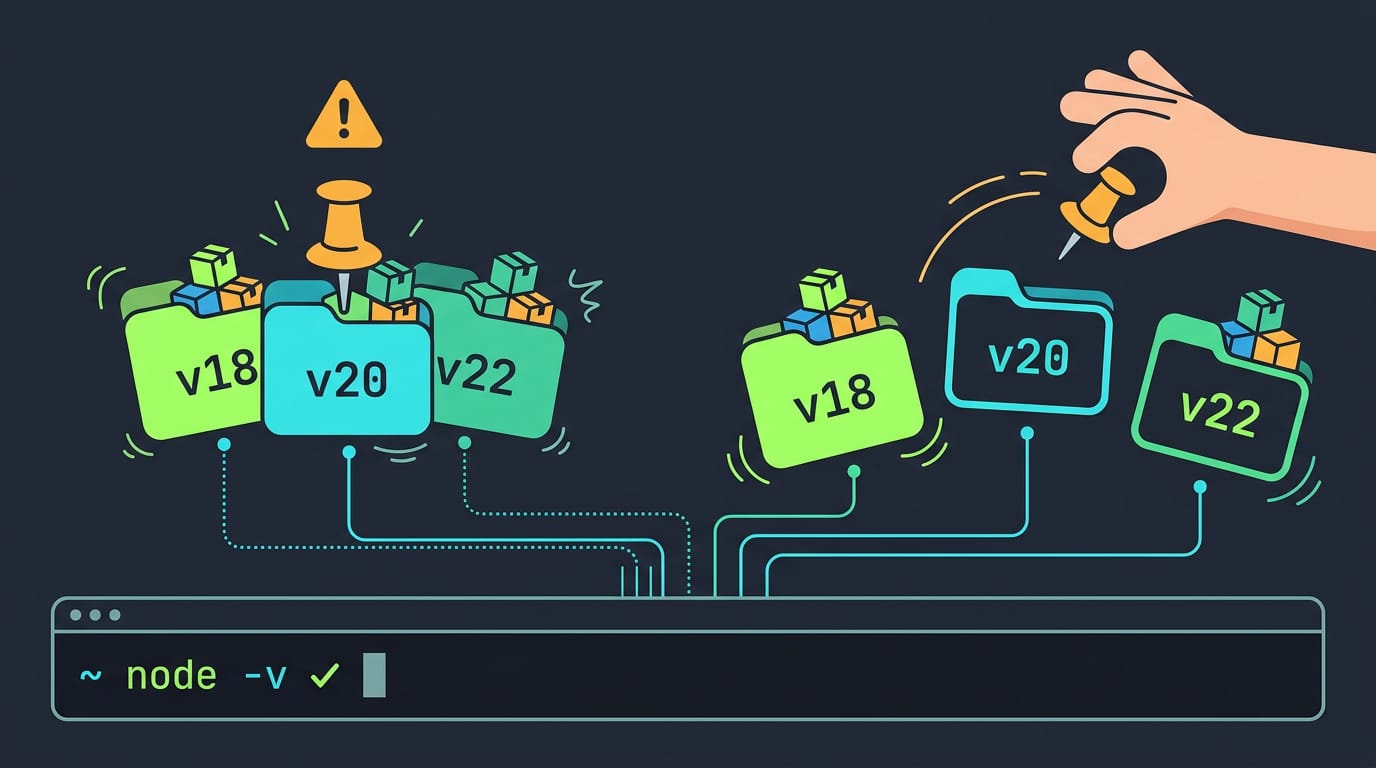
The install script can stop partway through, often because Xcode command line tools are missing. Those tools supply git and other basics the script needs. Rerunning before they’re installed just fails again.
- Run
xcode-select --installand follow the prompts. - Once they finish, rerun the same install script.
Picture a student on a ten-year-old MacBook who gets a wall of red text the moment the script starts. After installing the tools and rerunning, they have a working Node setup.
Plugin warnings that don’t break anything
You might see a message mentioning nvm_find_nvmrc when you open a shell or enter a project. It typically comes from a shell plugin such as load-nvmrc.
The message is noisy, not broken. nvm still works and your Node versions still run, so it’s safe to ignore.
Update or Remove Nvm
Nvm doesn’t lock you in. Upgrade it when a new release lands, or remove it cleanly when you switch tools.
How to install a newer nvm version?
Upgrading replaces the tool, not your whole setup. Rerunning the install script updates nvm in place, so you’re swapping the version, not starting over.
- Rerun the install script. Use the same script you ran the first time.
- Install a newer nvm version. Want a specific release, not the newest? Pick it from the project’s releases list before you install.
Picture a macOS developer who wants the newest nvm before starting a fresh project. Rerunning the script leaves their daily terminal habits untouched.
Remove nvm and the Antigen plugin
Removal takes four steps, done in order. Deleting the folder alone isn’t enough, because your profile still points to it. If you used Antigen, a zsh plugin manager, clear that out too.
- Remove the NVM_DIR folder. Delete the directory that NVM_DIR points to. It holds nvm and the Node versions it installed.
- Delete the profile lines. Remove the lines that set NVM_DIR and load nvm from your shell profile. Leave them in, and your terminal may throw errors every time it opens.
- Purge the Antigen plugin. Remove the nvm entry from your Antigen setup so it stops loading.
- Verify command not found. Open a fresh terminal and type
nvm. A “command not found” message means you’re clean.
Think of a developer who switched to a different version manager. Once the folder, profile lines, and Antigen entry are gone, their next terminal opens quietly. Clean and quiet.
What to Do Next
With nvm running, the fun part is putting it to work. We’ll scaffold a small Vite project, a fast build tool for front-end code, and confirm your editor sees the same Node you do.
Start building with Vite and VS Code
Think of a developer who just finished this install and wants a working prototype before lunch. Here’s the path they’d take:
- Create a Vite app. Run
npm create vite@latestin your terminal, follow the prompts to name the project and pick a template, thencdinto the new folder. - Set up VS Code. Open the project folder in VS Code so the editor and its built-in terminal work from the same place.
- Verify npm and Node. In the built-in terminal, run
node -vandnpm -v. Both should print version numbers without errors, which confirms npm came along with the Node version nvm installed. - Confirm the editor picks up nvm Node. Compare the version in VS Code’s terminal with the one in your usual terminal. If they differ, open a fresh terminal tab, because a shell that started before you switched versions keeps the old one.
Trust what the terminal reports over what you remember installing. Once the versions match, you’re ready to build, and your project runs on the Node you chose. That’s the whole setup.
Once nvm is set up, switching Node versions stops being a chore. It becomes one command you run when a project needs it. You keep older projects running, newer ones moving forward, and no global install standing in the way.
Keep this walkthrough handy for the next fresh Mac or the day your editor grabs the wrong version. Your Node setup should fit your projects, not the other way around.
Questions
How to install with brew on mac?
Install Homebrew first if needed, then open Terminal and run `brew install nvm`. Follow any shell setup instructions Homebrew prints, then reload your shell, for example with `source ~/.zshrc`, and check the installation with `nvm --version`.
How to install a new nvm version?
To install a newer nvm release, rerun the official nvm install script using the release version you want in its URL. The script updates nvm in place; it does not require you to reinstall your Node versions.
Why does nvm say "nvm command not found"?
This usually means your shell has not loaded nvm's setup lines, or those lines are missing from the profile file your shell uses. For zsh, run `source ~/.zshrc`, then check that the file sets `NVM_DIR` and loads `nvm.sh`; bash users should check `~/.bash_profile`.
Is it better to install Node or nvm?
For most developers, nvm is more useful because it manages multiple Node versions and lets projects use different versions without uninstalling and reinstalling Node. A plain Node installation is a reasonable choice if you only need one version and do not expect to switch.
Read next.
VLC Media Player Install Guide for Ubuntu
Install VLC media player on Ubuntu with APT, Snap, Software, or a PPA, then verify the setup and add codecs to play videos that would not open.
Cursor Install Guide for Windows, macOS, and Linux
Cursor install is easier when you pick the right file for your OS. Set up Linux AppImage launchers, handle first launch, and keep Cursor updated with ease.
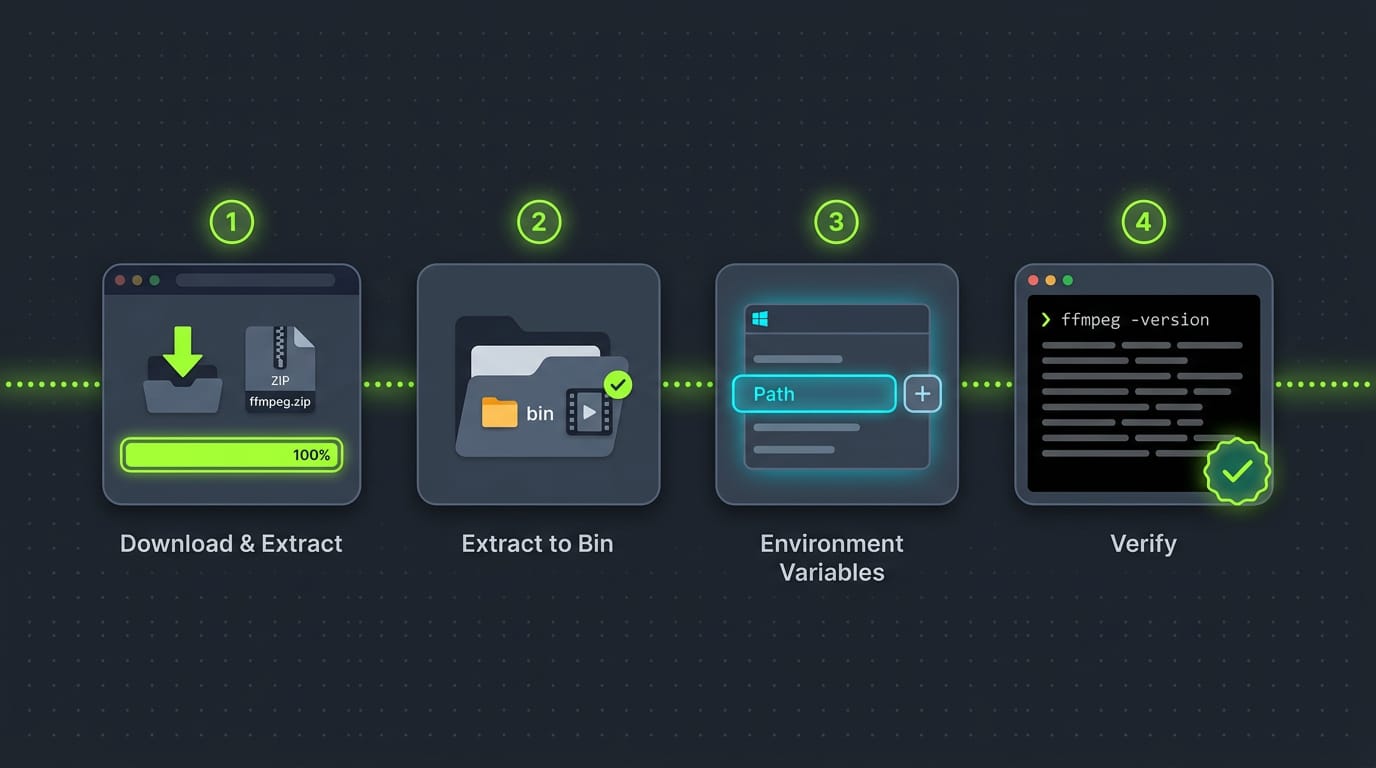
Install FFmpeg on Windows, Start to Finish
Install FFmpeg on Windows with manual PATH setup or winget, Chocolatey, and Scoop. Verify the command and fix common errors without developer tools.