Cursor Install Guide for Windows, macOS, and Linux
Cursor install is easier when you pick the right file for your OS. Set up Linux AppImage launchers, handle first launch, and keep Cursor updated with ease.
tl;dr the short answer
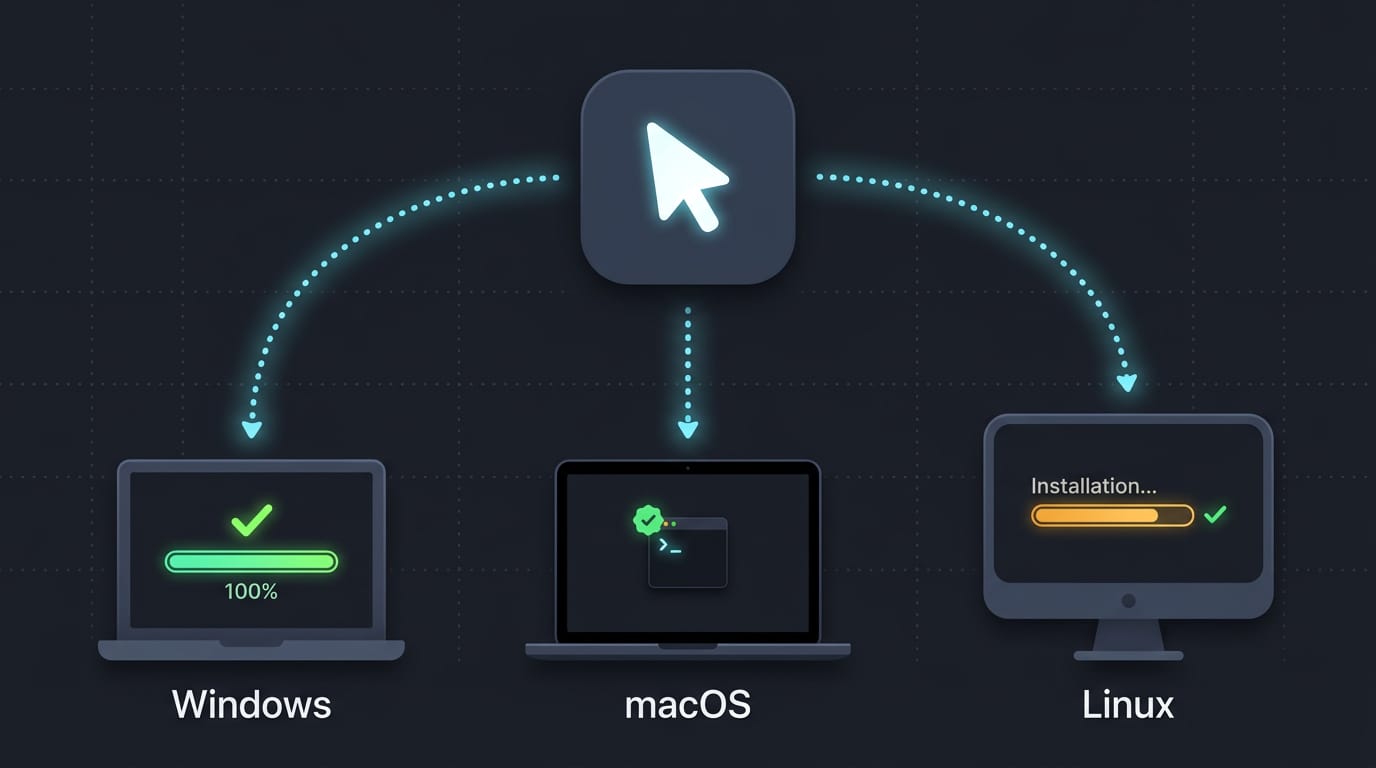
Cursor is an AI-powered code editor for Windows, macOS, and Linux, with a familiar VS Code-style workspace. Install the build that matches your operating system and processor, choosing a native package or portable AppImage on Linux, then configure sign-in, privacy, extensions, and project tools to suit your workflow. A careful setup makes Cursor easier to launch, update, and use for coding with its built-in AI features.
Ever unboxed a new laptop and spent an hour hunting for the right charger? Installing Cursor can feel the same way, with several download options and a few platform quirks.
You’ll want the right file for your system, a setup that survives updates, and a clear fix when something breaks.
This guide walks you through installing Cursor on every major OS, from picking the correct download to getting it running on Windows, macOS, and Linux.
Linux readers get extra attention, including AppImage launcher integration, packaging choices, and desktop theming that most guides skip.
Choose the Right Cursor Install File
Before you install anything, let’s make sure you grab the right file. Check the system requirements on the download page first, then match your OS and chip to one of the builds below.
Download it from the official site
Start at cursor.com and find the official download page. Hit the free download button, then pick the build that fits your system. Sticking to that page beats hunting for files on random mirror sites.
Installer types for your OS and chip
The real question isn’t whether to install Cursor but which build fits your hardware. Here’s how the options break down:
- macOS: Pick the ARM64 build for Apple silicon Macs, the x64 build for Intel Macs, or Universal for one file that covers both.
- Windows: The names tell the story. A System installer sets Cursor up for the whole machine, while a User installer sets it up for your account only.
- Windows ARM64: Choose this if your PC runs on an ARM chip.
- Linux: The .deb package suits Debian and Ubuntu, RPM suits Fedora and openSUSE, and AppImage is a single portable file you can run without a package manager.
- Version history downloads: Older builds are there if you need to match a setup that worked last month.
Consider a Fedora user with a tiling desktop who wants Cursor handled like every other app. The RPM is the pick there. An AppImage would also run, but you’d be managing that single file yourself. Same app, different packaging.
Install Cursor on Linux
Cursor ships for Linux as an AppImage, a .deb, or an RPM build. Pick the one that matches how your system handles software.
Set up Cursor from an AppImage
An AppImage is a portable program: one file you make runnable and launch. Picture an Ubuntu user on an old ThinkPad who wants Cursor without touching the package manager. Their whole install is one file. Simple.
- Download the .AppImage file for your processor.
- Make it executable with
chmod +x Cursor*.AppImage. - Move it to
~/Applications, creating the folder if needed. - Run it by double-clicking, or with
~/Applications/Cursor*.AppImagein a terminal. - Create a
.desktoplauncher entry in~/.local/share/applications/with anExec=line pointing at the AppImage.
If it fails with a FUSE error, install the FUSE library (short for Filesystem in Userspace) through your package manager, then retry.
Installing the .deb on Debian or Ubuntu
The .deb is the native package for Debian and Ubuntu. Unlike an AppImage, it’s installed into your system, so your app menu picks it up.
- Download the latest .deb file.
- Navigate to your download directory with
cd ~/Downloads. - Install with
sudo apt install ./cursor*.deb. The./tells apt to read the local file. - Launch Cursor from your app launcher.
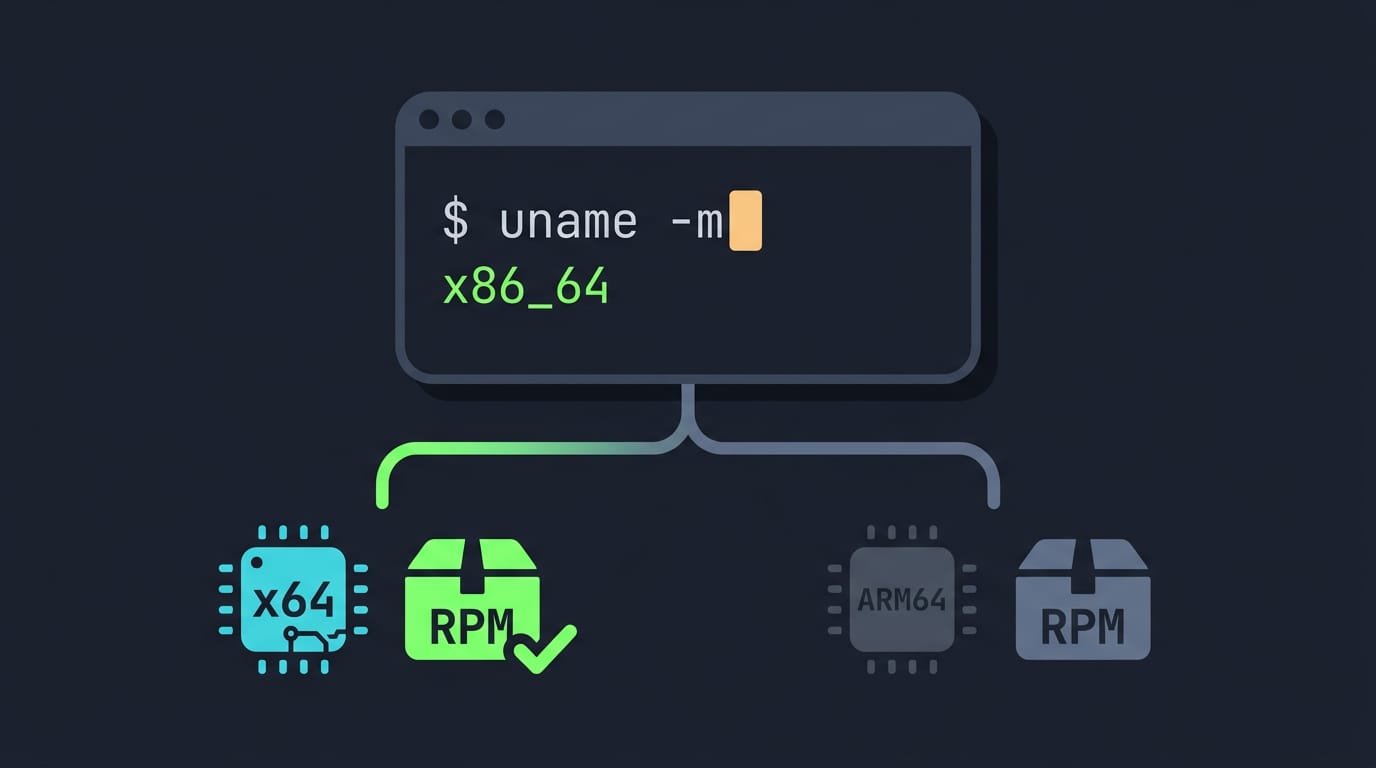
If apt can’t find the file, check the ./ and your current folder. Wrong-architecture builds won’t install, so check yours with uname -m below.
RPM builds for ARM64 and x64
Cursor offers RPM packages (a format used by many Linux distros) for ARM64 (64-bit ARM processors) and x64 (standard 64-bit Intel and AMD). Run uname -m to check yours: x86_64 means x64, and aarch64 means ARM64. Then install with your distro’s RPM tool.
Getting Cursor Running on Windows
On Windows, installing Cursor is mostly a guided wizard. A few screens ask for a decision, and a couple of them are easy to click past without a second thought.
Follow the Windows setup wizard
Run the installer and follow the wizard from start to finish. For most people, the default settings are the right call, so accept them and keep moving.
When the wizard asks about importing VS Code extensions, you have two paths. If you already use Visual Studio Code (VS Code), importing brings your extensions across so your setup carries over.
If you’re starting fresh, skip the import and build your setup from scratch.
Next, choose your privacy preferences. Read what each option covers and pick what you’re comfortable with before you move on.
Finally, sign in with Google or email. Use the account you’ll remember, since it’s the one you’ll use to get back in.
Pick x64 or ARM64, System or User
Your processor decides which build you need. x64 is for PCs with Intel or AMD processors, while ARM64 is for PCs with ARM processors, a design found in some newer laptops. Not sure which you have?
Your system info page shows the processor type, so check there first.
Then comes the install type. This one’s less about whether Cursor installs and more about who it installs for. A System install sets Cursor up for everyone on the machine, while a User install ties it to your account alone.
Think of a Linux tinkerer who keeps a Windows partition around for one client project. They want Cursor on their own login and nothing shared, so a User install fits, and the other accounts on that PC never see it. Read before you click.
Installing Cursor on a Mac
Mac installs stay simple because almost everything happens in Finder, the Mac’s built-in file browser. Here’s how we’ll get Cursor from download to first launch.
Work through the Mac installer steps
Think of a Linux tinkerer who keeps a MacBook around for work meetings and wants Cursor on both machines. With a short, predictable installer, they can set it up between calls and get back to their code without digging through menus.
Work through these four steps in order:
- Download the macOS installer. Grab the Mac version from the Cursor website and save it somewhere easy to find, like your Downloads folder.
- Unzip and run the installer. Double-click the downloaded file to unzip it, then open the installer that appears.
- Allow the security prompt. The first time you open it, macOS may ask you to confirm that you want to open an app downloaded from the internet. Click Open to continue.
- Open from the Applications folder. Drag Cursor into your Applications folder, the spot where your Mac keeps installed apps, and launch it from there. Run it from Applications rather than Downloads, so it stays put when you clean up your downloads.
That’s it. Cursor is ready to open like any other app.
Other Ways to Install Cursor
Not everyone wants to click through a download page. Here are two more routes: one that starts from your terminal, and one that lives in your browser or in the cloud.
Install with a curl script in terminal
If you already spend your day in a shell, a curl install script gets Cursor onto your machine with a single command.
Picture a homelab tinkerer setting up a new box over SSH (a secure remote login): they paste one line, walk away, and come back to a finished install.
Once it’s installed, you can run agents (Cursor’s built-in helpers for coding tasks) from any terminal, not only the one inside the editor.
Cursor also integrates with the IDE (integrated development environment) you already prefer, so your current setup doesn’t have to change.
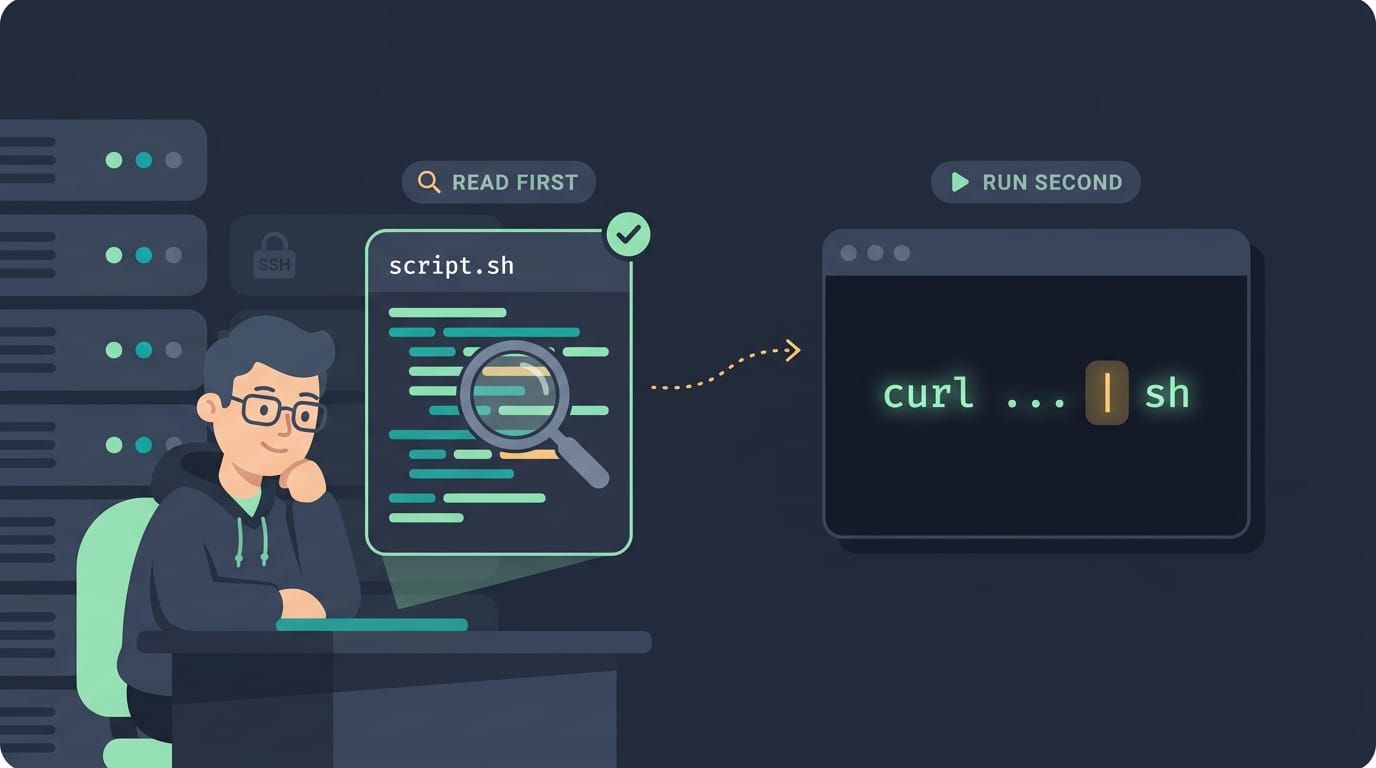
Before you pipe anything into your shell, though, take a look. Download the script, open it, and read what it does. The question isn’t whether the script works but what it touches on your system. Read first, run second.
Use Cursor in the browser or cloud
Cursor can also start in your browser, which helps when you’re on a borrowed laptop or a machine where you can’t install anything.
You can also hand off work from tools you already use. Cloud agents work through Slack, GitHub, and Linear, so a task can start where the conversation or ticket already lives.
Take a student on a ten-year-old ThinkPad with a nearly full drive. They file a bug in Linear, kick off a cloud agent, and the heavy lifting happens off that old machine.
What to Set up on First Launch
Here’s what we’d settle before you write a line of code.
Your account, privacy and layout
Start by signing up or signing in. Then open the privacy settings and read each option rather than clicking straight through. Turn off anything you don’t want switched on.
The workspace is VS Code-like, so the layout feels familiar. Your muscle memory carries over, but where things live may still surprise you.
Think of a student on a ten-year-old ThinkPad who spent last semester in VS Code: the first hour goes to code, not hunting for menus.
Bring extensions over and set up Python
If you already use VS Code, import your extensions instead of reinstalling each one. Then install the Python extension so the editor understands Python.
Next, create a virtual environment to keep a project’s packages separate from the rest of your system. In your project folder, run python3 -m venv .venv, then activate it with source .venv/bin/activate.
Open a terminal inside the editor and run python3 script.py with the environment active. Seeing it print is the win.
Last, make it look like yours. Aim for a palette that matches your desktop, not one that clashes with it, and use the same monospace font as your terminal.
Consider a hyprland user who runs one dark palette across kitty, waybar, and the editor: switching windows doesn’t jolt their eyes at 2am.
Keeping Cursor up to Date
Staying current is mostly hands-off on Ubuntu, but you’ll want to know the update path for the times you need a specific build instead of the newest one.
Update Cursor on Ubuntu with APT
The installer sets up an APT repository for you, so your package manager already knows where new releases live. The routine is short:
- Run
sudo apt updateto confirm the Cursor repo is working and pull the latest package list. - Upgrade only the Cursor package, not the whole system.
Think of an Ubuntu user who sees a new release land in the middle of a coding session and wants it without touching their browser or drivers. The upgrade takes a minute, and nothing else changes.
Updating just Cursor is a far smaller job than upgrading everything. Quick and contained.
Browse past versions and changelogs
Sometimes the newest build isn’t the one you want. A release might change something your workflow relies on, so you’d rather stay put. Cursor provides downloads for multiple versions, so you can grab an earlier build directly instead of waiting on a fix.
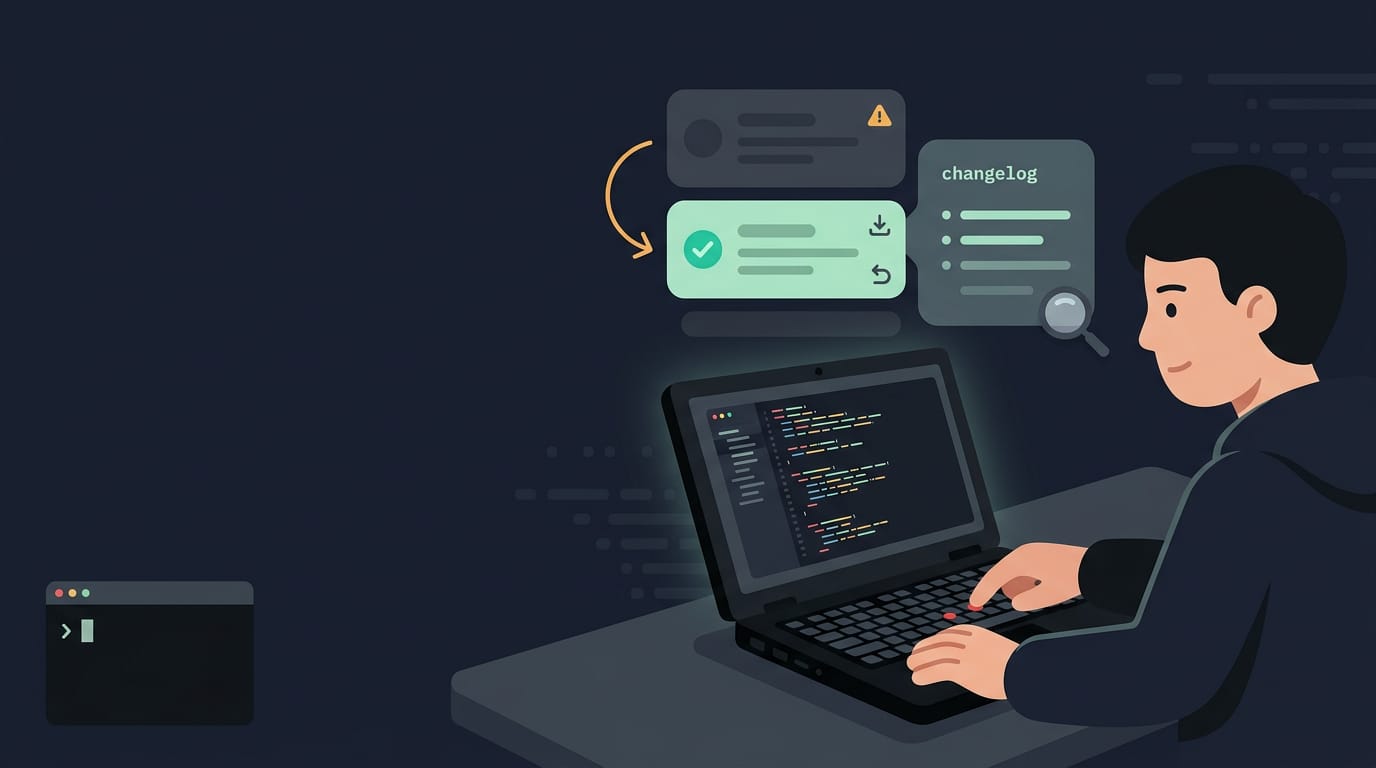
Each release also links to a changelog, so you can check what changed before you install it.
Consider a student running Cursor on a ten-year-old ThinkPad who notices a new build behaves differently on their hardware. They open the changelog, grab the previous version, and keep coding while they wait for a fix.
That’s a build you chose, not one you simply inherited.
When you’re done with a build, uninstall it through your package manager rather than deleting files by hand. That keeps the package records matched to what’s actually on your machine, so removal stays clean.
Use Cursor’s AI Tools Once Installed
Cursor’s AI tools are where it really earns its keep, and they’re easier to pick up than they look.
Shortcuts to generate, chat and edit
Most of your AI work runs through a few shortcuts:
- Generate: Press Cmd/Ctrl + K to ask for new code right where your cursor sits.
- Chat: Press Cmd/Ctrl + L to open a chat panel and ask questions about your project.
- Edit selected code: Highlight a block and describe the change. Cursor targets just that selection rather than the whole file.
- Apply or accept: Cursor shows the proposed change first. Nothing lands until you accept it.
Let an agent plan, search and build
Agent mode goes further. You describe a goal, and the agent works through three stages:
- Plan: It breaks your request into steps.
- Search: It looks through your project for the files it needs.
- Build: It makes the changes across those files.
Agents run on the desktop, in the terminal, or on the web, so you pick the surface that fits.
Starter projects to try first
Small wins build confidence. Think of a Linux user who just finished installing Cursor and wants a quick win first.
- Hello World Python script: Ask for a basic script, run it in the terminal, and check the output.
- HTML/CSS login screen: Describe a simple login form, then open the page in your browser.
- Gradient background: Ask for a gradient behind the login screen and accept the change if you like it.
By the end, they’ve used generate, chat, edit, and accept without risking a real project.
Why Choose Cursor and Related Tools
Cursor is an editor with AI built in, so the real question is whether it earns a spot on your machine. Here’s what it brings, and what we’d pair with it.
What you gain from Cursor
Four strengths stand out:
- AI code assistance: Help with writing and understanding code lives right in the editor, so you won’t bounce to a browser for every question.
- Multi-language support: One editor covers the languages you already switch between, so you’re not juggling tools per project.
- Cross-platform availability: The same editor runs on Windows, macOS, and Linux, so your workflow travels with you.
- VS Code-inspired interface: If you’ve used VS Code, the layout feels familiar from the first launch.
Consider a Linux user who splits time between a desktop and a ten-year-old ThinkPad. Because the layout matches on both, they spend their time coding instead of relearning menus. Same editor, less friction.
Tools to pair with Cursor next
Once the editor feels like home, these companions fill the gaps.
- Apidog for API workflows: If your project talks to web services, Apidog lets you work with those endpoints next to your code.
- Bring your own API keys: Connect your own provider keys, so your usage runs through an account you manage.
- Bypass usage limits: Your own key is also a practical way around built-in usage limits, but check your provider’s terms and rates first.
Think of a Linux student building a small REST API for a class project. Apidog handles endpoint testing while Cursor runs on their own key, so a late-night debugging session doesn’t stall at a usage cap.
Once you’ve matched the right file to your system, set up the basics, and kept an eye on updates, Cursor should feel like a tool you can trust every day.
A clean install is the foundation for everything that follows, so those few extra minutes now pay off in every session.
Don’t skip the Linux touches either. Your launcher and theming are what make the app feel like it belongs on your desktop. Get those right, and Cursor just works.
Read next.
Vscode Install Guide for Windows, macOS, and Linux
VS Code install takes minutes; choose the right method for Windows, macOS, or Linux, verify your first launch, then add extensions and source control.
VLC Media Player Install Guide for Ubuntu
Install VLC media player on Ubuntu with APT, Snap, Software, or a PPA, then verify the setup and add codecs to play videos that would not open.
Is VSCode Open Source? The License Explained
Is VS Code open source? The source is MIT-licensed, but Microsoft's branded build isn't. See which open-source editors support your extensions.