Install FFmpeg on Windows, Start to Finish
Install FFmpeg on Windows with manual PATH setup or winget, Chocolatey, and Scoop. Verify the command and fix common errors without developer tools.
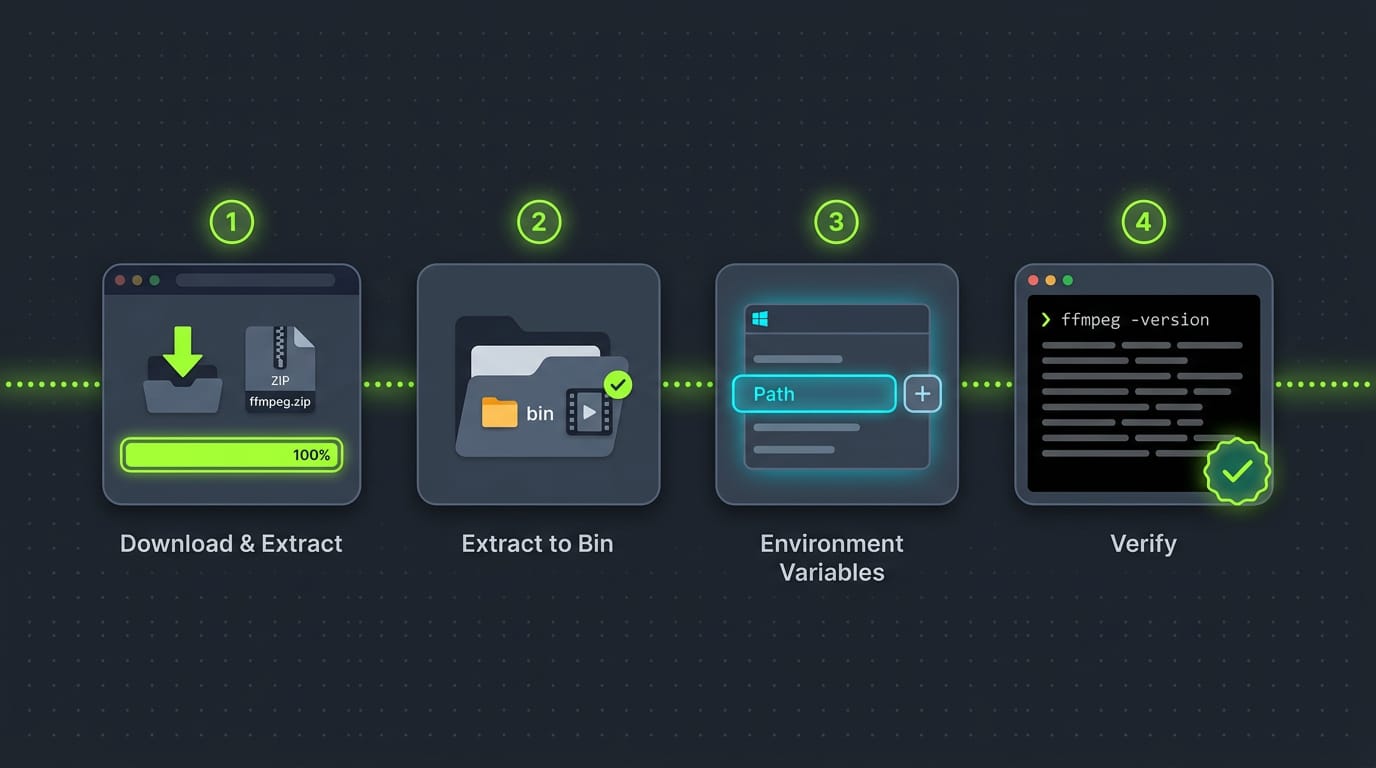
tl;dr the short answer
FFmpeg is a free command-line tool for converting, cutting, and compressing audio and video, and Windows does not include it by default. Install it manually by adding its bin folder to PATH, or use winget, Chocolatey, or Scoop to simplify setup; then open a fresh terminal and check `ffmpeg -version` and `where.exe ffmpeg`. Choosing the method that fits your needs makes FFmpeg ready for everyday media tasks and easier to update or troubleshoot.
Think of FFmpeg as the utility drawer of the media world: it’s rarely flashy, but it’s usually the tool that converts, trims, or compresses your clip.
Windows doesn’t include it, so the first step is getting it onto your machine and telling your system where to find it. The good news is that you don’t need to be a developer to do this.
We’ll cover manual setup with PATH (the list of folders Windows searches for commands) plus three package managers: winget, Chocolatey, and Scoop. Then you’ll learn how to verify the install, fix common errors, and keep it updated.
Before You Install FFmpeg on Windows
FFmpeg is a free command-line tool for converting, cutting, and editing audio and video. This is less about whether your computer can run it and more about which setup suits you, so we’ll keep the prep quick.
Checking your Windows version and specs
Start with your Windows version, since it decides whether winget is an option.
The Windows Package Manager (winget) is Microsoft’s built-in installer, and Microsoft’s official instructions for WinGet installation confirm that “WinGet is included by default in Windows 10 (version 1809 and later) and Windows 11.” Here’s what to check:
- Operating system. Aim for Windows 11, or Windows 10 version 1809 or later. Older builds need a closer look.
- Storage space. The tool doesn’t take much room, but the videos you process can. Check your free space before you start.
- Processor and memory. Most modern computers handle everyday conversions easily. Heavier jobs, like encoding long, high-resolution videos, lean on your processor (CPU) and memory (RAM), so more of both means less waiting.
Admin rights and tools to have ready
Have these ready before you start:
- Administrator access. Sign in with an account that can approve admin prompts, since some install steps need it.
- A ZIP utility. 7-Zip is a free choice for unpacking downloaded archives.
- A terminal. Windows Terminal, PowerShell, or Command Prompt all work.
Think of a Linux user who just moved a video project onto a Windows laptop and wants their familiar ffmpeg commands to carry over.
With FFmpeg installed and a terminal open, those commands work with little relearning, so the workflow stays intact. That’s the whole checklist.
Installing FFmpeg Manually on Windows
Manual installs take a few more clicks, but you control the build and location.
Picking the right FFmpeg build to download
The FFmpeg.org download page links to Windows builders such as gyan.dev and BtbN on GitHub. gyan.dev offers essentials (common codecs) and full (extra libraries) builds. Grab the one you need, not the biggest.
If you get a shared build, its programs need dynamic link library (DLL) files beside them, so keep the whole bin folder together.
Check the SHA256 (Secure Hash Algorithm 256) checksum against the builder’s published value using Windows’ built-in certutil -hashfile. A mismatch means don’t run it.
Last, check the license. GPL (GNU General Public License) builds include components that LGPL (GNU Lesser General Public License) builds leave out, which matters if you ship FFmpeg in your own app.
Unzip FFmpeg somewhere it will stay
Aim for C:\ffmpeg. Extract the zip into C:\, then rename the versioned folder it creates to ffmpeg. Do that once and forget it.
Picture a Linux user on a borrowed Windows laptop who wants ffmpeg in their terminal. A fixed path like this keeps their scripts working.
Avoid Downloads and OneDrive folders, since cleanups and sync can move files.
Adding FFmpeg to your PATH
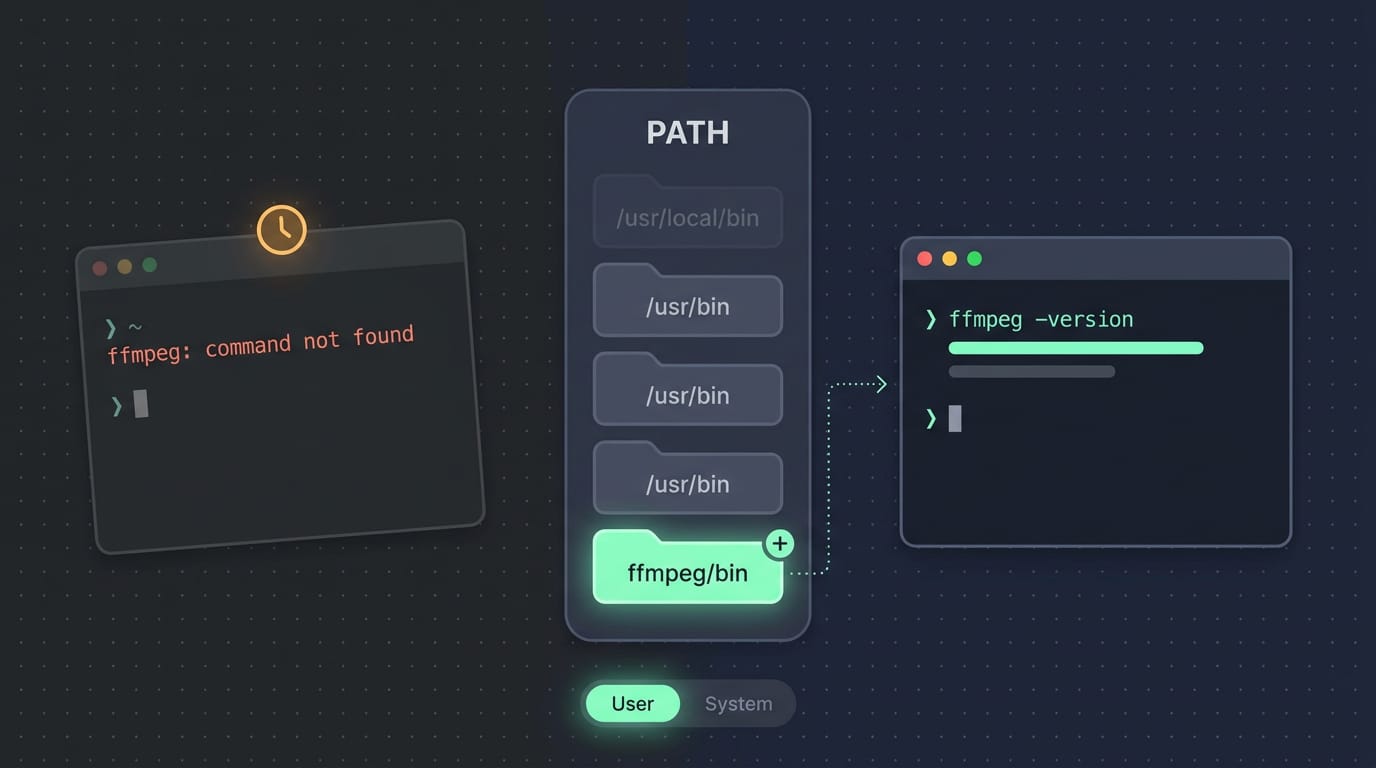
PATH lists the folders Windows checks when you type a command.
- Search Start for “environment variables” and open Edit the system environment variables.
- Click Environment Variables, select Path, and click Edit.
- Click New, paste the bin folder’s path (
C:\ffmpeg\bin), then click OK on each dialog.
User PATH covers your account, while System PATH covers everyone on the machine.
Terminals that were already open keep the old PATH, so open a fresh one.
Using a Package Manager on Windows
A package manager downloads and installs software for you, and most also set up your PATH (the list of folders Windows checks when you type a command).
Installing FFmpeg with winget
Winget (the Windows Package Manager) is the quickest route. Open a terminal and run winget install --id Gyan.FFmpeg --exact.
The --id flag targets the exact package ID, and --exact keeps winget from matching a similar name. Winget also adds FFmpeg to your PATH for you. After installing, reopen your terminal, since PATH changes only reach new windows. That’s it.
Using Chocolatey or Scoop instead
Chocolatey installs system-wide from an administrator PowerShell window: choco install ffmpeg -y. Installing Chocolatey itself also needs admin rights.
Scoop installs into your user profile, so it usually skips the admin prompt: scoop install ffmpeg. Its one-time setup puts a shims folder (a folder of small launcher files) on your PATH, so later installs need no PATH edits.
Both suit scripting. Picture a Linux user who keeps their shell setup in git and needs a Windows machine for video work. One line in a bootstrap script in their dotfiles repo gives the new machine FFmpeg the same way every time.
Comparing the install methods side by side
| Method | Command | PATH handling | Best fit |
|---|---|---|---|
| winget | winget install --id Gyan.FFmpeg --exact |
Automatic | Quick setup on a fresh install |
| Chocolatey | choco install ffmpeg -y |
Automatic | Admin-managed machines |
| Scoop | scoop install ffmpeg |
Shims folder, set up once | Per-user and dotfile-driven setups |
All three get you a working ffmpeg command, but they differ in how they put it there. Pick the row that fits and move on.
Checking That FFmpeg Installed Correctly
Before you convert anything, make sure Windows can find FFmpeg and that it’s the build you expect. The goal is to confirm which FFmpeg runs, not just whether one exists.
Commands to check the FFmpeg version
Open a fresh terminal first, because an older window may not have picked up the updated PATH (the list of folders Windows searches for programs). Then run these:
- Version:
ffmpeg -version. The first line should begin withffmpeg versionfollowed by your build’s version string. - Location:
where.exe ffmpeg. This prints the full path of eachffmpeg.exethat Windows can find. If you get more than one line, you have two installs to sort out. - ffprobe:
ffprobe -version. ffprobe is the companion tool for inspecting media files, so run it too and confirm it reports the same build.
If you use Git Bash or MSYS2, run the same checks there. Those shells keep their own PATH, so they can find a different FFmpeg, or none at all, even when PowerShell works fine.
Once the version checks pass, look at what your build can do. Its list of encoders and hardware acceleration support shows whether it can use your GPU, which matters when you’re encoding long videos.
Consider a Linux user who moved a batch script from their laptop to a Windows workstation. The script calls ffmpeg by name and fails on the first file.
A fresh terminal and one where.exe check confirm FFmpeg is reachable, and the job runs overnight unattended. Two quick commands save the whole night.
Fixing Common Windows Install Problems
Most install hiccups come down to a few usual suspects, so we’ll check those first.
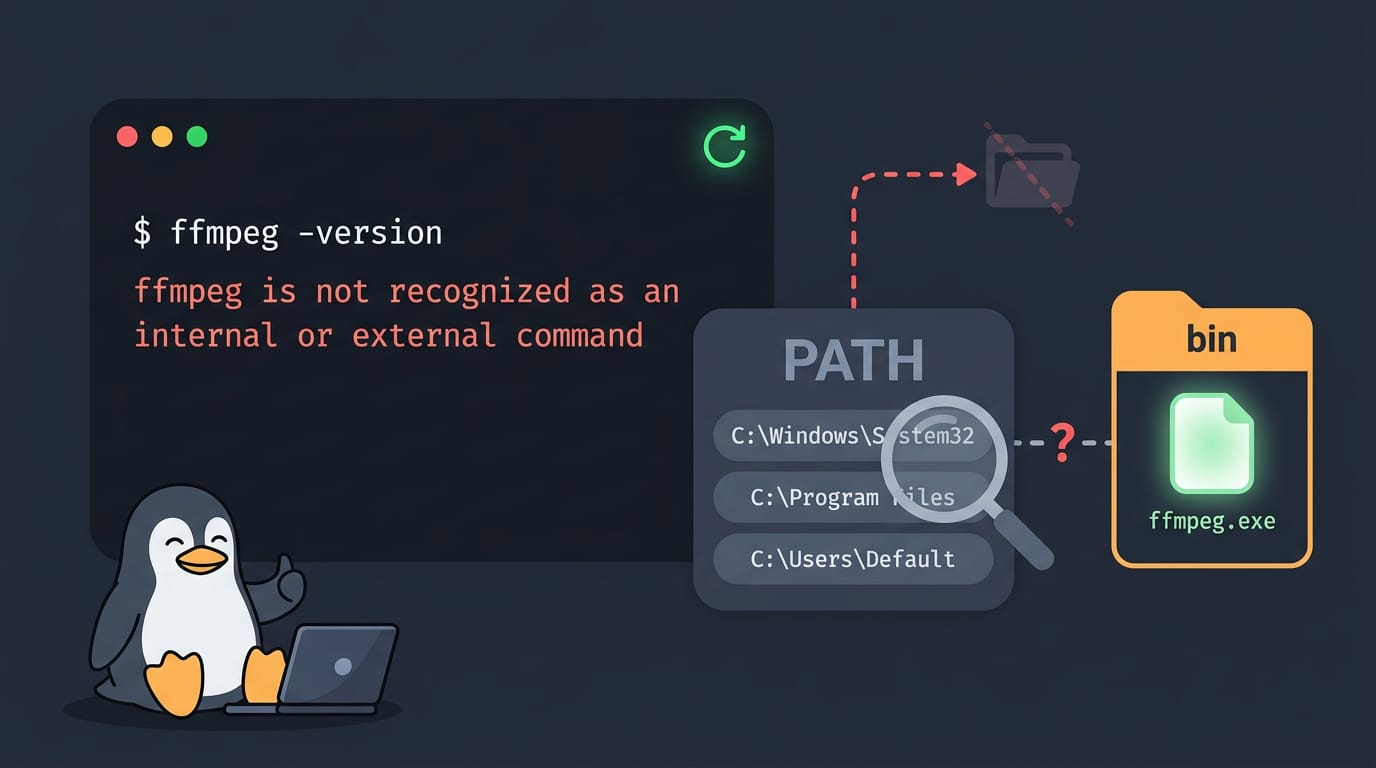
Why ffmpeg is not recognized in Windows
When ffmpeg isn’t recognized, the terminal can’t find it in any folder listed in your PATH, the list of places it searches for commands. The usual culprits:
- Wrong PATH folder. The entry must point to the folder that directly holds
ffmpeg.exe. - Terminal not restarted. Open terminals read PATH only at startup, so open a new one.
- Editing wrong PATH scope. Windows keeps a user PATH for your account and a system PATH for everyone. Edit the wrong one and your change won’t stick where you need it.
- Restart VS Code. VS Code’s terminal keeps the old PATH until the editor restarts.
Think of a Linux user working on a Windows machine who extracts FFmpeg and hits that error. The download was fine. It needed a fresh start, not a reinstall.
Risky ways to edit your PATH
Command-line edits are quick but risky:
- setx truncation problem.
setxcan truncate a long PATH, so entries at the end can disappear. - PowerShell user-scope command. Writing to the user scope can overwrite your PATH if you don’t build on the existing value.
- Inspect current PATH. Read what’s already there, in both scopes, before you edit.
Read first, edit second.
Quick checks to run first
- Confirm
ffmpeg.exeexists. Open the folder you think holds it and check. - Re-verify the PATH entry. Confirm it points to that folder, in the scope you meant.
- Restart your computer. A full reboot makes every app load the updated PATH.
Work through them in order, and stop once ffmpeg runs.
Putting FFmpeg to Work After Installing
Once ffmpeg -version works, here’s what you’ll actually use it for.
Everyday commands and Python or Node tools
Three commands cover most daily work:
- Convert.
ffmpeg -i clip.mkv clip.mp4changes the format, since the output extension picks it. - Extract audio.
ffmpeg -i clip.mp4 -vn audio.mp3uses-vn(no video) to keep only the sound. - Compress and make GIFs. Compression trades time for size:
ffmpeg -i screen.mov -crf 28 screen.mp4re-encodes (rewrites) the video, and a higher-crfshrinks it further at some cost to detail. For GIFs (looping animations),ffmpeg -i clip.mp4 -vf "fps=10,scale=480:-1" clip.gifcuts the frame rate and width.
Consider a Linux user who’s on Windows for one game. One line in Windows Terminal shrinks their screen recording, with no point-and-click app needed.
Python and Node wrappers still call the ffmpeg binary underneath, so if it isn’t on your PATH (the folders your terminal searches for programs), they have nothing to run. Install the binary first.
Running FFmpeg on servers and the cloud
Continuous integration (CI) runners are the machines that run your builds. Add the winget or Chocolatey install from earlier to their setup step, so every build starts from a known binary.
A cloud API (a web service your code calls) does the conversion for you: upload a file, get the result back. The trade-off is that your files leave your machine.
Serverless functions on Amazon Web Services (AWS) Lambda hit hard ceilings. According to Middleware’s AWS Lambda limits guide, “Function timeout is fixed at 900 seconds (15 minutes) per invocation, and there’s no way to raise it, even by request.”
Deployment-package limits can also constrain FFmpeg workloads, so check your binary’s size before deploying. Long jobs belong on a server.
Updating or Removing FFmpeg Later
Sooner or later you’ll want a newer build, or you’ll want FFmpeg gone. Match the steps below to how you first installed it, because we split each job by installer.
Updating FFmpeg to a newer version
Your update command depends on the installer you used:
- winget: run
winget upgradeto see which packages have newer versions, then upgrade FFmpeg from that list. - Chocolatey: run
choco upgrade ffmpeg. - Scoop: run
scoop update ffmpeg.
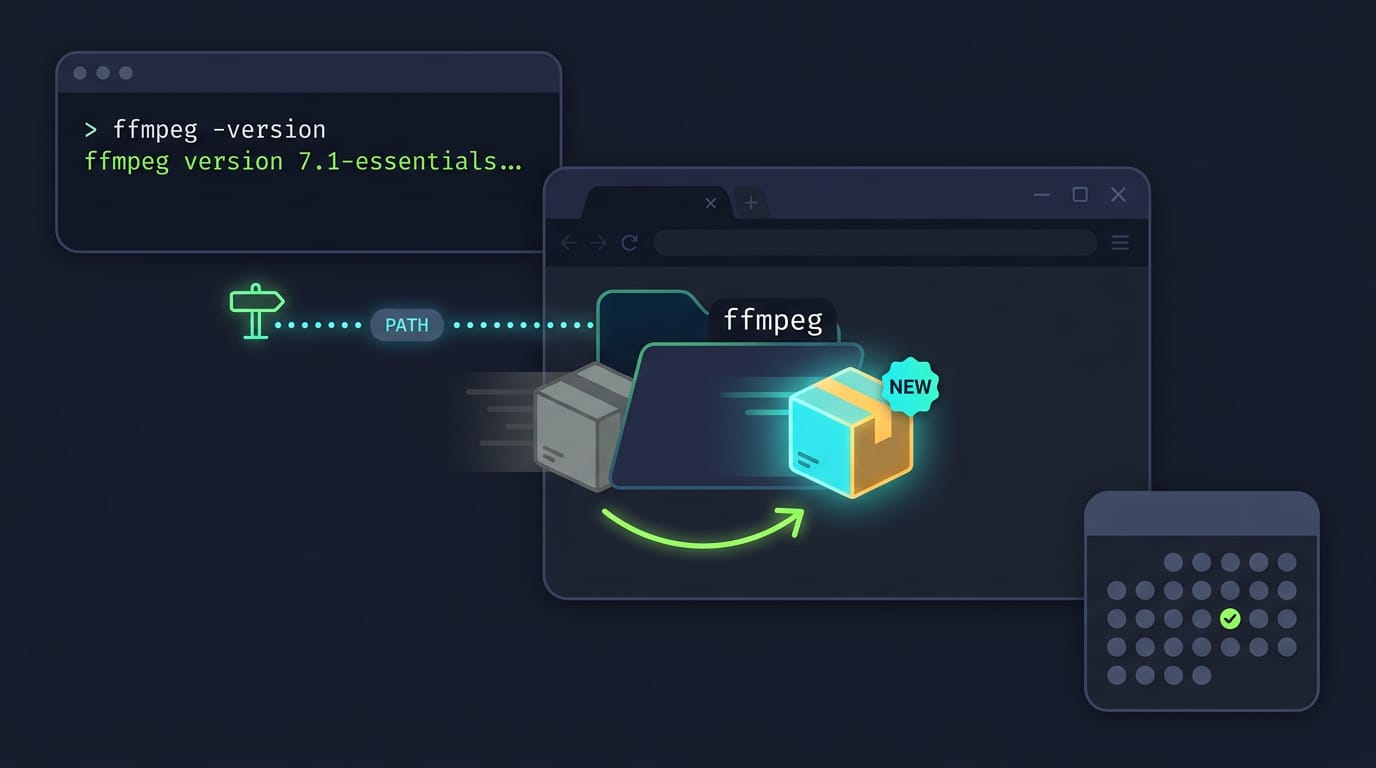
If you installed manually, download the newer build, extract it, and replace the old folder’s contents. Keep the same location so your PATH (the list of folders Windows checks when you type a command) still finds it.
Think of a student who unzipped a build into C:\ffmpeg last spring for a batch video converter. Swapping in the new build takes minutes, and the converter keeps working because nothing moved.
Either way, run ffmpeg -version to confirm the new number. Make it a monthly habit: pick a day, run your upgrade command, and check the version. Staying current beats scrambling when a project suddenly needs a newer feature.
Removing FFmpeg from your system
Removal has three parts, and you only need the ones that match your install.
- winget uninstall: run
winget uninstallfollowed by the package name you installed with. - Delete folder: if you installed manually, delete the folder you extracted FFmpeg into.
- Remove PATH entry: open Edit the system environment variables from the Start menu, choose Environment Variables, select Path, and delete only the FFmpeg entry. Leave the other entries alone, since other tools rely on them. Double-check before you save. Then open a new terminal, because existing windows keep the old PATH.
Windows Quirks That Trip People Up
Most FFmpeg trouble on Windows comes from paths, quotes, and file locations, so here’s what we’ll watch for.
Pitfalls with paths and quote marks
Paths trip people up inside a filter graph, the -vf string that describes your edits. The colon in a drive letter like C: can be read as an option separator, so escape it as C\:.
PowerShell handles quotes differently. Double quotes let it expand $variables, while single quotes pass text through literally. Wrap any path with spaces in quotes.
Windows has a traditional 260-character maximum path length. Microsoft’s Q&A thread on long file names explains that longer paths require the relevant Windows setting and app support, and that the common limit can still affect everyday file operations.
Consider a Linux user whose batch script sits four folders deep in synced cloud storage. Moving it to C:\media shortens the paths. Short paths, smooth runs.
Running FFmpeg inside WSL instead
If the quirks keep biting, WSL gives you a Linux shell. The question is less about whether FFmpeg runs and more about where your files live.
- Install it with apt. In a WSL2 distro,
sudo apt install ffmpeggives you a Linux build from your distro’s package manager. - Cross-filesystem access is slower. Moving data between Windows and Linux filesystems costs time, so keep source and output files on the same side.
- Call ffmpeg.exe from WSL. If you already have the Windows build, run
ffmpeg.exefrom your WSL shell and skip a second install.
Installing FFmpeg on Linux or MacOS
Most Linux distributions and macOS can install FFmpeg through a package manager. Here’s how.
Linux installs using apt, dnf, or pacman
Your package manager does the heavy lifting. Before installing, update the package repository, which refreshes the list of available software, not the software itself.
- Debian or Ubuntu (apt): run
sudo apt update, thensudo apt install ffmpeg. - Fedora (dnf): first enable RPM Fusion, since Fedora’s default repositories ship a limited FFmpeg build. Then run
sudo dnf makecacheandsudo dnf install ffmpeg. - Arch (pacman): run
sudo pacman -Syu, thensudo pacman -S ffmpeg. Use the full upgrade, since refreshing the list alone can leave packages out of step with outdated libraries.
Renting a virtual private server (VPS)? Connect with SSH (Secure Shell): ssh you@your-server-ip. Picture a self-hoster with a small Ubuntu VPS for converting video.
Once they’re logged in, the apt commands above work as written, and the job runs without a desktop. Same commands, different machine.
Installing on macOS with Homebrew
Homebrew is the popular package manager for macOS. If you don’t have it yet, install it from the official Homebrew site, then run:
brew install ffmpeg
That gives you the regular, stable release. Want the newest changes? The HEAD version (brew install --HEAD ffmpeg) builds from the latest development source.
You get features sooner, but expect a longer build that may be less stable. Start with the regular install.
Once FFmpeg is set up, a single command in any terminal can convert, trim, or compress a file. Whether you chose the manual route or a package manager, you now know how to verify it, repair it, and keep it current.
Stick with the method that fits your habits, and check your PATH first whenever something goes sideways. Set it up once, and FFmpeg will be ready the next time a clip needs fixing.
References
- official Microsoft instructions for WinGet installation — learn.microsoft.com (2026)
- How to fix long path / long file names in Windows 11 — learn.microsoft.com (2026)
- AWS Lambda Limits: Complete Guide to Quotas and Workarounds — middleware.io (2026)
Sources
- official Microsoft instructions for WinGet installation - Microsoft Q&A, learn.microsoft.com,
- How to fix long path / long file names in Windows 11 - Microsoft Q&A, learn.microsoft.com,
- AWS Lambda Limits: Complete Guide to Quotas and Workarounds, middleware.io,
Read next.
Cursor Install Guide for Windows, macOS, and Linux
Cursor install is easier when you pick the right file for your OS. Set up Linux AppImage launchers, handle first launch, and keep Cursor updated with ease.
Vscode Install Guide for Windows, macOS, and Linux
VS Code install takes minutes; choose the right method for Windows, macOS, or Linux, verify your first launch, then add extensions and source control.
Install curl on Ubuntu: Check, Verify, and Fix Errors
Install curl on Ubuntu, verify it works, and fix common errors. Compare apt with snap, check how updates work, and learn when curl | sh is safe.