Install macOS from USB: Complete Step-by-Step Guide
Install macOS from USB with clear steps for downloading the installer, creating a bootable drive, and starting setup on Intel or Apple Silicon Macs.
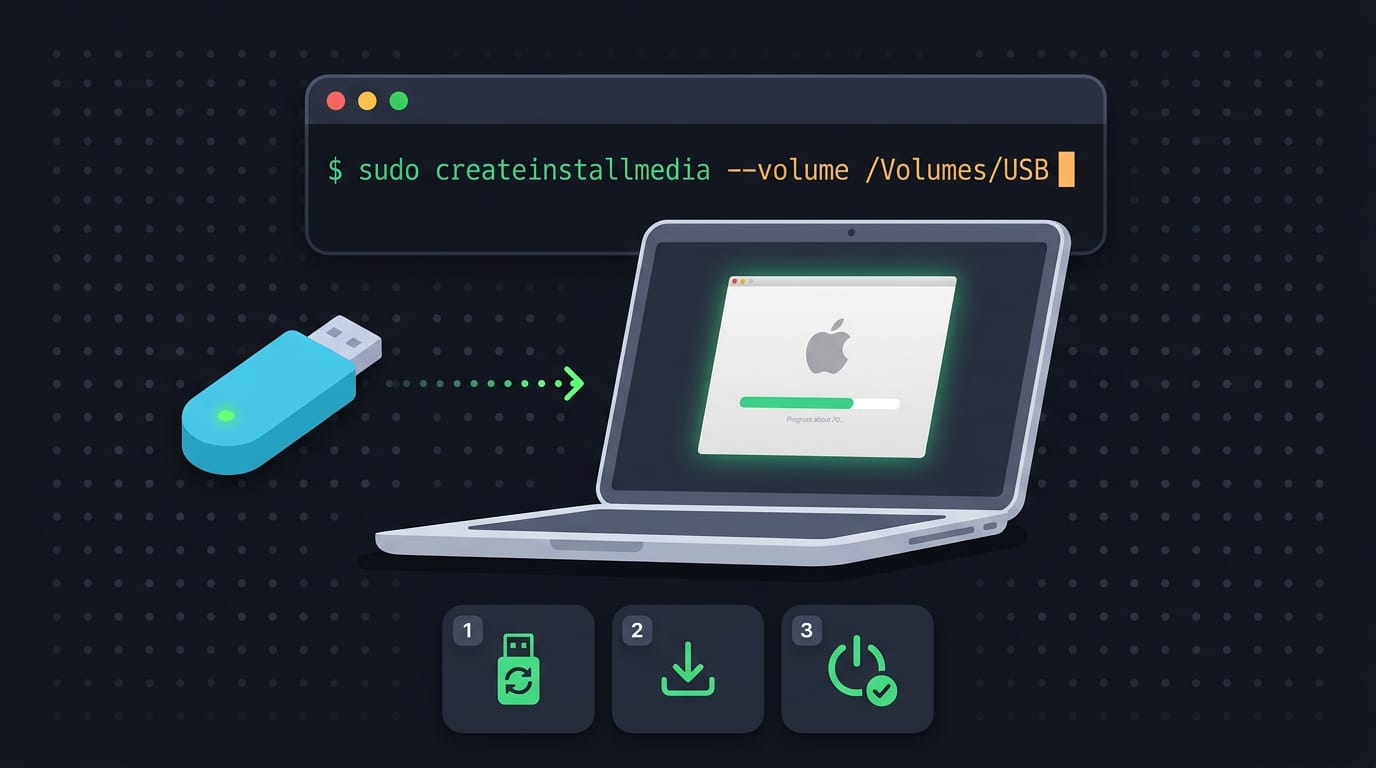
tl;dr the short answer
Installing macOS from USB means starting a Mac from a drive containing the full macOS installer, so you can reinstall or upgrade without downloading it during setup. Download the compatible installer on a Mac, use createinstallmedia to make a bootable drive, then start from it with the correct steps for Intel or Apple Silicon; the process erases the USB and may require erasing the Mac’s target disk or allowing external boot. Preparing the drive in advance and checking backups, security settings, and chip type helps make an offline install more reliable.
Picture moving into a new apartment with a box of furniture and no instructions. You could figure it out, but clear steps save a lot of frustration.
Installing macOS from a USB drive works the same way, giving you a clean install you control from the very first boot.
This guide covers the whole job: downloading the installer, building a bootable USB drive with the createinstallmedia command, booting Intel and Apple Silicon Macs, and the erase, security, and troubleshooting steps other guides tend to skip.
We’ll also flag what to watch for if you dual boot or work from a Linux machine.
Reasons to Install MacOS from USB
A bootable installer is a USB (Universal Serial Bus) drive with a full copy of macOS that your Mac can start from. Here’s when it earns its spot.
Situations where a USB installer helps
You’ll reach for one when:
- Offline upgrade or restore: you can upgrade or reinstall without downloading macOS again.
- Spotty or no internet: a slow or dead connection won’t stall the install.
- Re-enroll in MDM afterward: once the install finishes, re-enroll the Mac in MDM (mobile device management, the system workplaces and schools use to control their Macs).
- About twenty minutes of setup: budget that much time so you aren’t rushed mid-install.
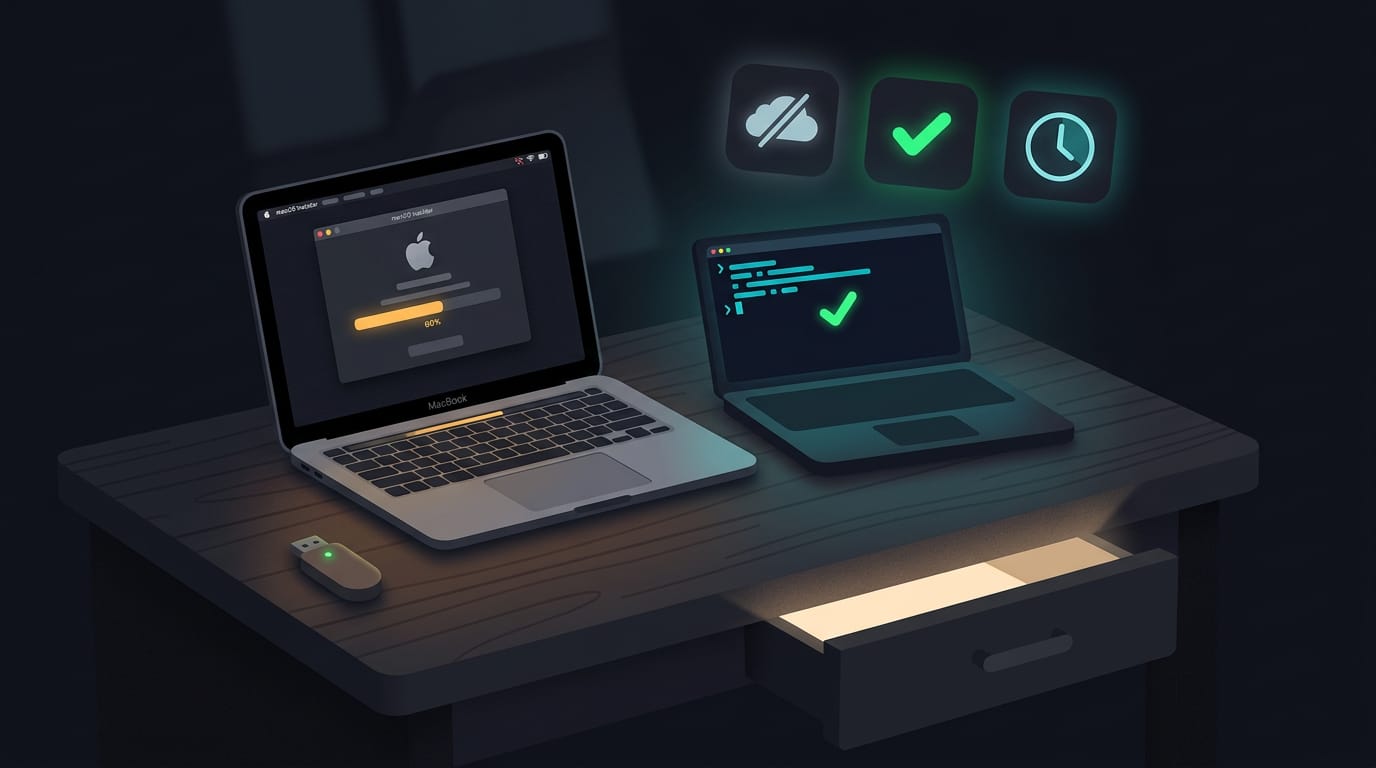
Think of a Linux user who keeps a Mac for the one app they can’t replace. One night it stalls partway through an update and the Wi-Fi is down, but their USB installer is already in a drawer.
They restore the machine and get back to work without waiting on a download.
Prepare early and check Mac compatibility
Create the installer before anything goes wrong, on a calm afternoon while the Wi-Fi still works. The win is preparing before trouble hits, not scrambling during it. Trouble rarely sends a warning first.
This method works with El Capitan and every macOS release after it, so check your version first. Intel and Apple Silicon Macs both qualify, but they start up from the drive differently, so note which chip you have before you begin.
Those boot steps get their own sections later in this article.
What You Need to Get Started
Before we touch a terminal, make sure you have three things ready. Each one is quick to confirm, and checking them now saves you from stalling partway through.
The drive, installer, and admin access
Gather these before you start:
- A USB (Universal Serial Bus) drive, 16GB or larger. This stick becomes your installer, so anything smaller won’t work.
- The macOS installer app. This is the package that holds the operating system files you’ll copy onto the drive.
- Administrator access to the Mac. This is an account with the rights to make system-level changes, which a standard account doesn’t have.
Think of a Linux user who keeps a spare Mac around for testing and does most of their work on a Linux laptop. They dig a 16GB stick out of the junk drawer, and there’s no shopping trip required.
The admin check is easy to overlook. Your Mac might have a login, but that doesn’t guarantee it’s an administrator account rather than a standard one.
Confirm which kind you’re signed into, since a standard account won’t have the rights the installer needs. Skip this check and you’ll find out the hard way.
Get the MacOS Installer First
Before you touch a USB (Universal Serial Bus) drive, you need the installer, and Terminal can fetch it without any guesswork. Linux users should note that softwareupdate is a macOS tool, so these commands need a Mac, even if your workflow lives on Linux.
List available installers in Terminal
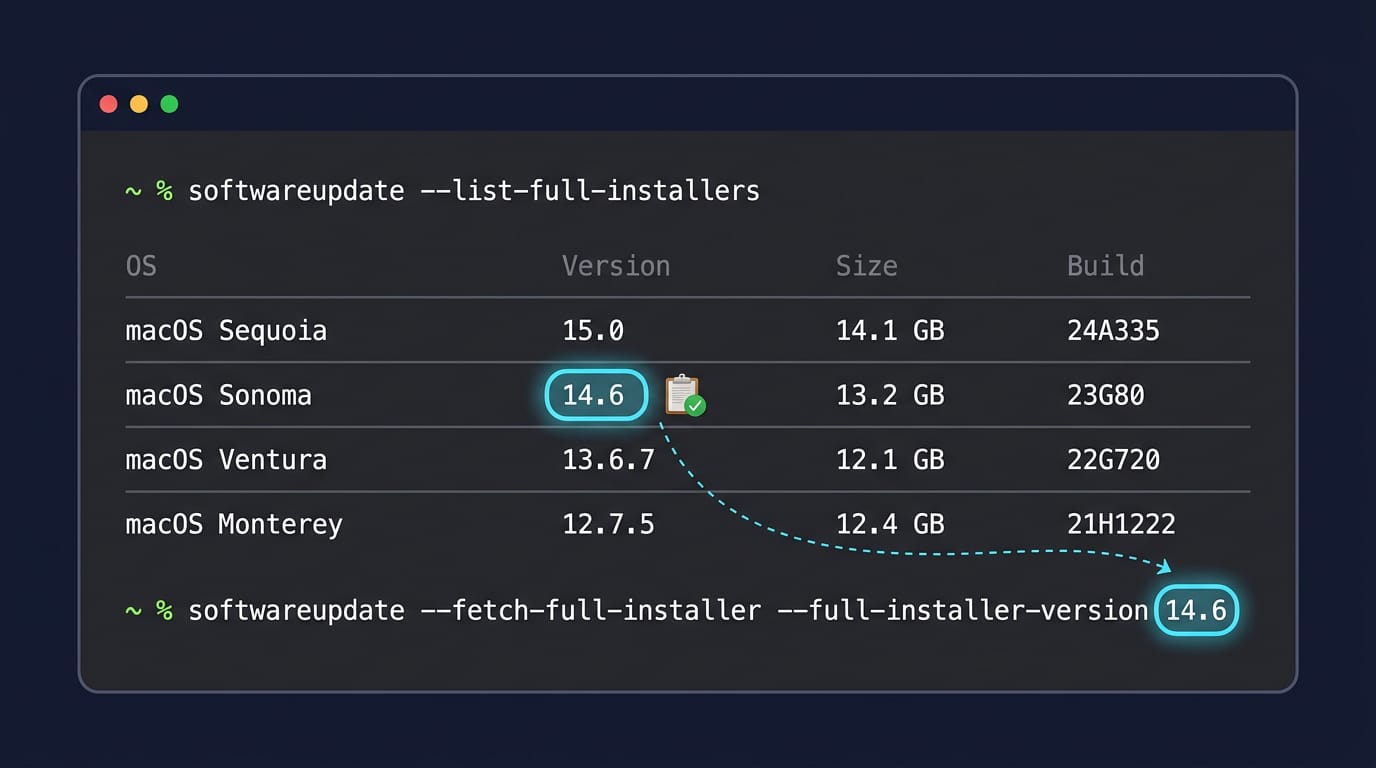
Open Terminal and run softwareupdate --list-full-installers. You’ll get back a list of the full installers available to download, with four details for each:
- OS: the macOS name for that release.
- Version: the number you’ll paste into the next command.
- Size: how much space the download needs.
- Build: the build identifier for that release.
Pick the version you want and copy its number exactly. That number is the only thing the next command needs, so get it right.
Fetch the full installer by version number
Run the fetch command with your version number in place of <version>:
softwareupdate --fetch-full-installer --full-installer-version <version>
Make sure you’re getting the full installer, not a partial one. The full version is the complete package, and it’s what the USB steps ahead will need. Full installers are big, so give the download time.
Consider a Fedora user with an old Mac mini on the shelf. They run both commands on a quiet evening, so the installer is already in your Applications folder when they finally have an hour to build the USB drive.
When the download finishes, the installer app is saved to your Applications folder, ready for the next step. That’s the whole download.
Make a Bootable USB Installer
This is where the installer you downloaded becomes a bootable USB drive. It’s quick, but it erases the drive, so double-check that you’ve picked the right stick.
Run the createinstallmedia command
The work happens in createinstallmedia, a command-line tool that builds the installer on the drive. Here’s the sequence:
- Insert your USB drive and note its volume name, the label it shows in Finder.
- Run
createinstallmediawithsudo, the command that runs a task with administrator rights. - Enter your admin password when prompted.
- Optionally, add the
--nointeractionflag to run the command without stopping for questions along the way.
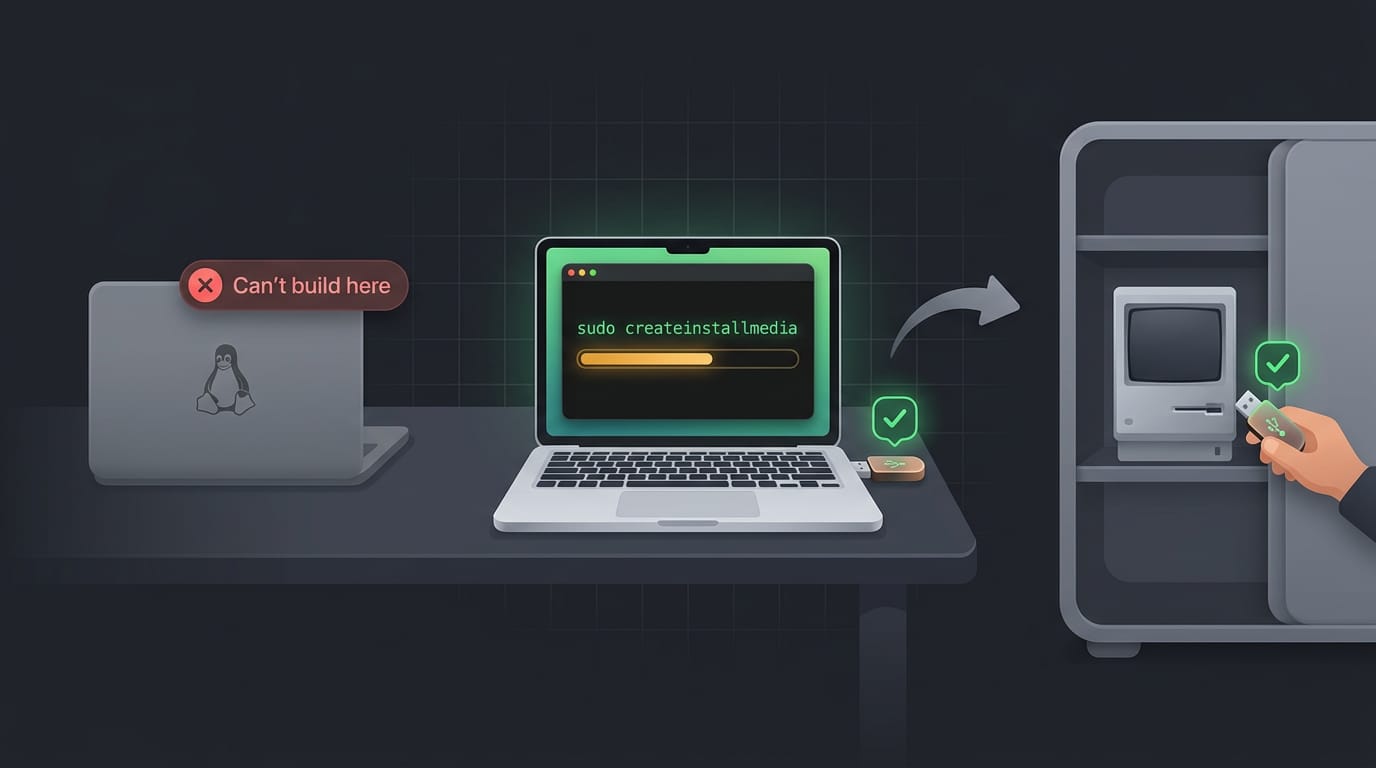
Here’s the catch: createinstallmedia only runs on macOS, not Linux. Say you dual boot Ubuntu on a ThinkPad and need to install macOS on an old Mac in the closet.
Your ThinkPad can’t build the stick, so you’ll borrow a Mac for this one step, then carry the finished drive to the old Mac.
How the copy runs and finishes
Once the command starts, the drive is erased and reformatted as APFS (Apple File System, Apple’s own format), so anything already on it is gone. Expect a wait, because you’re building the stick rather than booting from it yet.
The installer files then copy over, and Terminal shows progress as they move. Let it finish. When the copy is done, you’ll see a confirmation message saying your install media is ready.
Finally, eject the drive safely before unplugging it, and store it somewhere dry and labeled so it’s easy to find when you need it.
Install MacOS from the USB Drive
Your bootable drive is ready, so it’s time to use it. The steps differ by chip, so we’ll cover each one.
Start from USB on an Intel Mac
- Plug in the USB drive, then power on or restart and hold the Option key until the startup options appear.
- Select the USB icon.
- Choose your language if prompted.
- Open Disk Utility from the Utilities window to erase the target disk, then choose Install macOS.
Erasing can wipe Linux partitions, so back them up first. Think of a Fedora dual-booter who backs up before erasing: one wrong click won’t cost them their Linux setup.
If a firmware password prompt appears, have it ready. On Intel Macs with T2 security, you may need to allow external boot first, or the USB drive won’t appear. If the installer is missing or reports as damaged, recheck the drive and recreate it.
Starting up an Apple Silicon Mac
Apple Silicon works differently: the trigger is the power button, not the Option key. Same drive, different button.
Hold the power button as your Mac starts up until the startup options screen appears. Select the Install macOS icon, then follow the on-screen instructions. A firmware password may appear here too, so keep it handy.
Finishing setup after the install
When the install completes, your Mac reboots to the welcome screen. Work through the prompts to finish setup. If it’s a work or school Mac, you may be asked to enroll in MDM (mobile device management, the system an organization uses to manage devices).
A USB installer gives you a clean slate, and the steps here get you there without the usual detours. Download the right installer, build the drive carefully, and work through the erase and security steps before you commit.
Take it one stage at a time and check each result before moving on.
You don’t need to be a terminal expert to pull this off. Stay patient through the boot screens, and you’ll end up with a Mac set up the way you intended. A clean install done right is one you can actually trust.
Read next.
Install Homebrew on macOS and Linux: Complete Guide
Install Homebrew on macOS or Linux, then set the right PATH and verify commands work before adding tools, updating packages, or fixing setup issues.
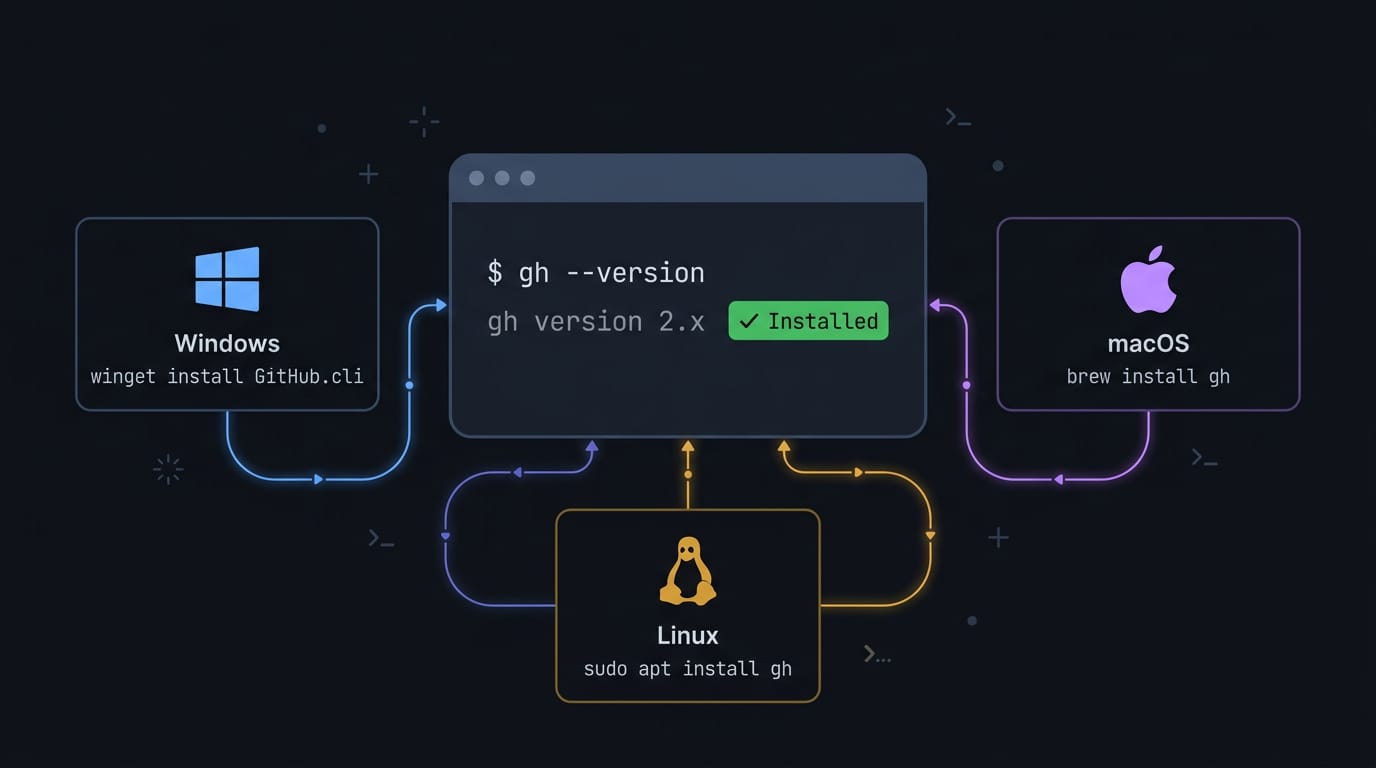
Install gh CLI on Any Platform: Complete Guide
Install gh CLI on your platform with the right package manager, then verify the setup and sign in before bringing GitHub work into your terminal.
Ubuntu Change Password: The Complete Guide for Every User
Change your Ubuntu password safely, whether it belongs to you, another user, or root. Find recovery steps for forgotten passwords and encrypted disks.