Install Homebrew on macOS and Linux: Complete Guide
Install Homebrew on macOS or Linux, then set the right PATH and verify commands work before adding tools, updating packages, or fixing setup issues.
tl;dr the short answer
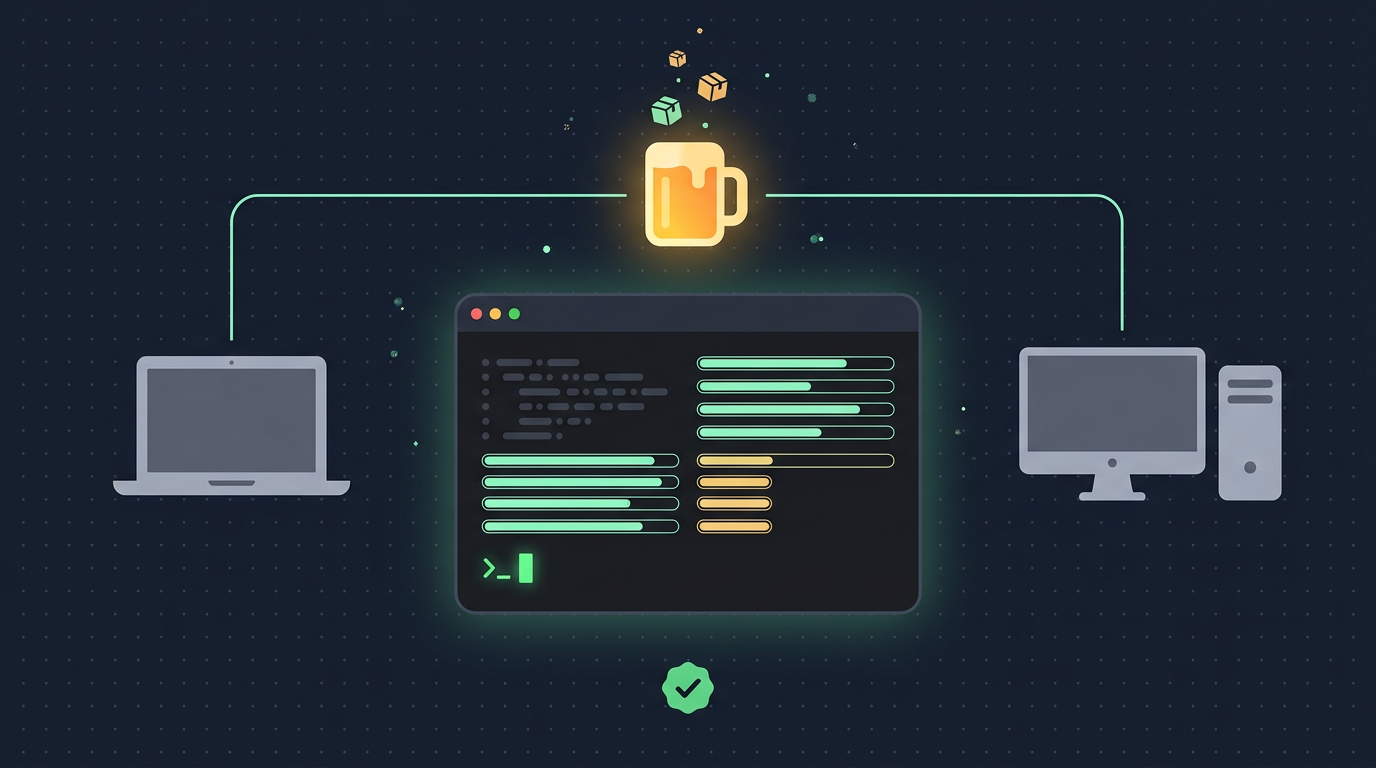
Homebrew is a package manager for installing and maintaining command-line tools and desktop apps on macOS and Linux. Check your system’s prerequisites, run the installer, follow its instructions to add Homebrew to your PATH, and verify the setup with `brew --version` or `brew doctor`; install locations differ by operating system and Mac chip. Once it works, Homebrew lets you find, install, update, and remove software from one place, with a Brewfile to help recreate your setup.
Ever typed a command you were sure you’d installed, only to get ‘command not found’ staring back at you? That’s the moment a package manager earns its keep.
Homebrew installs command-line tools and apps from one central place, and it works on both macOS and Linux.
This guide walks you through prerequisites, the install itself, PATH setup (the list of folders your shell checks for commands), and verification.
Linux users get extra detail on build dependencies, the /home/linuxbrew prefix, and shell config that other guides skip.
How to Install Homebrew
Homebrew is a package manager, a tool that installs and updates command-line software. We’d go in order: check prerequisites, run the installer, finish shell setup, then confirm it works.
Install with the official script
Check prerequisites first. On Linux, the build dependencies differ by distro, so look up the list for yours. Then download the install script from GitHub with curl.
Is it safe to install Homebrew? It’s a reasonable question. The script explains the changes it plans to make and pauses for your approval, and you can read the whole thing before you approve. Read first, approve second.
On macOS, a .pkg installer is also available if you’d rather click through an installer than paste commands.
Finish setup and check it works
When the installer finishes, it prints shell instructions. Follow them, because they add Homebrew to your PATH, the list of folders your shell searches for commands.
On Linux, the install lives under the /home/linuxbrew prefix, and those instructions update your shell config to match.
Picture a student on a ten-year-old ThinkPad running Debian who wants a newer tool than the distro ships. After the shell setup, a fresh terminal finds it with no extra fuss.
- Version check: run
brew --version. A version number means brew is on your PATH. - Doctor check: run
brew doctor, then read its warnings and decide which ones matter for your setup.
The official installation docs cover the rest.
Set a custom mirror before installing
Some teams can’t pull straight from GitHub, so they run an internal mirror of Homebrew/brew. Point the installer at it with the HOMEBREW_BREW_GIT_REMOTE variable, and set it before you run the installer, not after.
Think of a sysadmin at a small office where every laptop sits behind one firewall. One mirror and one variable mean every machine installs from the same source.
Install without Xcode Command Line Tools
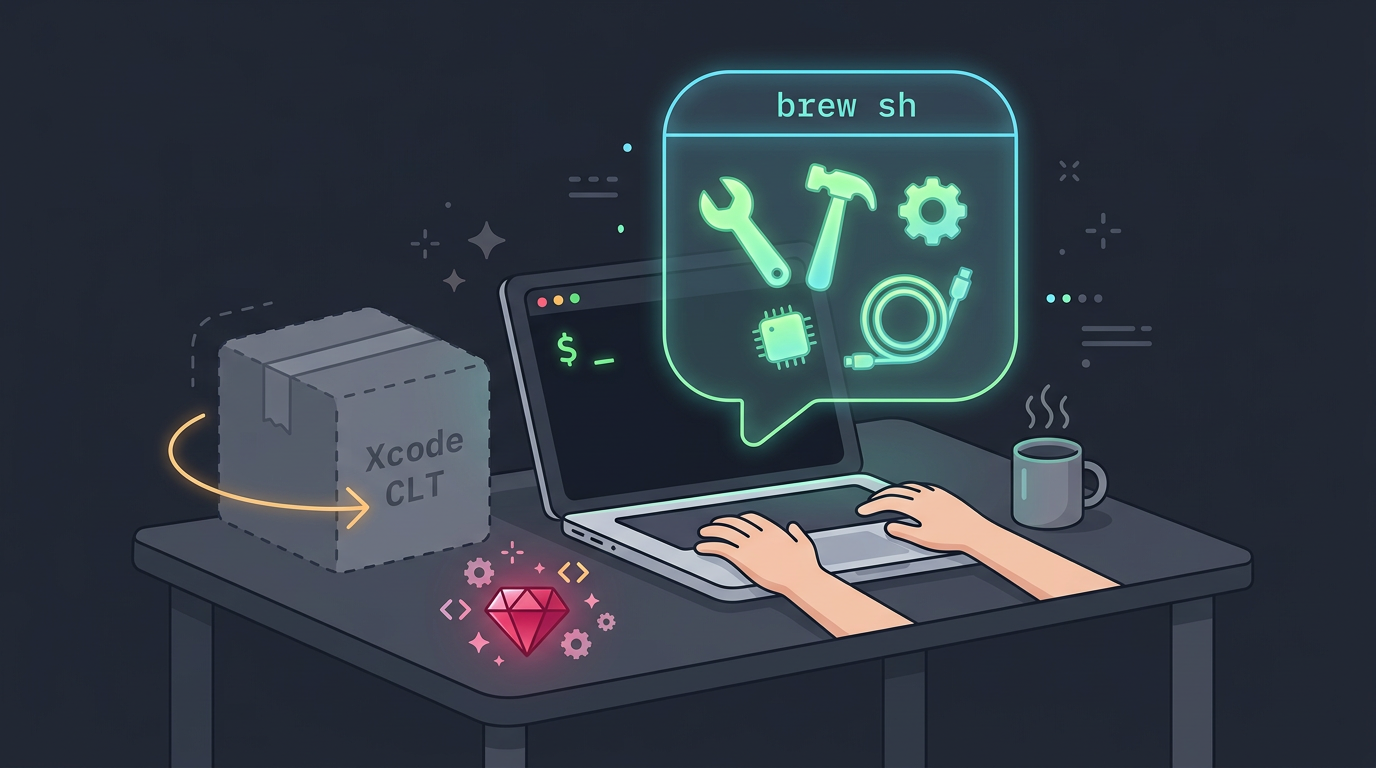
Run brew sh to open a shell with Homebrew’s environment loaded, and gem builds can run from there without the Xcode Command Line Tools (CLT). To load that same environment into your current shell, run eval "$(brew --env)".
Say you’re setting up a fresh Mac for a Ruby project with a gem that compiles native code. Building from brew sh means that step doesn’t need the CLT installed first.
Paths for Each Operating System
Before we run a single command, find out where Homebrew lives on your machine. The answer depends on your chip and your OS.
Default install folders by chip and OS
Your default folder depends on chip and OS:
- Apple Silicon Macs:
/opt/homebrew - Intel Macs:
/usr/local - Linux and WSL:
/home/linuxbrew
Don’t assume /usr/local. It’s the Intel default, and Apple Silicon Macs live elsewhere. Check your chip first.
Consider a student on a ten-year-old ThinkPad running Linux who wants a newer command-line tool without touching system packages. Homebrew keeps it under /home/linuxbrew, so the rest of the machine stays untouched.
Find Homebrew folders with brew commands
Rather than memorizing paths, ask Homebrew directly:
brew --prefixprints the prefix, your install’s base folder.brew --cellarprints the Cellar, where each package gets its own versioned folder.brew --caskroomprints the caskroom, where GUI apps (casks) are staged.
Linking puts a tool on your PATH, the list of folders your shell searches when you type a command. Homebrew unpacks each tool into the Cellar, then links the usable pieces into the prefix.
It’s the difference between where files sit and how your shell reaches them.
How much space does Homebrew take up? There’s no single answer, because the total grows with every package and cask you add, and each one gets its own folder. To measure yours, check the size of the prefix with your system’s disk usage tool.
Share shell config across macOS and Linux
If you keep the same dotfiles on a Mac and a Linux box, one shell config can serve both. Have your config test each default folder and use whichever brew it finds. Detect it, don’t hardcode it.
Once it’s found, eval "$(brew shellenv)" loads PATH and the other variables that install needs, so one set of dotfiles works on both systems.
Enable man pages in Terminal.app
Man pages are the built-in manuals for command-line tools, and Terminal.app can display Homebrew’s copies. Start with the Open man Page menu item, which pulls up a manual by command name.
If a page won’t open, you’ll want to check the MANPATH config file, which lists the folders the system searches for manuals. Homebrew’s man folders have to be on that list.
On Intel Macs, folders under /usr/local can have ownership problems that block man pages. Make sure your user owns them, then retry.
Finding and Installing Packages
Once Homebrew is in place, the fun part is finding tools and putting them on your machine. Here’s how we’ll move from searching to installing.
Search and browse available packages
Start with brew search when you know roughly what you’re after. Running brew search git lists matching formulae, Homebrew’s name for command-line packages. Then brew info git shows the version, a short description, and what the package depends on.
Prefer to browse? formulae.brew.sh lets you scan the catalog in a web browser. Think of a student on a borrowed Mac who needs a class tool. A quick brew info confirms what it does before anything gets installed.
How do I install Git with brew?
One command gets Git, the version control tool developers rely on, onto your Mac: brew install git. Homebrew prefers a bottle, a prebuilt binary, so you download rather than compile. If no bottle exists, it builds from source, which takes longer.
Confirm the install with git --version, and see every command-line formula you’ve installed with brew list --formula.
Picture a Linux tinkerer setting up a borrowed MacBook for a weekend project. Two commands later, they’re cloning their config repo and ready to work.
Install desktop apps with casks
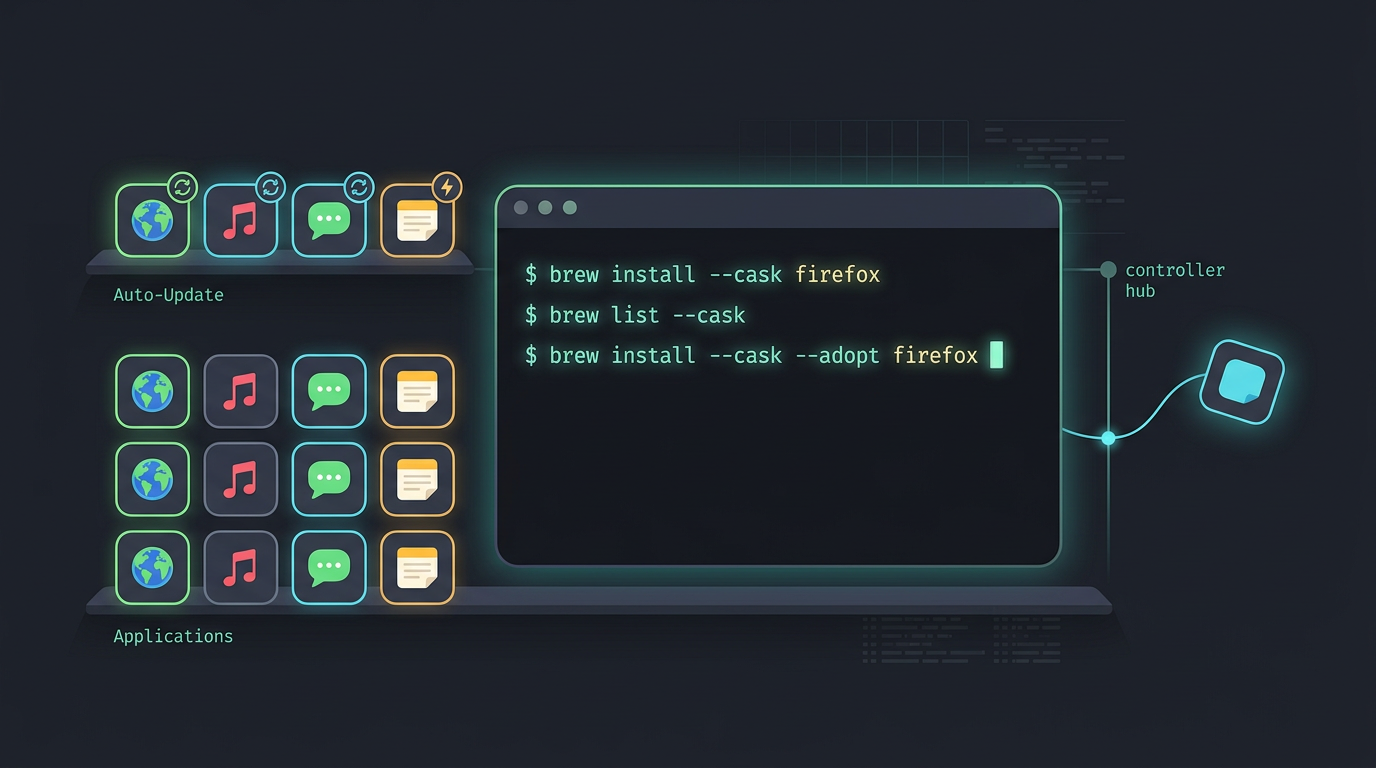
Graphical apps like browsers are casks. Install one with brew install --cask firefox, and list them with brew list --cask.
Watch out for self-updating apps. Many casks update themselves, so plain brew upgrade may skip them. Use brew upgrade --greedy to include them.
Already dragged an app into Applications? Run brew install --cask --adopt firefox to have Homebrew manage it rather than reinstall it. Same app, one manager.
Advanced options for installing packages
A few options help with tougher setups:
- Versioned names. Some formulae come in numbered versions, like
gcc@9, so an older release can sit beside the newest one. - Dependencies only.
brew install --only-dependencies <formula>installs what a package needs without the package itself. - Pre-downloads.
brew fetch <formula>grabs the files now, so the later install skips the download. - brew exec. Use it for running scripts through Homebrew, and check
brew helpto see how your version handles it.
Keep Packages Updated or Remove Them
Installing is the easy part. Keeping tools current and tidy is what keeps Homebrew pleasant.
Update Homebrew and your packages
Start with brew update, which fetches the latest Homebrew and formula list. Then brew outdated shows what’s waiting, and brew upgrade applies it. Add a name, like brew upgrade ripgrep, to update just one package.
Does Homebrew automatically update? Partly. Before install and upgrade, it runs brew update first. To turn that off, set HOMEBREW_NO_AUTO_UPDATE=1 in your shell config.
How do I update my Homebrew? brew update updates Homebrew itself along with the formula list, so one command covers both.
Remove packages and clear old files
Remove unused tools with brew uninstall formula, or brew uninstall --cask name for macOS apps packaged as casks. Then brew cleanup clears old versions and cached downloads.
Check first with brew cleanup --dry-run. It’s a preview, not a purge. Less clutter, same tools.
Unlink packages and move your setup
brew unlink formula removes a package’s links from your PATH without uninstalling it, and brew link formula restores them.
Run brew bundle dump to write a Brewfile, a plain-text list of your installs. On Linux, Homebrew lives in /home/linuxbrew/.linuxbrew by default, so install it there on the new machine first.
Think of a Debian user who spent a weekend tuning their CLI tools. Copying the Brewfile over and running brew bundle install brings the whole toolkit back in one command, not one weekend.
Customize Homebrew to Fit Your Workflow
Once Homebrew runs, you can shape it around how you already work. Here’s how to tune your commands, editor, output, and downloads.
Create shortcuts for brew commands
Long commands get tedious fast. The brew alias command gives a longer command a short name, and a ! prefix runs a shell command instead. Use --edit to tweak aliases by hand later.
Picture a Linux user on a ten-year-old ThinkPad running the same update and cleanup routine every session. One alias turns that routine into a single word.
Use Homebrew from your code editor
Your editor is where most of your day happens, so Homebrew can come along for the ride:
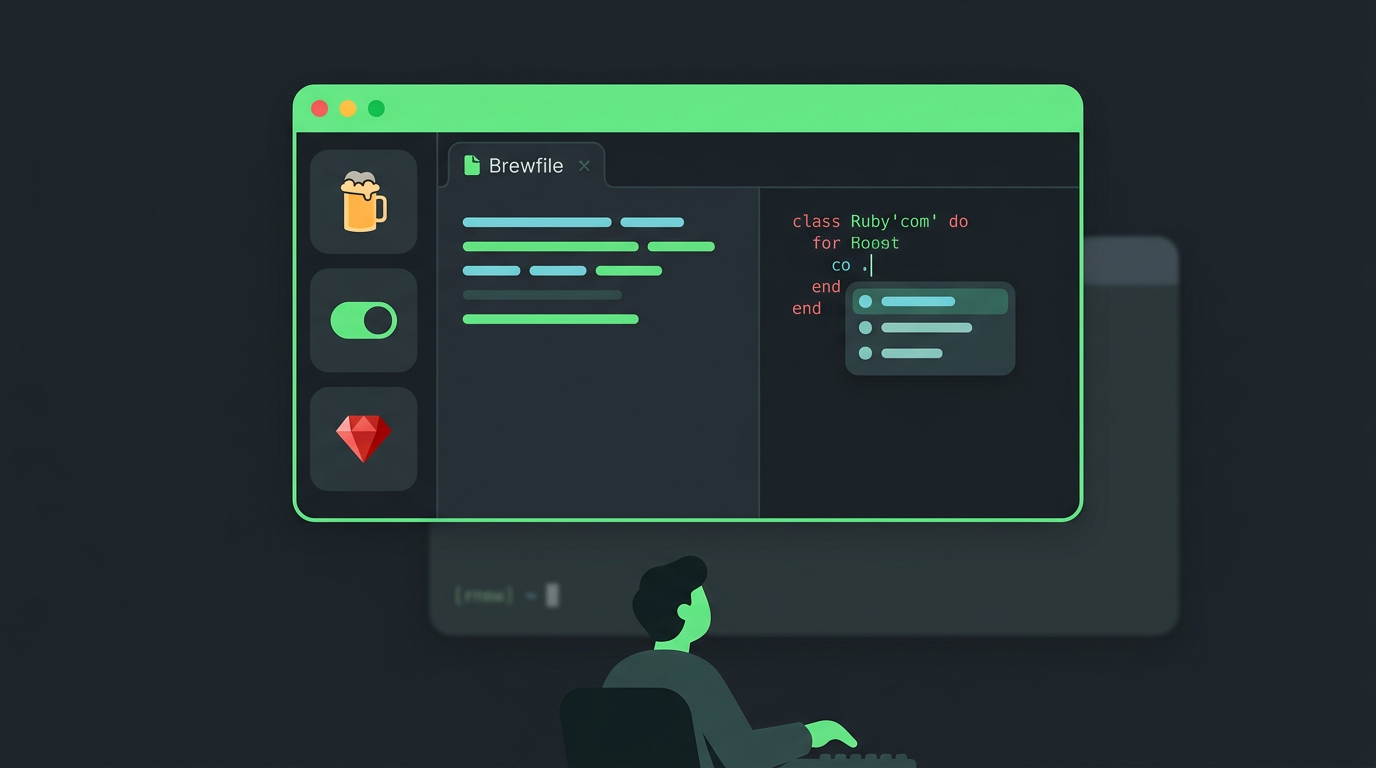
- VS Code: an extension works with your Brewfile (a plain text file listing the packages and services your setup needs) and your services.
- Sublime, Vim, and Emacs: plugins are available for each.
If you write Ruby, the Ruby LSP (language server protocol, the piece that powers completions and error checks) has settings to tune. The aim is changing where you manage packages, not how often you have to think about them.
Tweak Homebrew’s output and shell behavior
Set HOMEBREW_NO_EMOJI in your shell config and Homebrew drops the emoji from its output, leaving plain text that’s easier to scan in logs. A custom install badge lets your installs carry a look of your own.
For a peek under the hood, brew irb opens Interactive Ruby (IRB), a shell with Homebrew’s code loaded. Less noise, same install.
Route downloads through a caching proxy
If you run your own repository manager, such as Artifactory or Nexus, you can route Homebrew through it, since both can cache the files they serve.
Point your bottles (prebuilt packages Homebrew downloads) and API (application programming interface) repos at the proxy, then set the HOMEBREW_API_DOMAIN variables so Homebrew knows where to ask.
Keep the ETag (a version marker servers attach to files) intact, so the cache can confirm nothing changed without re-downloading. A homelab tinkerer with three Linux boxes, for example, fills the cache on the first install, and the other two pull from it.
Hit a 401 (unauthorized) error with Nexus? There’s a workaround for that too.
Troubleshoot Issues and Find Help
When something breaks, you don’t have to guess. Homebrew includes tools that check your setup, plus a few references for deeper answers, and we’ll walk through each one.
Commands to check your setup
Start with brew doctor, a built-in check that scans your install for common problems and suggests fixes. It’s the first place to look when an install goes sideways. Picture a student on an old ThinkPad who gets a wall of red text after a failed install.
Running brew doctor shows which part is broken, so they can fix one thing instead of starting over. That’s one fix, not a reinstall.
When you need help from someone else, run brew config. It prints your system details and Homebrew version, which is the information that makes a bug report useful. Paste that output into your report so whoever reads it has the context they need.
To check a single package, run brew info PACKAGE and swap in the tool’s name. It shows whether the package is installed and which version you’re on, so you can confirm it landed before digging further.
Where to read the official docs
For deeper answers, start with the Homebrew manual, which covers commands and concepts in full. Prefer the terminal? man brew opens the command reference right in your shell.
Consider a homelabber running a headless box over SSH (secure shell) who needs to know what a flag does. One man brew gets them the answer without a browser.
The FAQ (frequently asked questions) collects the questions people ask most often. Odds are, yours is already answered there.
You now have Homebrew installed, your PATH pointing at it, and a way to confirm everything is working. Along the way you’ve also learned what to check before running an install and where to look when something breaks.
Your setup is ready for the tools you actually want, and you can keep it current or trim it back as your needs change. Get the foundation right once, and every tool after it installs without a fight.
Questions
How much space does Homebrew take up?
Homebrew’s total disk usage depends on the packages and apps you install, so there is no fixed size. Check the size of its install prefix with your system’s disk-usage tool; `brew --prefix` shows you where that folder is.
How do I install Git on a Mac using brew?
Run `brew install git` in Terminal. Homebrew usually downloads a prebuilt version; then verify it with `git --version`.
Is it safe to install Homebrew?
Homebrew is generally safe to install when you use its official installer and review its planned changes before approving them. The installer pauses for your approval, and you can read the full script beforehand.
Does Homebrew automatically update?
Homebrew automatically runs `brew update` before `brew install` and `brew upgrade` by default. To disable this behavior, set `HOMEBREW_NO_AUTO_UPDATE=1` in your shell configuration.
Read next.
Install CUDA on Linux: Driver, Toolkit, and Kernel Steps
Install CUDA without guesswork: match the driver to the toolkit, then check Linux, Windows 11, containers, and rollback steps before you start.
Install CMake on Every Major Platform: Complete Guide
Install CMake on Windows, macOS, or Linux with package managers, official binaries, or source builds, then check versions and fix Linux PATH issues.
Install Oh My Zsh: Setup, Themes, and Plugins Explained
Install Oh My Zsh and turn a bare prompt into your own workspace: check Zsh prerequisites, choose a theme, add plugins, and fix common setup issues.