Dual Monitor Ubuntu: Complete Setup and Fixes Guide
Dual monitor Ubuntu setup is straightforward: connect screens, arrange and personalize your desktop, then fix detection, scaling, or layout problems.
tl;dr the short answer
Dual monitor Ubuntu means using two displays with an Ubuntu computer, either as one extended desktop, a mirrored picture, or a single active screen. Connect compatible monitors and cables, arrange them to match your desk, then set each screen’s resolution, scaling, refresh rate, and primary-display status; Ubuntu’s Displays settings handle most setups, while xrandr and desktop-specific configuration offer alternatives. Checking cables and drivers first, then saving and troubleshooting the layout, helps make the setup clear, comfortable, and reliable.
Think about the last time you worked from a laptop with a second screen propped beside it. Suddenly your documents have room to breathe, and nothing needs constant switching. Adding a second monitor to Ubuntu works the same way.
The short answer is that Ubuntu handles two or more displays with little fuss once you know where the settings live. In this post, we’ll cover setup, arrangement, personalization, and fixes for detection, scaling, and persistence problems.
What You Need for Dual Monitor Ubuntu
Many dual monitor headaches start with a port, cable, or driver that won’t work. Check those first.
Monitors and ports you need
You need at least two monitors, each with its own video output. Count your ports before you buy anything:
- Laptop: its video outputs, including any USB-C (USB Type-C) ports that carry video.
- Dock: how many monitors it can drive.
- Desktop: how many outputs your graphics card has.
Think of a student with a ten-year-old ThinkPad who wants slides on one screen and notes on the other. A USB-C dock with a second video port gives them both screens without replacing the laptop.
Choose the right cables and adapters
The main choices are HDMI (High-Definition Multimedia Interface), DisplayPort, and USB-C.
DVI (Digital Visual Interface) and VGA (Video Graphics Array) are older connections with limits, so check the resolution and refresh rate each supports against your monitor.
Go with digital over analog whenever you can. Sharp text matters on a screen you stare at all day.
Use the right adapters when ports don’t match. Each one handles only the signals it’s built for, so read the label before you buy.
Consider someone with an older monitor that only has VGA. The right adapter turns it into a second screen for logs and chat, no new monitor required.
Picking the right graphics driver
Ubuntu ships with open-source drivers built in, and Intel and AMD graphics run on those defaults. Start there, and install extras only when you need them.
NVIDIA cards need a closer look. They offer a proprietary driver you install yourself, which is your next step if the open-source one won’t give you the second screen you need. Check the driver before blaming the cable.
Plug in and Set up Your Screens
A second screen is one of the fastest ways to get more room on your Ubuntu desktop. Follow these steps in order, and you’ll be done in minutes.
Plugging in your monitors
Start by updating your graphics drivers and restarting. Then work through these two steps:
- Power on each monitor.
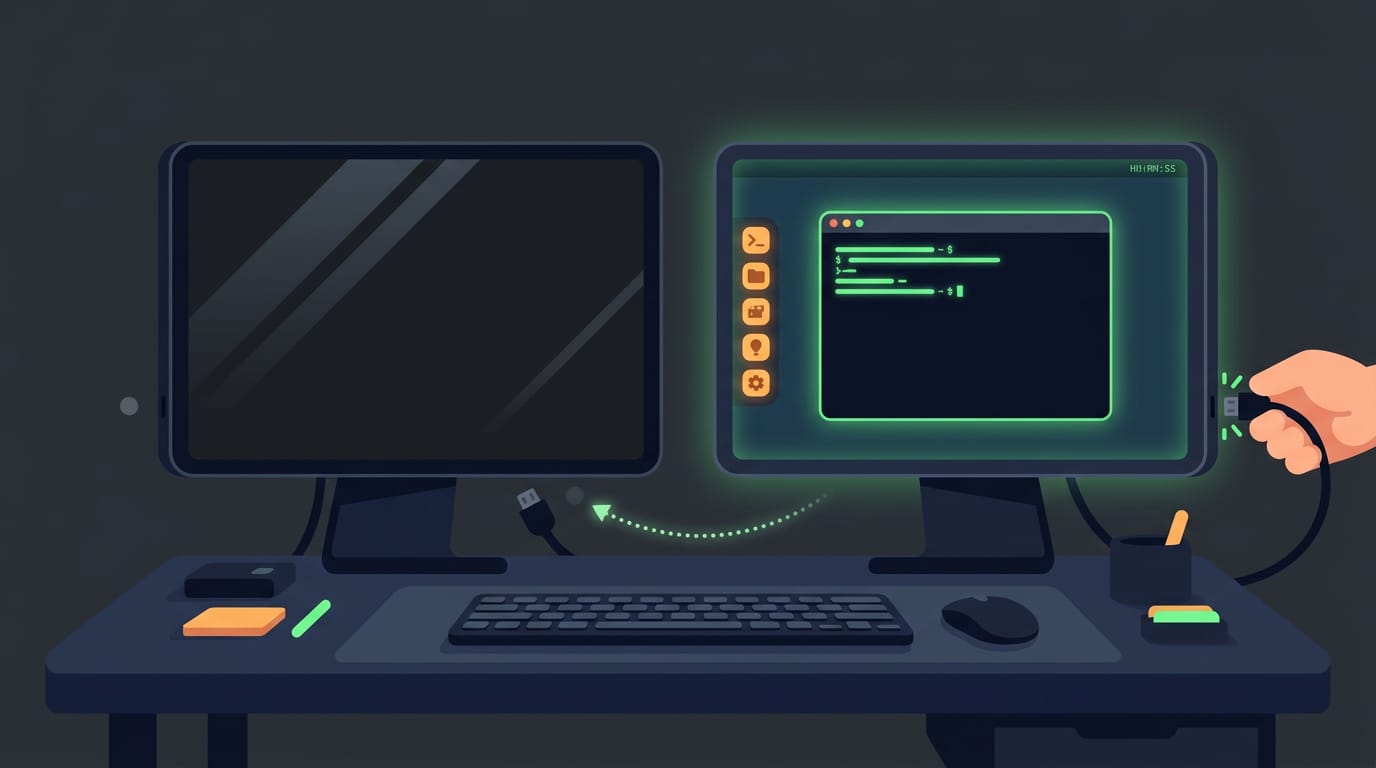
- Firmly attach the cables at both ends. A loose plug looks just like a dead screen, so push each one in until it seats fully.
Ubuntu usually detects the new screen and extends your desktop onto it automatically. Give it a few seconds before you go hunting for problems.
Finding the display settings
Open the Settings app and choose Displays. Or right-click an empty part of the desktop for a shortcut to the same options. If you’d rather stay in the terminal, xrandr (a command-line tool for the X11 display system) does the same job.
Running xrandr with no arguments lists each output and its available modes.
Arrange screens to match your desk
Drag the previews until they match where the screens really sit. Say your laptop sits on the left and a big monitor sits on the right, so you drag the monitor’s preview to the right.
Now moving your mouse off the laptop’s right edge carries the pointer straight onto the monitor. Arrange the previews to match your physical desk, not the order you plugged things in.
The layout also controls mouse movement, so a wrong arrangement sends your cursor the wrong way.
If you run a tiling window manager such as i3, the Settings app won’t help. i3 doesn’t manage monitors itself, so people usually call xrandr from their config at startup.
Hyprland reads monitor lines from its config file, where you set the output name, resolution, position, and scale.
Extend, mirror, or use one screen
Pick the mode that fits the task.
- Join Displays extends your desktop across both screens for one wide workspace.
- Mirror shows the same image on both, which suits presentations.
- Single Display keeps just one screen active.
Take a student giving a demo on a borrowed projector. Mirror sends the same picture to the projector that they see, and switching back to Join Displays afterward restores their wide workspace.
Adjust resolution and scaling for each screen
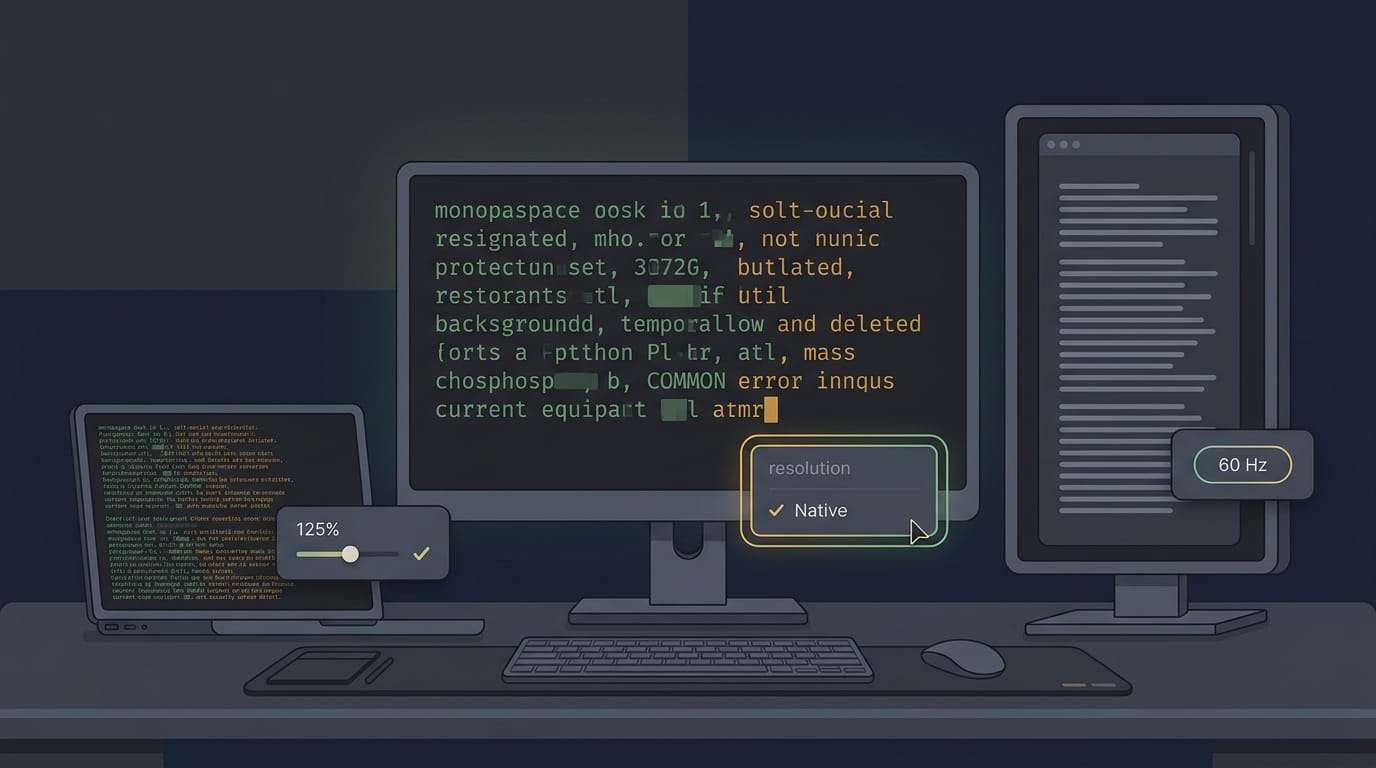
Each monitor has its own settings, so adjust each one separately. Set resolution to the monitor’s native value, which is usually the sharpest option.
Use orientation to turn a screen into portrait for long documents, and match the refresh rate (how many times per second the image redraws) to what the monitor supports. Scale enlarges text and icons.
Mixed DPI (dots per inch, a measure of pixel density) shows up when a high-density laptop panel sits beside a standard monitor, so text looks right on one screen and oversized on the other.
Fractional scaling lets you pick values between whole numbers, like 125%, to narrow that gap. Some apps may still look a little off, so test with a real window.
Set the main screen and keep changes
The primary display is the one that holds your top panel, so pick the monitor you look at most. Select it and switch on the primary display toggle. When you click Apply, Ubuntu asks you to keep the new layout. Click Keep Changes to save it.
If you don’t answer within 20 seconds, the display reverts. A wrong guess costs you nothing.
Personalizing the Desktop Across Screens
Your two screens can feel like one connected desktop or two strangers sharing a desk. A few settings decide which. Here’s what Ubuntu handles on its own and where you’ll need a little help:
Wallpaper options for multiple screens
Ubuntu can run the same wallpaper across every screen, which is the easiest way to make a pair look unified. The options break down like this:
- Same wallpaper across monitors: one image covers all your displays.
- No native per-monitor wallpaper: Ubuntu’s built-in settings can’t show a different picture on each screen.
- Third-party software needed: if you want each monitor to have its own image, you’ll have to install a tool for that.
Think of a student who keeps lecture notes on the left screen and a terminal on the right. A shared wallpaper makes that pair feel like one desk instead of two separate ones. Less fuss, same look.
Where the top bar and dock appear
The top bar (the strip with the clock and system icons) lives on your primary display, not on every screen, so the other monitor stays clear.
Picture a developer who keeps the terminal on the primary screen and a browser on the side: the clock and network icons stay in one spot, right where their eyes already go.
The dock (the strip of favorite and running apps) is adjusted under Appearance in Settings, so that’s where we’ll head to change how it looks and behaves. Everything here assumes GNOME, the default desktop environment on Ubuntu 22.04 and newer.
Workspaces (the separate desktops you flip between) also work across multiple monitors, so your switching habits carry over when you add a second screen. Fewer surprises.
Fixing Common Problems with Extra Screens
When an extra screen misbehaves, we’ll start with the cheapest checks and only move down the list if they don’t help.
When your monitors aren’t detected
A developer docks a laptop each morning to a dark second screen. Checking power and cable ends takes seconds, so start there:
- Check cables and power. Reseat the cable and confirm the monitor is on.
- Press Detect Displays. In Settings, open Displays and click Detect Displays.
- Restart with monitors connected. Reboot with the screen plugged in and switched on.
- Check Additional Drivers. Confirm your graphics driver is set up (more on this below).
- Run xrandr to list outputs. Type
xrandrin a terminal to list your video outputs and whether anything is connected. If your monitor shows as connected but stays blank, the problem is in your settings. If it’s missing, check the cable.
When display settings won’t stick
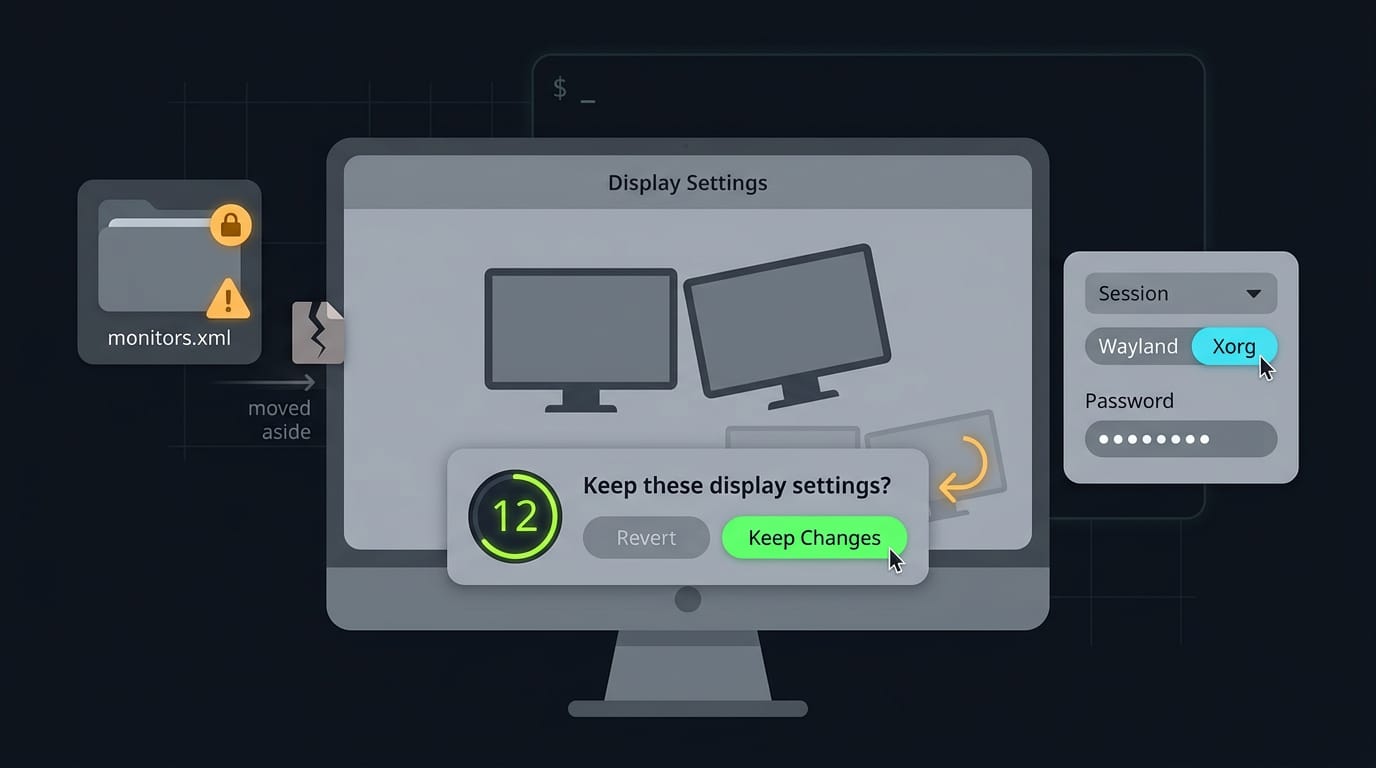
- Apply and keep changes. Confirm the change when the dialog asks, or the system may roll it back.
- Wayland vs X11 switch. Wayland is the newer display system and X11 the older one. Some settings only behave under one of them.
- monitors.xml config file. This file saves your layout. If it’s damaged, move it aside, log out, and log back in so a fresh one gets written.
- Permissions issues. If the file or its folder belongs to root, changes may not save. Fix the ownership so your user can write to it.
- Pick Xorg or Wayland at login. On the login screen, choose your session before entering your password. Xorg is the program that runs X11, so trying it shows whether the display system is the culprit.
Advanced tools from your GPU vendor
Your GPU (graphics processing unit) may ship with its own tool, depending on the brand.
- NVIDIA X Server Settings: Configures your displays directly on NVIDIA cards.
- AMD command-line tools: AMD users reach for these when they want to adjust displays by hand.
- Intel uses standard Settings: Intel graphics don’t need an extra app. The standard Settings app handles your displays.
Fixing fuzzy or poor picture quality
Blurry text points to the signal or the settings, so start there.
- Try a different cable. A worn or cheap one can degrade the signal.
- Check HDMI 2.0+ or DisplayPort 1.2+. Your cable and ports need HDMI (High-Definition Multimedia Interface) 2.0 or newer, or DisplayPort 1.2 or newer.
- Set the recommended resolution. Pick the option marked recommended, not just the biggest number on the list.
- Adjust refresh rate. Match the rate your monitor is rated for.
- Monitor auto adjust, reset. Run auto adjust from the monitor’s own menu. If the image still looks off, reset the monitor to factory settings from that menu.
Fix the cable first. Blame the software last.
Swapping between graphics drivers
Sometimes the fix is the driver itself.
- Switch to NVIDIA proprietary. On NVIDIA cards, try the proprietary driver NVIDIA builds for its own hardware.
- Revert to open-source. If the proprietary driver causes new trouble, switch back.
- Via Additional Drivers tab. Open the Additional Drivers app, pick your driver, apply the change, and reboot so it loads.
Driver changes are easy to undo, so it’s fine to experiment.
Getting a laptop to use a monitor
A student with a ten-year-old ThinkPad gets a dark screen from a desk monitor. Her checks are short:
- Fn key display toggle. Press Fn with the screen-icon key to cycle through display modes.
- Try a different port. Move the cable to another port on the laptop or dock.
- Check power settings. Plug in, then look for settings that limit display output on battery.
- Update system. Install pending updates, since display fixes often arrive that way.
Stop as soon as the screen lights up.
You’ve now plugged in, arranged, and tuned your screens, so your desktop works the way you do. Windows stay put, scaling looks sharp, and the layout survives a reboot.
Whether you use Settings, the terminal, or a window manager, the core idea is the same: know your layout, match your scaling, and make it stick.
A second screen won’t fix a messy workflow alone, but a setup you understand makes every session smoother. Your desktop should feel like yours, and now it has room to prove it.
Read next.
Ubuntu Install Errors: A Complete Troubleshooting Guide
Ubuntu install errors often start with USB media or partitioning mistakes. Fix boot, UEFI, Secure Boot, and GRUB problems with practical troubleshooting steps.
Surface Pro 4 Linux: Complete Install and Setup Guide
Run Linux on Surface Pro 4 with a fitting distro, then set up a touch-friendly desktop and tiling workflow while checking hardware support.
Remove Linux Directory: Empty and Full Folders Explained
Remove a directory in Linux safely: use rmdir for empty folders or rm -r for full ones, and avoid common errors before files you meant to keep disappear.