Screenshot in Ubuntu: Every Way to Capture Your Screen
Screenshot in Ubuntu: compare built-in shortcuts, the Screenshot tool, and annotation apps, then use terminal commands and keybindings most guides skip.
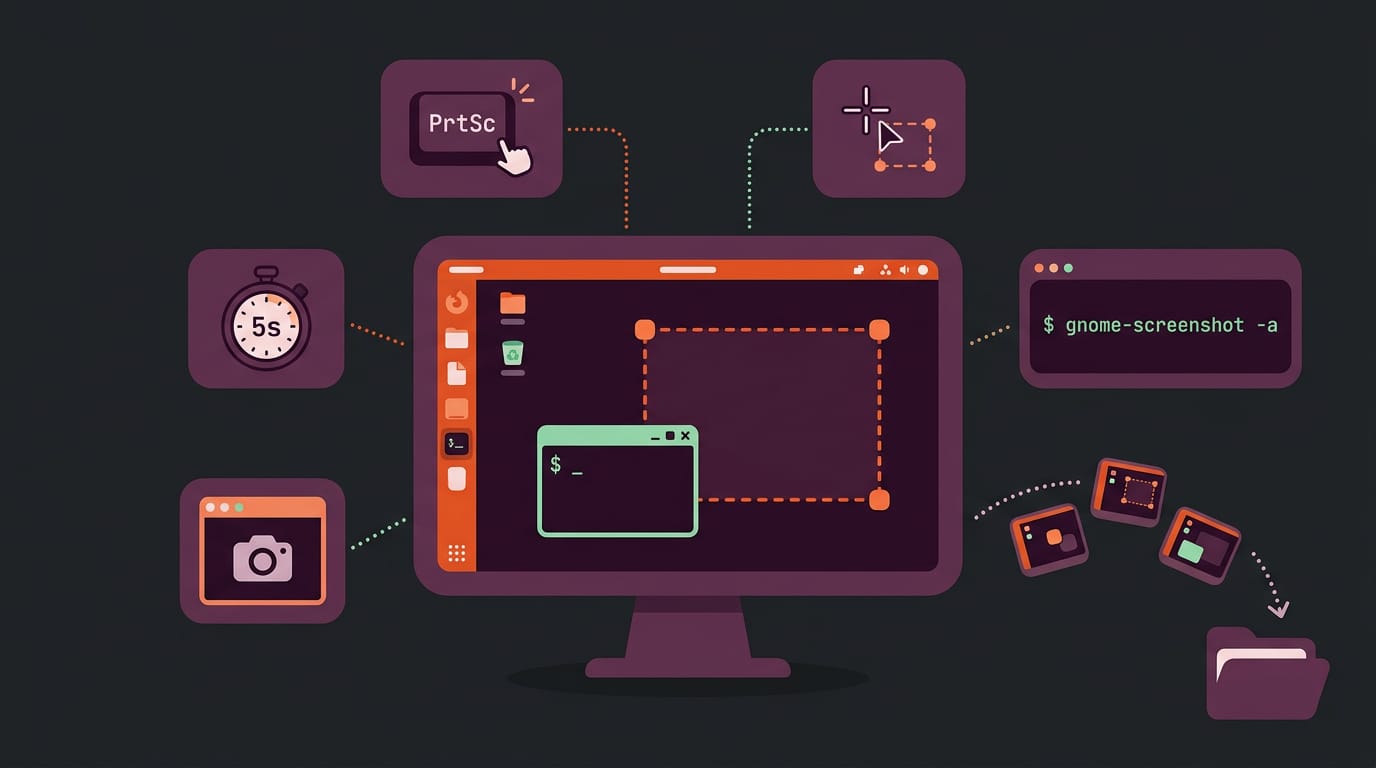
tl;dr the short answer
A screenshot in Ubuntu is a saved image of your screen that you can share, paste, or mark up. Use PrtSc for the full screen, Alt+PrtSc for the active window, and Shift+PrtSc to select an area; the Screenshot app adds options such as a timer, while third-party apps offer more annotation and terminal tools support repeatable captures. Choose the method that fits the task, and check which display is included before sharing.
Ever tried to show someone a bug by holding your phone up to the monitor? A screenshot does the same job without the blur. It’s a saved image of exactly what’s on your screen, ready to send, annotate, or drop into a bug report.
In this post, we’ll cover every way to take a screenshot in Ubuntu. We’ll start with the built-in shortcuts and the Screenshot tool, then look at snipping and annotation apps.
Finally, we’ll get into terminal-based capture, with commands and keybindings that most guides skip.
Screenshot in Ubuntu with Built-in Desktop Tools
You likely already have everything you need for a screenshot in Ubuntu, so there’s nothing to install first. Looking for a snip tool? The area capture option does that job.
Options in the Ubuntu Screenshot app
On Ubuntu 24, the steps are the same: search your launcher for Screenshot and open the app. Then check these settings:
- Capture type: Choose the shot the job needs, such as a full screen or a selected area.
- Include mouse pointer: Turn it on when the cursor matters, or off for a cleaner image.
- Include window borders: Keep the frame around a window, or crop it out for a tighter shot.
- Delay timer: Set a countdown so you can open a menu or bring up a pop-up before the capture fires.
Take a student on a ten-year-old ThinkPad who needs to capture an error pop-up before it vanishes. A short delay lets her bring it back up, and the image is ready for a forum post.
Default screenshot tools on GNOME and KDE
Your desktop environment sets the default. On GNOME, it’s GNOME Screenshot. On KDE, it’s KSnapshot. Both are simple tools rather than fancy ones, and both handle everyday captures reliably.
Each adds delay and cursor options, so you can set a timer and choose whether the pointer shows.
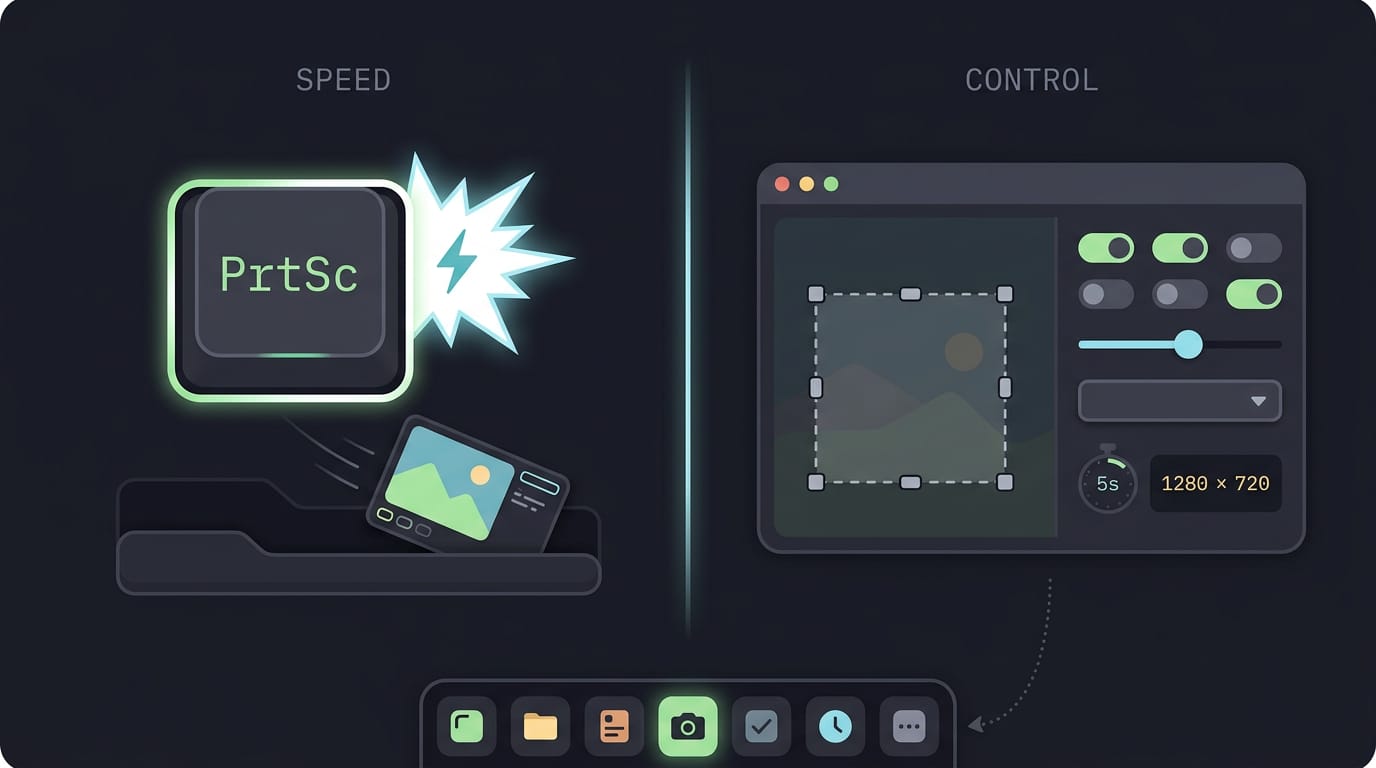
Shortcuts for speed, the app for options
Keyboard shortcuts are the fastest route for quick shots. Press the key, grab the image, and get back to work. The app is for when you need more control, so keep both in your toolkit: speed for the quick grab, control for the careful one.
No PrintScreen key? Open the Screenshot app from the launcher instead. No key, no problem.
Is Ctrl+Shift+S a Screenshot Shortcut?
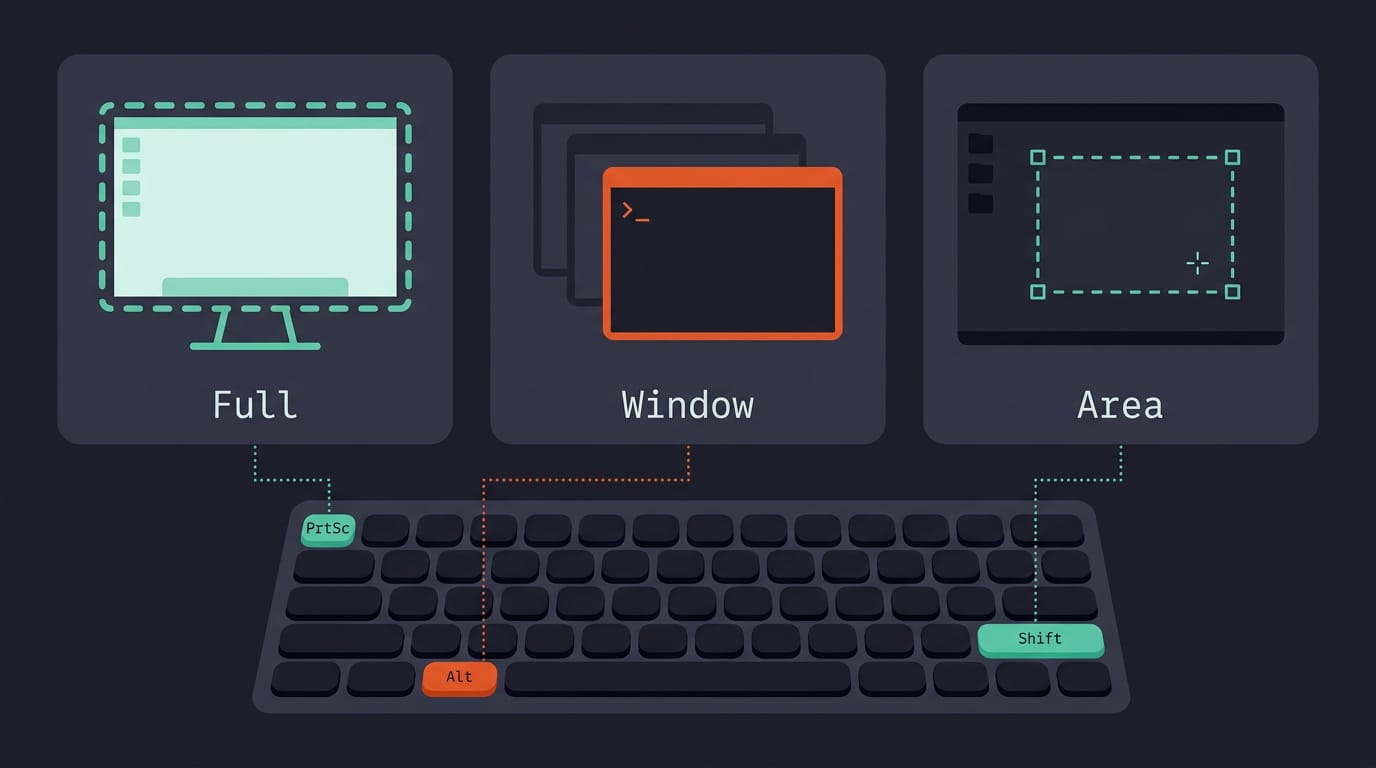
Short answer: no. Ctrl+Shift+S isn’t a screenshot shortcut in Ubuntu, so you can stop hunting for it. Everything runs off the Print Screen (PrtSc) key, and the modifier you pair with it decides what gets captured. Here’s the quick version:
- PrtSc: the whole screen
- Alt+PrtSc: only the active window
- Shift+PrtSc: a region you drag over
Capture the whole screen with PrtSc
Tap PrtSc by itself and Ubuntu captures your entire screen instantly, with no menu to open first. Think of a student on a ten-year-old ThinkPad who needs to show a teacher a full page of an online quiz. One tap, and it’s done.
Your capture is saved to your default Pictures folder and copied to the clipboard at the same time, so you can paste it into a chat or document right away.
Grab only the active window with Alt+PrtSc
Hold Alt and press PrtSc to capture just the window you’re working in. This is the one to reach for on a busy desktop. Picture a self-hoster with a terminal, a browser, and a monitoring dashboard all open at once.
When an error pops up in the terminal, Alt+PrtSc grabs only that window, so the image shows the error and nothing else. You get a clean shot with no cropping needed.
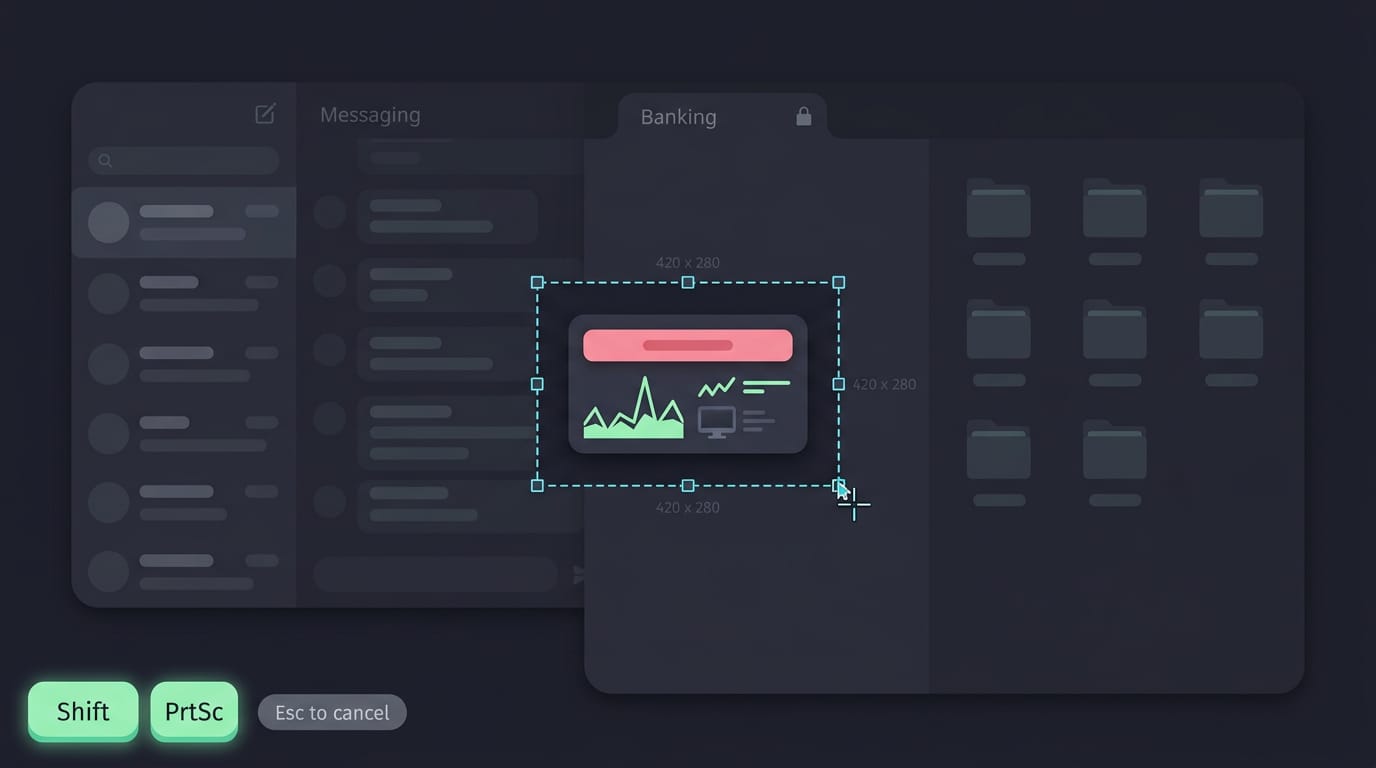
Drag over an area with Shift+PrtSc
Hold Shift and press PrtSc, then drag a box over the part of the screen you want. Release the mouse to capture it. Changed your mind? Press Esc to cancel.
Think of a Linux user asking for help on a forum who only needs one misbehaving panel in the picture. A tight box around that panel keeps the rest of their desktop, and anything private on it, out of frame.
Where screenshots go and what format
Screenshots are saved as PNG files (short for Portable Network Graphics) in your default Pictures folder. Want the image without a file? Add Ctrl to the PrtSc key, with or without Alt or Shift, to copy the capture to your clipboard.
Then press Ctrl+V wherever it belongs. Pick the key that fits the job, and you’re set.
Third-party Screenshot Tools Worth Trying
Built-in tools cover most days, but third-party apps add control.
It’s less about which app is most popular and more about which one works with your display server, since Wayland (the newer display protocol) and X11 (the older one) handle screen capture differently.
Capture and annotate with free Shutter
Shutter is a free Linux tool for capture and markup. You can capture:
- the full screen
- a single window
- a region
- a web page
Think of a student who needs to highlight a lecture slide before posting it to a group chat. Shutter’s region capture and built-in editor let them crop and annotate in one pass, with no second app.
Custom hotkeys let you bind a capture to a keypress, so you skip the menus entirely. The built-in editor handles annotations too. Upload services are limited, though, so don’t count on it as your sharing hub. Less menu-hunting, more screenshots.
Other options like Ksnip and Flameshot
Two more tools are worth testing alongside Shutter. Compare them on your everyday captures before settling on one:
- Ksnip. Try it next to Shutter and see which feels natural.
- Flameshot. Give it the same test. The best pick is the one you actually reach for.
- Lookit. A beta tool for Unity and GNOME desktops, so expect rough edges.
If you’d rather stay in the terminal, you’ve got options there too. grim captures on Wayland, scrot handles X11, and gnome-screenshot offers a command-line mode. Run gnome-screenshot --help to see what it accepts. Running these from the terminal is easier once you know the Ubuntu terminal shortcut keys.
Where Built-in Tools and PixelTaken Fall Short
Built-in tools cover the basics, but the gaps show once a capture needs marking up.
What the built-in tools leave out
Grabbing the image is easy. The finishing is where the built-ins fall short, starting with annotation (adding marks on a capture):
- Few annotation tools. Basic markup may need a second app.
- Missing arrows, blur, and text. Pointing, hiding, and labeling all need these.
- Workflow and file renaming issues. Renaming captures by hand slows you down.
- No context or tutorials. You’re left guessing what each option does.
A Linux user posting a rice online needs to blur a file path, arrow a changed bar module, and label terminal colors. The capture takes seconds, but the markup sends them hunting for a second app. Friction adds up.
Capturing one monitor or several
One monitor is simple: grab that screen and move on. With several displays, the question shifts from how to capture to which screen you need. A capture may grab every display or just one, so check before sharing.
Think of a teacher with slides on the projector and notes on her laptop. Capturing only the projected screen gives students a clean slide.
If you’ve followed a Windows or macOS guide, its steps may not match Ubuntu, so we keep ours Ubuntu-specific.
Using PixelTaken as your guide
PixelTaken has limits too, so we’ll weigh it honestly. Here’s how:
- Tool comparisons. We set PixelTaken against the built-ins on the gaps above.
- Pros and cons. A straight list of strengths and weak spots to weigh against your workflow.
- Shortcut creation. We show how to bind a key. If that key does nothing, first check for a clash with another app.
- Who should use it. If you mark up captures often, it’s worth a close look.
Taking a screenshot in Ubuntu doesn’t have to mean guessing at shortcuts. Built-in tools cover quick grabs, snipping and annotation apps add polish, and terminal capture gives you repeatable control.
Choose the method that fits how you work, and bind your favorite to a key you’ll remember. Then you’ll stop hunting for a capture tool and get back to what’s on your screen.
The best screenshot is the one you can take in a second.
Questions
How do I take a screenshot?
Press **PrtSc** to capture the whole screen, **Alt+PrtSc** to capture the active window, or **Shift+PrtSc** to select an area. Screenshots are saved as PNG files in your Pictures folder and copied to the clipboard; add **Ctrl** to the shortcut to copy without saving a file.
How to take screen in Ubuntu?
On Ubuntu, press **PrtSc** for the whole screen, **Alt+PrtSc** for the active window, or **Shift+PrtSc** to select a region. You can also open the **Screenshot** app from the launcher to choose a capture type or set a delay.
Is it Ctrl+Shift+S to screenshot?
No. **Ctrl+Shift+S** is not Ubuntu’s screenshot shortcut. Use **PrtSc** for the whole screen, **Alt+PrtSc** for the active window, or **Shift+PrtSc** for a selected area.
Is there a snip tool for Ubuntu?
Yes. Ubuntu’s built-in Screenshot app can capture a selected area, so you may not need to install a separate snipping tool. For additional capture and annotation options, apps such as Shutter, Ksnip, and Flameshot are available.
Is there a shortcut key for snipping tools?
Yes. Press **Shift+PrtSc** to select and capture a screen region; press **Esc** to cancel. You can also set a custom hotkey in apps such as Shutter.
Is there a Ctrl+Alt+Del for Ubuntu?
Ubuntu does not use **Ctrl+Alt+Del** in exactly the same way as Windows. On the default GNOME desktop, it opens a power-off or shutdown prompt; you can use the system menu to access power and session options as well.
Read next.
Ubuntu Screenshot Shortcut: Capture Full, Window, or Area
Ubuntu screenshot shortcut options cover screen, window, and area captures. Compare Scrot and editing tools, then set a custom key for the capture you need.
Install Docker on Ubuntu: Complete Step-by-Step Guide
Install Docker on Ubuntu from the official apt repository, verify it with a test container, then configure Compose, firewall rules, and rootless mode.
Set Env Variable on Linux: One-Off and Permanent Methods
Set an environment variable in Linux for one session or keep it across logins, with safe steps for user-wide, system-wide, zsh, and fish setups.