Install Docker on Ubuntu: Complete Step-by-Step Guide
Install Docker on Ubuntu from the official apt repository, verify it with a test container, then configure Compose, firewall rules, and rootless mode.

tl;dr the short answer
Docker packages an application with the libraries and dependencies it needs so it can run consistently across machines. On Ubuntu, install Docker Engine and Compose from Docker’s apt repository, verify the setup with a test container, then configure startup and user access; membership in the docker group carries root-level privileges, and Docker’s firewall rules can bypass UFW. Regular updates, careful port management, and rootless mode help keep containers secure.
Think of Docker as a shipping container for your software. It packs an app and everything it needs into one box that runs the same way on any machine.
This guide walks you through installing Docker Engine, the program that builds and runs containers, on Ubuntu from the official apt repository (apt is Ubuntu’s package manager).
You’ll cover prerequisites, verification, and post-install setup, then tackle the Linux-specific pitfalls that guides often skip, like Docker Compose, firewall bypass, and rootless mode.
Docker Basics Before You Install on Ubuntu
Before you run any commands, here’s what Docker does and how its parts fit together.
What containers are and their benefits
A container packages an app with the libraries and other dependencies it needs to run. Picture an Ubuntu user whose Python web app runs fine on their laptop but breaks on a server running a different Python version.
Put the app in a container and its setup travels with it.
Containers aren’t about copying a whole computer. They ship the app and what it needs. Here are the main benefits:
- Packaged dependencies. The app and what it relies on move together as one unit.
- Consistency across environments. The same container runs the same way on a laptop, a teammate’s machine, or a server.
- Fixes “works on my machine.” When the environment travels with the code, bugs are far easier to reproduce.
Container tools and how they fit together
Docker is really a few parts, each with its own role:
- Builder. A Dockerfile is a plain text file of build steps, such as which base to start from and which packages to install.
- Engine. The Docker Engine pairs the command-line interface (CLI), the
dockercommand you type, with dockerd, the background daemon that builds and runs containers. - Orchestration. Tools such as Kubernetes manage many containers across many machines, deciding where each runs and restarting failed ones.
Docker and Kubernetes aren’t rivals so much as different jobs. Docker builds and runs containers, usually on one machine, while Kubernetes coordinates many containers across a group of machines.
Consider a self-hoster running a photo library and a password manager on one Ubuntu server. That box needs Docker and nothing more. Kubernetes would be overkill.
Check Your System Before You Start
Before you type a single command, confirm your machine can run Docker and that old attempts won’t get in the way.
Which Ubuntu versions and specs you need
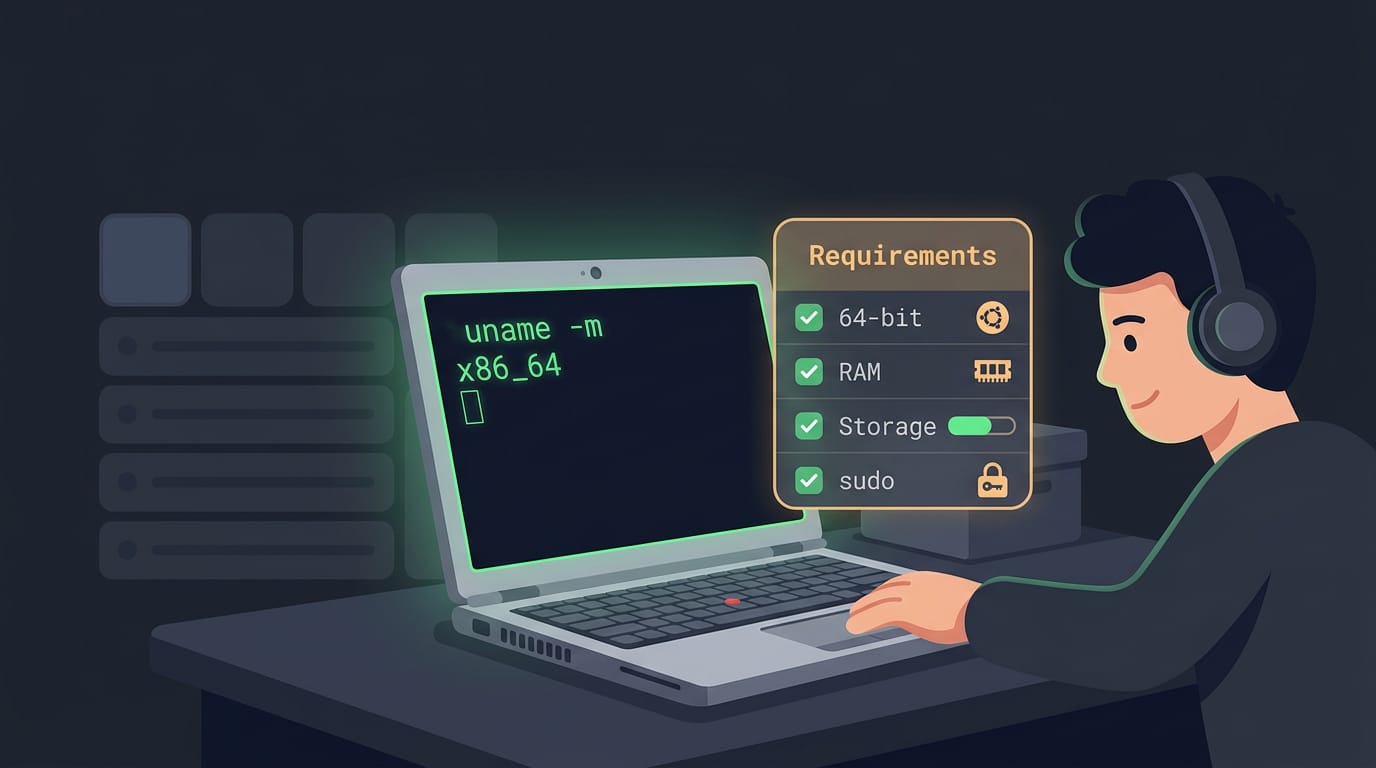
According to Docker’s Ubuntu install guide, you need the 64-bit version of one of the supported Ubuntu releases to run Docker Engine, the software that runs containers. Check your architecture with uname -m: x86_64 means 64-bit Intel or AMD.
Images and containers pile up fast, so keep plenty of free disk space and enough RAM (memory) on hand. Think of a student reviving an old ThinkPad: checking free space first keeps the project from stalling halfway.
You’ll need admin (sudo) rights, and you should be comfortable typing terminal commands.
Update your system and add dependencies
Begin with sudo apt update to refresh the package lists, then sudo apt upgrade to install newer versions. Ubuntu runs all of this through apt (Advanced Package Tool).
Then add three helpers:
- ca-certificates: the files that let your system trust secure websites
- curl: a command-line tool for downloading files
- HTTPS repository support: lets apt fetch packages over HTTPS (the encrypted web protocol)
Nothing flashy, but it matters.
Clear out any old Docker installs
Leftovers from an earlier install can clash with a fresh one, so clear them out first, in this order:
- Remove the old packages:
sudo apt remove docker.ioand any related packages - Purge the leftover configuration:
sudo apt purge docker.io - Delete the old data:
sudo rm -rf /var/lib/docker
Removing software is one thing; deleting your data is another. The /var/lib/docker folder holds your images and containers, so double-check the path before you hit Enter.
Install Docker Engine on Ubuntu
Ubuntu’s package manager, apt (the Advanced Package Tool), can install Docker Engine once you point it at Docker’s own repository.
Add Docker’s GPG key and apt source
Apt won’t trust Docker’s packages without its GPG key. GPG (GNU Privacy Guard) is a signing system, and this key proves the packages came from Docker.
- Download the key with
curland save it to/etc/apt/keyrings/docker.ascusing sudo. - Add the source at
/etc/apt/sources.list.d/docker.list. It trusts only that key and uses your release codename, fromlsb_release -csor$VERSION_CODENAME. - Refresh the index with
sudo apt-get update.
Confirm the source landed with cat /etc/apt/sources.list.d/docker.list.
Choose which Docker packages to install
Most setups want these packages:
- docker-ce: Docker Engine itself, which runs your containers.
- docker-ce-cli: the command-line interface (CLI) where you type
docker. - containerd.io: the runtime the Engine uses to run containers.
- docker-compose-plugin: Compose, for running multi-container apps.
The CLI talks to Docker, but the Engine does the work.
For the newest release, install them all at once:
sudo apt-get install docker-ce docker-ce-cli containerd.io docker-compose-plugin
Need a specific release? List the options with apt-cache madison docker-ce, then add =VERSION_STRING after each package name in the install command.
Say you’re a homelabber with a spare box for self-hosted tools. After that, Docker updates arrive with your regular apt upgrade.
If the Docker package can’t be found
If apt can’t locate docker-ce, the repository step didn’t stick. Rerun sudo apt-get update and recheck the source file.
You may also see docker.io, a Snap, or podman-docker suggested as alternatives. Those are different packages, so stick with Docker’s repository unless you have a reason to switch.
Usually it’s a repository hiccup, not a sign you broke anything. The official Docker docs cover your exact release.
Check that Docker installed correctly
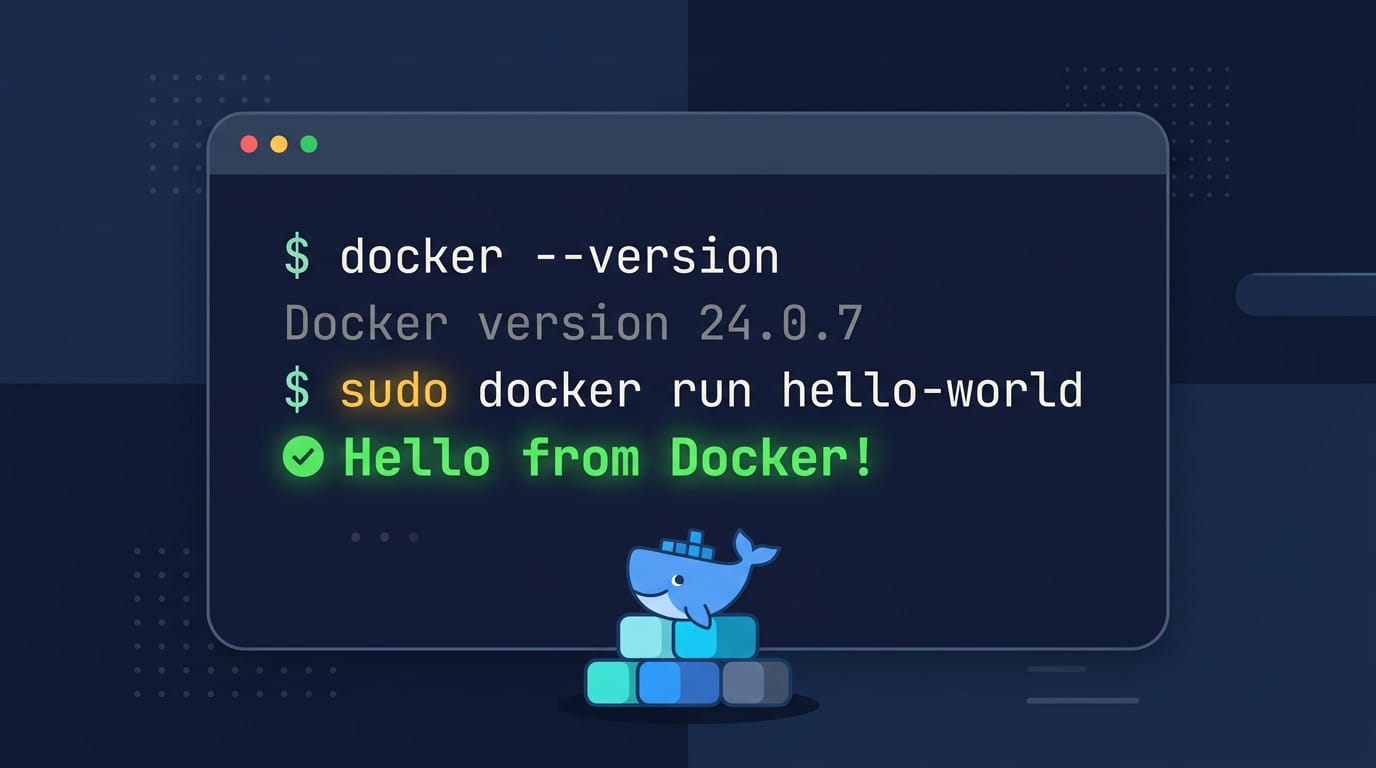
Here’s how we’ll confirm it. Run docker --version to see the installed version, then run sudo docker run hello-world. Docker pulls a tiny test image and prints a greeting. Seeing that greeting means the repository, packages, and Engine all work together.
That’s it: Docker is running. Keep using sudo until the post-install steps later in this guide.
Set up Docker After Installing It
Next, we’ll start Docker at boot, run it without sudo, and tune the Docker daemon, the background service that runs your containers.
Start Docker at boot and manage it
Enable the service with sudo systemctl enable docker so it starts at boot.
systemctl status dockerchecks whether it’s running.sudo systemctl start dockerstarts it by hand.sudo systemctl restart dockerrestarts it, which you’ll need after config changes.
Run Docker as a regular user
Skip sudo on every command by adding your account to the docker group:
- Create the group:
sudo groupadd docker - Add your user:
sudo usermod -aG docker $USER, where-akeeps your existing groups. - Apply the change: log out and back in, or run
newgrp dockerin your current terminal.
According to CtrlOps’ audit guide on Docker group members, membership in the docker group grants privileges equivalent to root. Picture a developer who adds a teammate so they can skip sudo. That teammate now has root-level reach over the machine.
The payoff is convenience, but the cost is control. Trust matters here.
If that bothers you, try rootless mode, which runs the daemon without root privileges.
Advanced settings for the Docker daemon
Docker can also accept remote connections over TCP (Transmission Control Protocol). Given the root-equivalent access above, treat any open port as a serious exposure.
To change how the service launches, run sudo systemctl edit docker.service. systemd, the service manager, saves your edits as an override, leaving the packaged unit file alone.
Daemon settings live in /etc/docker/daemon.json. To enable Internet Protocol version 6 (IPv6) networking and custom Domain Name System (DNS) servers, add something like this:
{
  "ipv6": true,
  "dns": ["1.1.1.1"]
}
Then restart with sudo systemctl restart docker.
Run Your First Containers to Test Docker
Installing Docker is only half the job. Next, run two quick tests: one with a ready-made image, one with your own.
Test Docker with the hello-world image
Docker fetches images (packaged, ready-to-run software) from Docker Hub, a public library of them. Run docker run hello-world. Because the image isn’t on your machine yet, Docker pulls it first, then runs it and prints a short greeting.
That greeting confirms two things: the daemon (the background service doing the work) is running, and the pull succeeded. Pull, run, done.
Build and run your own custom image
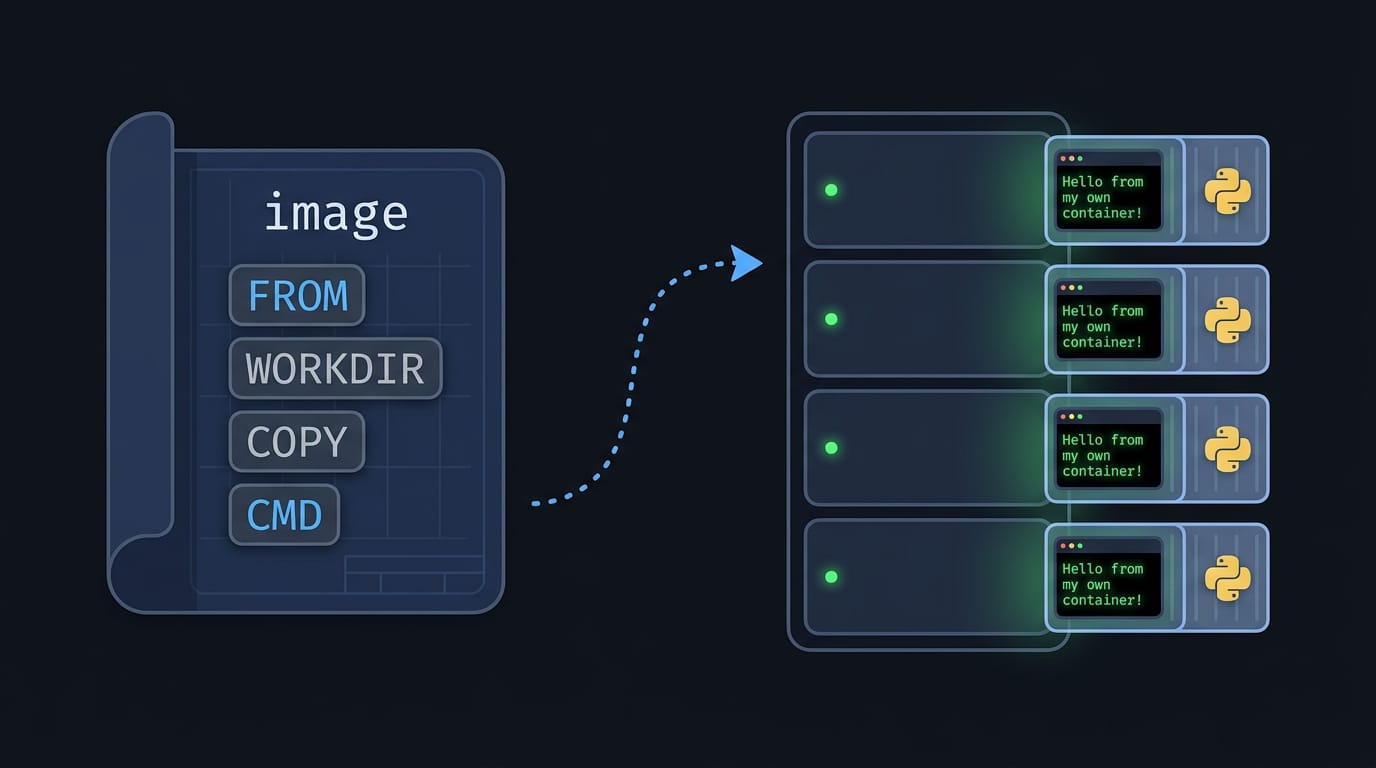
Picture a homelab tinkerer who wants one small Python script on every box in the rack. Packaging it in a container means no Python install on each one.
- Create the script. In a new folder, save
app.pywith one line:print("Hello from my own container!") - Write the Dockerfile. Beside it, create a plain-text file named
Dockerfile(no extension) with these instructions:FROM python:3-slimstarts from a ready-made Python base image.WORKDIR /appsets the working folder inside the image.COPY app.py .copies your script into that folder.CMD ["python", "app.py"]sets what runs when the container starts.
- Build and run. From that folder, run
docker build -t my-first-image .(the-tnames the image), thendocker run my-first-image.
The image is the blueprint. A container is a running copy of it, so you build once and run it as often as you like. If you live in tmux, run the container in its own pane so its output stays visible beside your editor.
The script now carries its own Python, so the server’s version stops mattering. Same script, same result, every time.
Maintain, Secure, and Watch Docker over Time
Installing Docker is only the start. Here’s how to keep it updated, tidy, secure, and visible.
Upgrade or remove Docker when needed
Upgrade with the same sudo apt update and sudo apt upgrade you use for everything else. To remove Docker, work through these steps in order:
- Remove the packages with
sudo apt purge docker-ce docker-ce-cli containerd.io. - Delete
/var/lib/dockerand/var/lib/containerd, which hold every image, container, and volume, so back up anything you need first. - Remove the Docker repository file in
/etc/apt/sources.list.d/so apt stops looking for Docker packages.
Clear unused Docker data to free space
docker system prune clears stopped containers, unused networks, dangling images (layers no tag points to), and build cache.
Add -a to also remove every image no container uses, or --volumes to clear unused volumes, but read the prompt first since volumes can hold data you want.
A self-hoster on an old ThinkPad whose root partition keeps filling up can run this monthly and reclaim the space without stopping a single service.
Ways to keep containers secure
A few habits go a long way:
- Avoid privileged containers. The
--privilegedflag gives a container far more access to the host than most apps need. - Use trusted images. Pull from official or verified publishers, and check tags before you run them.
- Enable Docker Content Trust. Run
export DOCKER_CONTENT_TRUST=1so Docker refuses unsigned images. - Keep Docker updated. The apt upgrades above mean you’ll get the latest fixes.
Watch out for one gotcha: Docker’s firewall rules can bypass rules you set in UFW, the Uncomplicated Firewall. As sudowheel’s guide to container firewall conflicts explains, “UFW rules do not apply to published container ports at all.”
A port can look blocked and still be reachable, so check what you’ve published. Trust, but verify.
Watch and inspect running containers
- docker ps and stats:
docker pslists running containers, anddocker statsshows live CPU and memory use for each. - docker inspect and logs:
docker inspect <container>dumps a container’s full configuration, anddocker logs -f <container>streams its output. - docker exec:
docker exec -it <container> shopens a shell inside a running container. - TUI monitors: Terminal user interface (TUI) tools like lazydocker or ctop show the same data as a visual dashboard.
With Docker installed from the official repository, you’ve got a clean, updatable base for containers. You’ve checked your system, set up your user, and proven everything works with a test container.
Keep it healthy by staying on top of updates, watching your firewall rules, and considering rootless mode if you want tighter security.
A setup you can rebuild from a fresh install is a setup you can trust.
References
- Container Firewall Conflicts: Docker, Podman & nftables on Linux — sudowheel.com (2026)
- Install Docker Engine on Ubuntu — docs.docker.com
- Audit & Restrict Docker Group Members on Linux VPS — ctrlops.io
Sources
- Install Docker Engine on Ubuntu | Docker Docs, docs.docker.com
- Audit & Restrict Docker Group Members on Linux VPS, ctrlops.io
- Container Firewall Conflicts: Docker, Podman & nftables on Linux, sudowheel.com,
Read next.

Ghostty Configuration Guide: Themes, Fonts, and Keybinds
Ghostty configuration puts themes, fonts, shortcuts, and shell behavior in one plain-text file. Find it and shape tabs, splits, and window settings.
Linux Tree Command Explained: Install, Flags, and Usage
The tree command in Linux turns nested folders into a readable hierarchy. See which flags customize output, target a folder, and compare practical alternatives.
Shell Scripting Explained: Write Your First Script
Shell scripting turns repeated commands into a runnable routine. Write your first script, practice core syntax, and schedule recurring tasks with cron.