Install gh CLI on Any Platform: Complete Guide
Install gh CLI on your platform with the right package manager, then verify the setup and sign in before bringing GitHub work into your terminal.
tl;dr the short answer
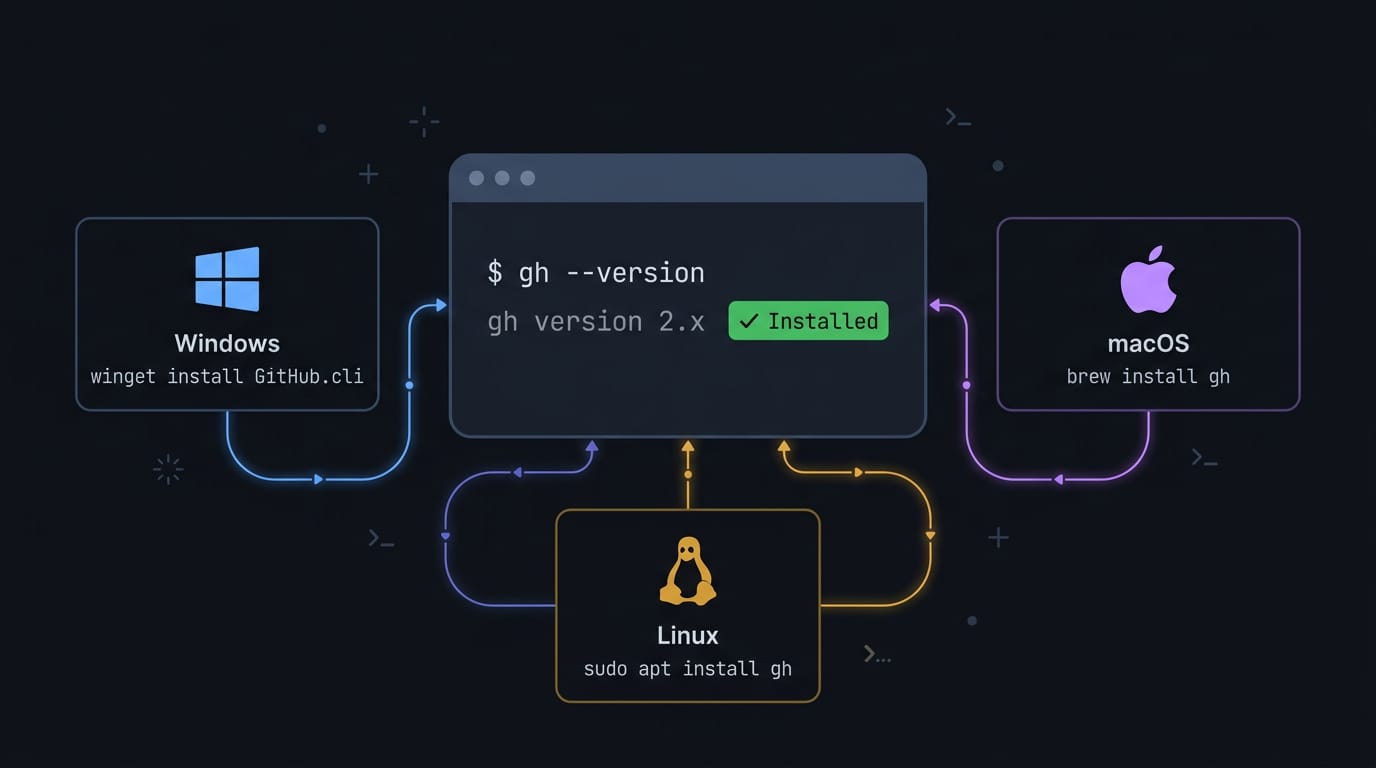
GitHub CLI, called `gh`, is a tool for managing GitHub work from a terminal instead of switching to a browser. Install it using the package manager suited to your system, verify it with `gh --version`, then sign in with `gh auth login`; headless machines can authenticate with a token. Use `gh` for repositories, issues, and individual pull requests, and keep your existing Git workflow; Graphite’s `gt` is a separate companion for stacked pull requests.
Think of your kitchen junk drawer. Scissors, batteries, and takeout menus all live there because you reach for them constantly.
gh is GitHub’s command-line interface (CLI), a program you run by typing commands, and it brings your GitHub work into your terminal.
Getting it onto your machine is easier than it looks once you pick the right route. This guide covers every major platform and package manager, plus how to confirm the install and sign in.
Linux users won’t have to guess about distro repos, Flatpak and Snap caveats, or headless machines (ones with no monitor attached).
What Gh CLI Does and Why Install It
Before we install anything, let’s see what the GitHub CLI (command-line interface, a tool you run by typing commands) does for you.
You call it with gh, and your install route depends on your distro: Debian and Ubuntu use GitHub’s official apt repository, Fedora and Red Hat Enterprise Linux (RHEL) use a dnf repo setup, and Arch has a github-cli package in pacman.
What GitHub’s official tool handles for you
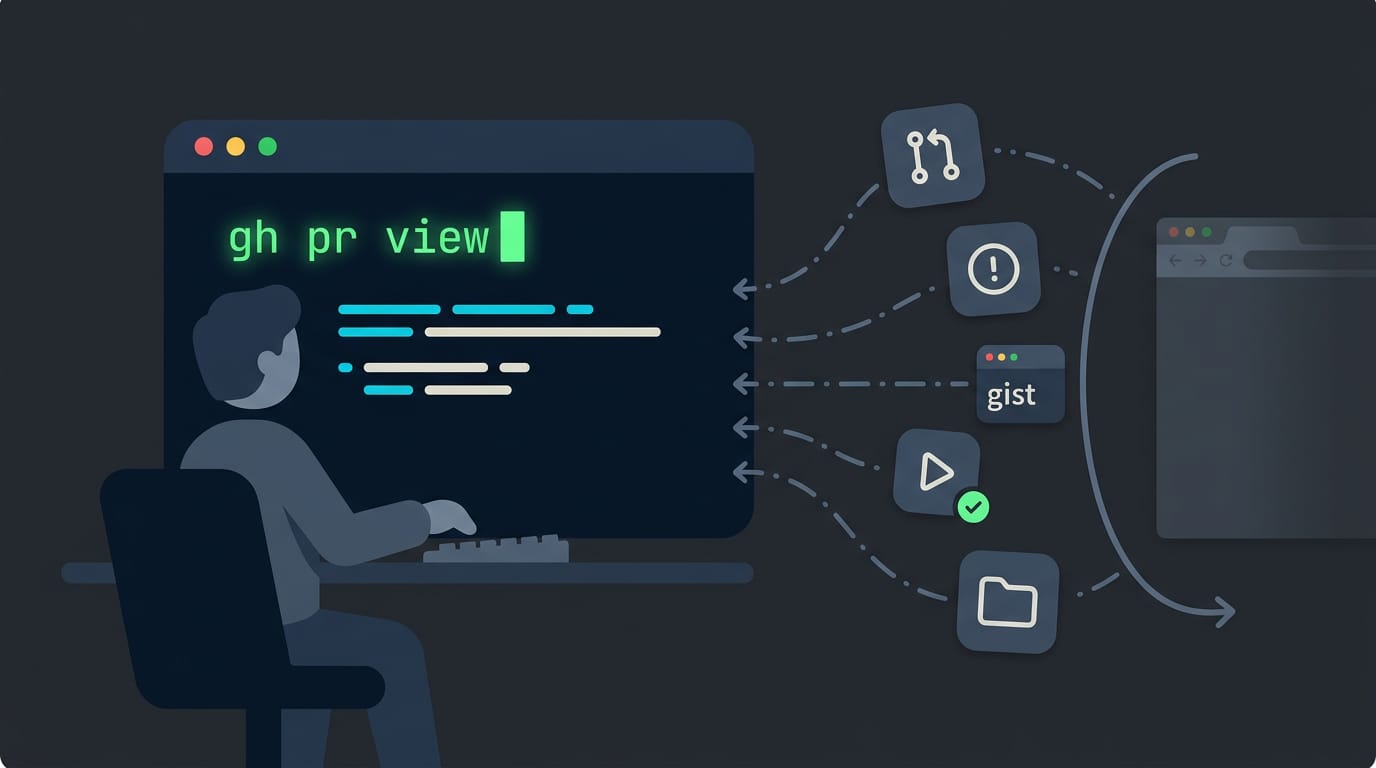
The GitHub CLI is GitHub’s own official tool, and GitHub maintains it. Every trip to the browser for a pull request (PR), an issue, or a workflow run is a context switch: your attention jumps out of your terminal and back again.
The tool cuts down on that browser switching. It handles:
- PRs
- issues
- gists (small shared snippets of code)
- GitHub Actions
- repositories (repos)
so most of that work stays where you are.
Ways gh saves time in your terminal
Think of a Debian user who reviews a few pull requests before lunch. Instead of opening a browser tab for each one, she stays in her terminal, checks what changed, and gets back to her editor.
The payoff is a workflow instead of a detour. Your hands stay on the keyboard.
- Streamlined terminal workflow. Common tasks run from the window you’re already in.
- Automation of repetitive tasks. Anything you repeat, like checking the same issue list each morning, can become a short script instead of a set of clicks.
- Scripting and CI/CD use. You can call gh from a shell script or a CI/CD pipeline (short for continuous integration and continuous delivery, the automated system that builds, tests, and ships code).
Using Gh Once It’s Installed
Once gh is installed, you’re only a login away from handling GitHub right from your terminal. Run gh --version to confirm it’s on your path, then connect your account and try the commands you’ll use most.
Connecting your account to gh
Run gh auth login and follow the prompts until your account is connected. Keep this login separate from gt, so you always know which tool a sign-in belongs to.
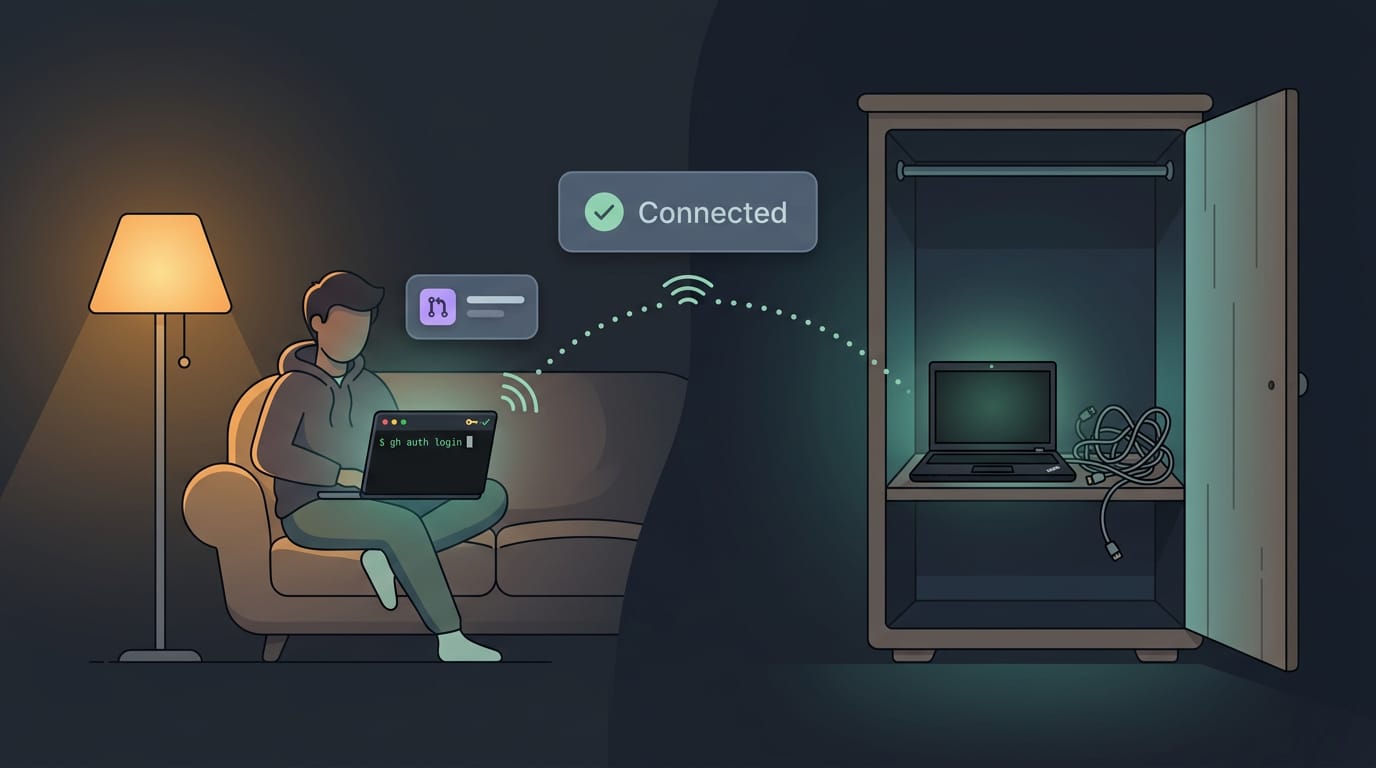
Headless setups take a different route. Over SSH (Secure Shell, which lets you run a terminal on another machine), there’s no browser to open, so you’ll log in with a token instead. The steps barely change, but how you authenticate does.
Take a student running Ubuntu Server on an old ThinkPad in a closet. They SSH in from the couch, run gh auth login, paste in a token, and open pull requests from that same session. No browser needed, and no walking over to the machine.
Everyday commands for pull requests and issues
Start with gh pr create —fill. It builds the title and description from your commit messages, so you aren’t retyping them.
Here are the ones you’ll reach for most. The list commands help you scan while the view command helps you read:
gh pr listshows open pull requests in the repo you’re in.gh issue listshows open issues.gh issue view <number>opens one issue in full.
When it’s time to update or remove gh, use the same package manager you installed it with. Same manager, fewer surprises.
Adding Graphite CLI as a Companion
Graphite’s command-line interface (CLI) works alongside Git rather than replacing it. It shines when one big change should really be several small ones.
Why pick Graphite CLI for stacked PRs
Graphite centers on stacked pull requests (PRs), where each one builds on the one below it. That setup brings a few practical wins:
- Faster, targeted reviews: reviewers read one focused idea at a time.
- Full Git compatibility: your existing repos and habits still work.
- Unblocked reordering: rearrange branches without stalling the rest of the stack.
Consider a Fedora user tweaking their dotfiles: a theme switcher, a login screen change, and a new reload script. Stacked this way, each change gets its own review, so a reviewer can check the theme switcher alone. The win isn’t more branches.
It’s smaller ones that each make sense on their own.
Get Graphite CLI running on your machine
It runs on both macOS and Linux. Pick the route that fits your machine:
- Homebrew (recommended): the path we’d suggest if you already use it.
- npm global install: runs through npm, the Node.js package manager, and makes
gtavailable from any directory.
Confirm it with gt --version. A version number means you’re set. If gt isn’t found, open a fresh terminal and retry.
Signing into gt and running commands
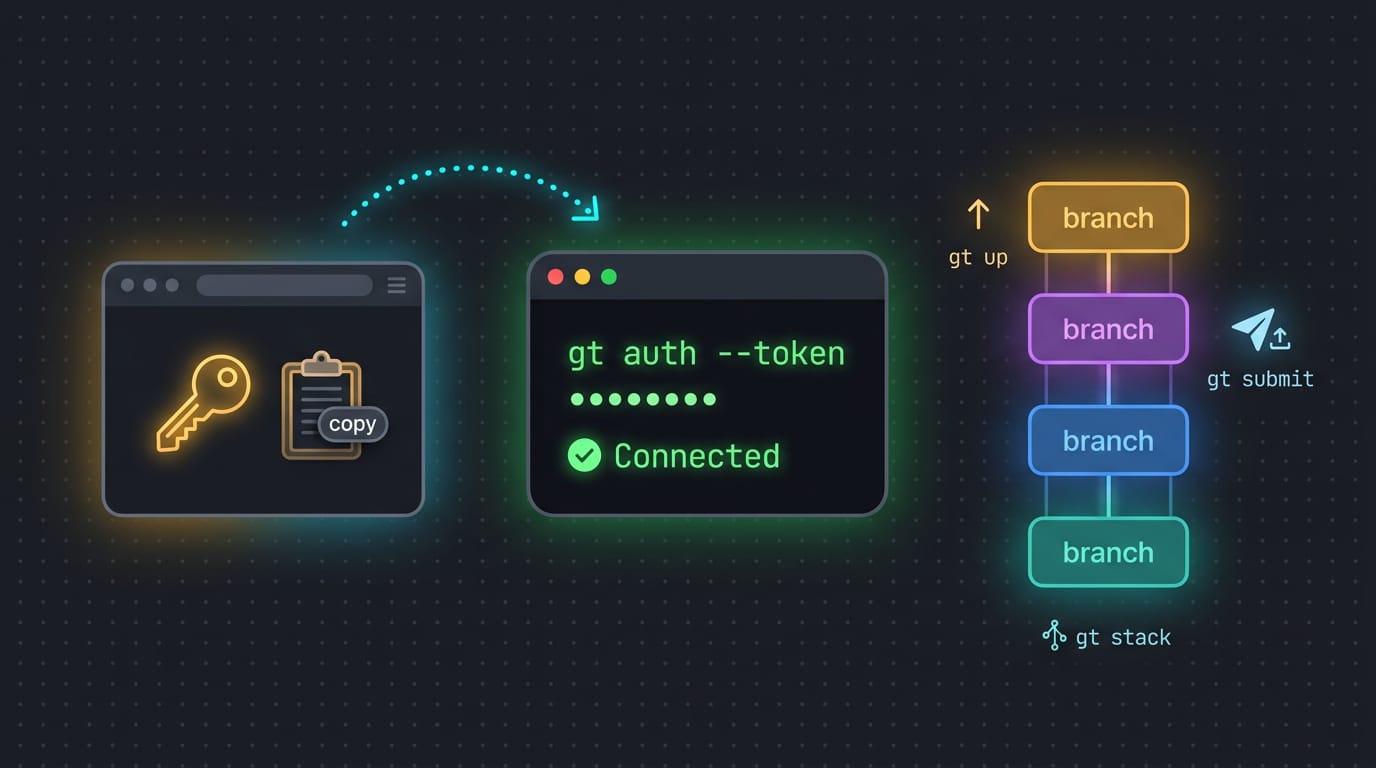
Copy a token from the Graphite web app, then run the gt auth --token command to connect. Once you’re connected, the everyday loop looks like this:
gt branch createstarts the next branch in your stack.gt submitsends your stack up for review.gt upmoves you up the stack, andgt stackshows the whole chain.
Local commands work without authentication (auth), so you can practice stacking before you connect anything. Connect once, then stack away.
Common Questions About Gh and Gt
Wondering which one to reach for? Each has a clear job, and they live happily on the same machine.
Where gh and gt each fit best
Use gh, the GitHub command-line interface (CLI), when you have one change to send up. Running gh pr create opens a single pull request (PR) for your current branch. Picture a Linux user who fixed a typo in a README: one branch, one PR, no browser detour.
Use gt when your work is a stack, a series of small branches where each one builds on the one before. Running gt submit sends the whole stack at once.
In short, gh handles one change and gt handles the whole stack. They can coexist in one repo, but each has its own authentication, so you’ll log in to each separately.
Watch for one install snag: a distro repo can ship an outdated gh. If gh --version shows something older than you expected, install a newer build than your repo offers, then check the version again.
Working with Git and resolving conflicts
Both tools sit on top of your existing Git workflow, so your commits, branches, and pushes keep working as they always have.
When a conflict pops up, resolve it with standard Git: edit the marked lines, stage the fixed files, and continue as usual. Conflicts happen. Standard Git clears them.
Stacks need upkeep too. When the branches underneath yours change, run gt up to sync the stack.
Once gh is installed, verified, and signed in, GitHub sits right where you already work. You don’t have to hop between browser tabs for every small task, and you can follow only the steps that match your own system.
Don’t skip the verification step, either. A quick check right after installing tells you whether something went sideways while it’s still easy to fix.
Install it once, check it, sign in, and let your terminal do the heavy lifting.
Read next.
Claude Code Install Guide: Every Method Explained
Claude Code install can fail when Linux Node.js or shell PATH settings don't match. Check Node.js, PATH, and login requirements, even on headless servers.
Update Fedora: Packages and Release Upgrades Explained
Update Fedora packages or move to Fedora 41 from the terminal or graphical interface, then check broken drivers and learn how to undo an upgrade.
Install Java: JDK vs JRE and Setup on Any OS
Install Java on Windows, macOS, or Linux with the right JDK or JRE, platform-specific commands, and JAVAHOME setup, then test your installation.