Conda Install Explained: Packages, Environments, and pip
Conda install keeps project tools separate and manageable. Get shell-based Miniconda setup, PATH steps, channel choices, and a clear call on when pip fits.
tl;dr the short answer
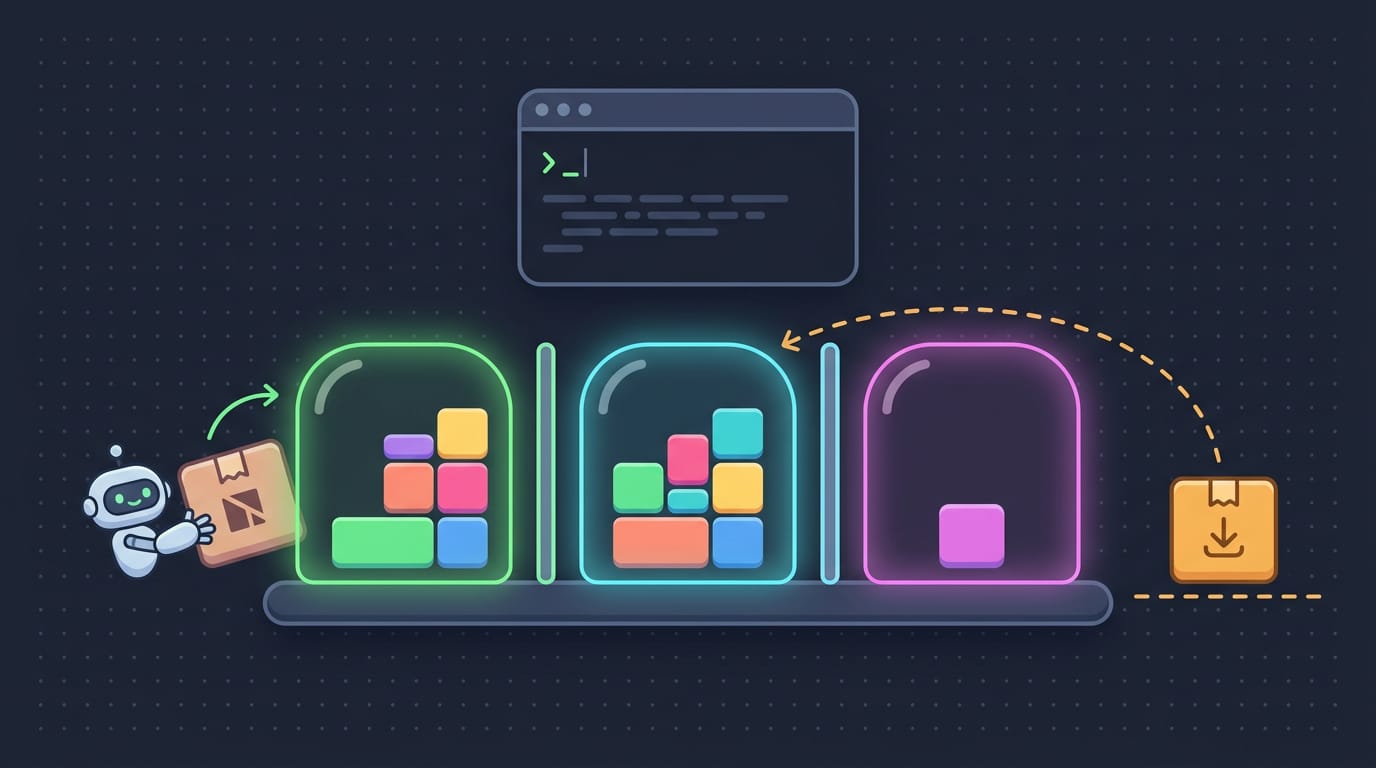
Conda install is the process of using conda, a package manager, to add software and its dependencies from online channels to an isolated project environment. Create a separate environment for each project, choose a primary channel deliberately, install with conda first, and use pip only for Python packages conda does not provide. This keeps project versions from interfering with one another and helps avoid conflicts with system packages.
Ever tried to cook in a kitchen where every drawer holds a different set of pans? That’s roughly what installing Python tools on Linux can feel like. Conda is a package and environment manager that keeps each project’s tools in its own organized drawer.
This guide covers conda install end to end: syntax, channels (where packages come from), environments, and when pip, Python’s standard installer, is the better pick.
You’ll also get Linux steps for installing Miniconda from the shell, setting up your PATH (the list of folders your shell searches for commands), and avoiding clashes with system packages.
Why Conda Install Is Worth Using
Before you run a command, it helps to know what conda gets you.
Everyday perks of using conda
Conda handles installs, updates, and removals in one tool. Here’s what that gets you:
- Simplified package management: one tool handles installs and version matching.
- Cross-platform support: the same workflow runs on Linux, macOS, and Windows.
- Large pre-built ecosystem: packages arrive precompiled, so there’s no build step.
- Isolated environments: each project gets its own packages, so versions stay separate.
Take a student on Ubuntu whose thesis needs an older NumPy while a class project needs the newest. Each gets its own environment, and both keep working.
Should I use conda install or pip install?
Pip and conda overlap, but they aren’t interchangeable. The short answer: start with conda, and use pip only for Python packages it lacks. The same choice between pip and a system package manager comes up when you install Ansible.
- Pip only handles Python. It installs from the Python Package Index (PyPI) and nothing more.
- Dependency graph handling. Conda maps every package and what it depends on before installing, so the pieces fit.
- Installs non-Python software stacks. It also pulls in the libraries and tools your Python code needs.
- No root privileges needed. Conda lives in your home directory, so you don’t need
sudo.
Handling R, Java, and C/C++ packages
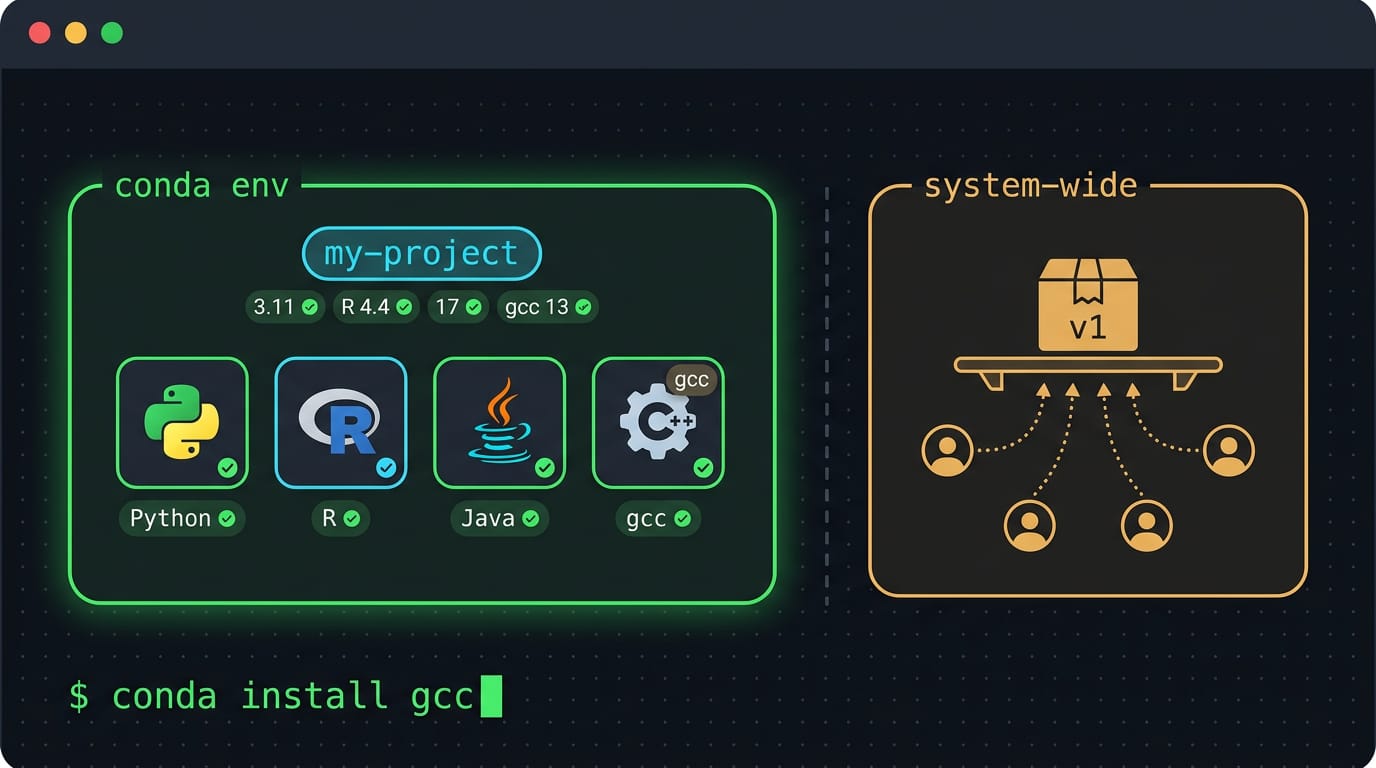
Pip stops at Python, but conda also handles R, Java, and C/C++, so mixed-language projects fit in one place. For example, conda install gcc adds the GNU compiler collection (gcc) to your active environment without touching system folders.
A Python pipeline that calls R for plots can share one environment, so both languages agree on library versions. Your distribution’s package manager (apt, dnf, or pacman) installs software system-wide, so one version serves everyone.
Conda keeps its own copies per environment, so it’s safer to keep the two apart.
Where Conda Packages Come From
Where a package comes from matters as much as what it is.
Choosing the right channel for packages
A channel is a web location that stores packages for conda to fetch. The default channel is the one conda searches out of the box.
conda-forge is a large, community-maintained channel, and Bioconda is the one to check for bioinformatics.
For example, a bioinformatics student on a ten-year-old ThinkPad can install a tool with conda install -c bioconda <package> and skip the manual downloads. Add -c (or --channel) to pick any channel.
Channels can disagree about shared dependencies, and channel priority decides which one wins. Mixing them is where things break, so favor one primary channel over a grab bag of them.
Which conda-style tool fits your needs?
Conda isn’t the only option. Mamba is a faster drop-in replacement: mamba install works just like conda install. Micromamba is a standalone C++ command-line tool for lean setups.
Miniconda installs just conda and Python, while Anaconda comes loaded with packages for people who want everything on day one.
What the word conda actually covers
The word conda covers three things:
- Tool: the
condacommand you type to install, update, and remove software. - Package: a bundle of software that conda fetches from a channel.
- Format: the archive layout packages use, usually
.condaor.tar.bz2.
Environments are isolated package sets, and channels supply what goes into them. A distribution, such as Anaconda or Miniconda, bundles conda with starter packages. conda-forge is the community-run channel you met earlier.
A package specification tells conda which version you want: python=3.11 pins a version line, while numpy>=1.26 sets only a minimum version. Small syntax, big difference.
Setting up Conda and Adding Packages
Once conda is running on Windows, the real work is adding and finding packages, so we’ll cover both.
How do I install conda on Windows?
The simplest route is to install Miniconda, a small installer with conda and not much else. Anaconda bundles far more packages, so Miniconda suits anyone who’d rather pick their own.
Check the installation guide first. Miniconda also comes as a shell installer, a script you run from a terminal. Finish by running conda init, which sets up your shell so conda works every time you open it. Run it once, and you’re set.
Adding packages with conda install
The basic form is conda install package_name.
- Default behavior. Without extra flags, conda searches its default channels, the sources it downloads packages from.
- Non-Python packages. The same command handles tools and libraries, too.
- The
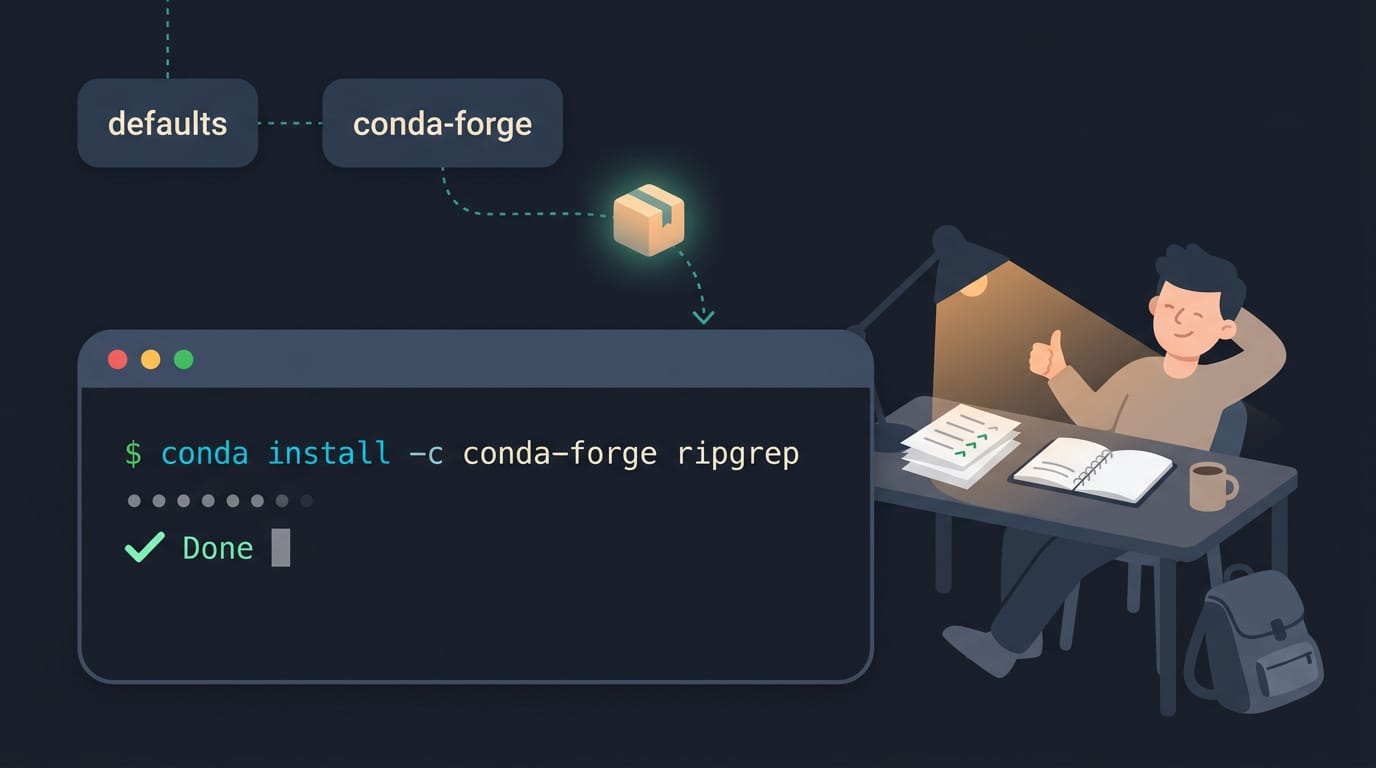
-cor--channelflag. Useconda install -c conda-forge package_nameto pull from a specific channel. The flag changes where conda looks, not what you asked for.
A student who needs one command-line tool for a school project can add it with a single command and get back to work.
A solver error means conda couldn’t find a set of package versions that work together, and a conflict error means two requests clash. Asking for fewer packages in one command often helps.
Looking up packages before you install
Before you install, check what’s actually there:
conda search. Runconda search package_nameto list the versions conda can find.- Anaconda.org search. Search the website when you’re unsure of the exact name.
- Channel sites. Browse conda-forge and bioconda on their own sites to see what they offer.
Look first, install second.
Keeping Projects in Separate Environments
The biggest win with conda is separation: give each project its own environment, so one project’s packages can’t break another’s.
Setting up a fresh environment
Start with a name or a path:
conda create -n myproject python=3.11names the environmentmyproject.conda create -p ./env python=3.11puts it at a path you choose, such as your project folder.
With an existing environment.yml, run conda env create -f environment.yml instead. Leave out -n and conda uses the name: line inside that file as the default name.
Keeping the base environment clean
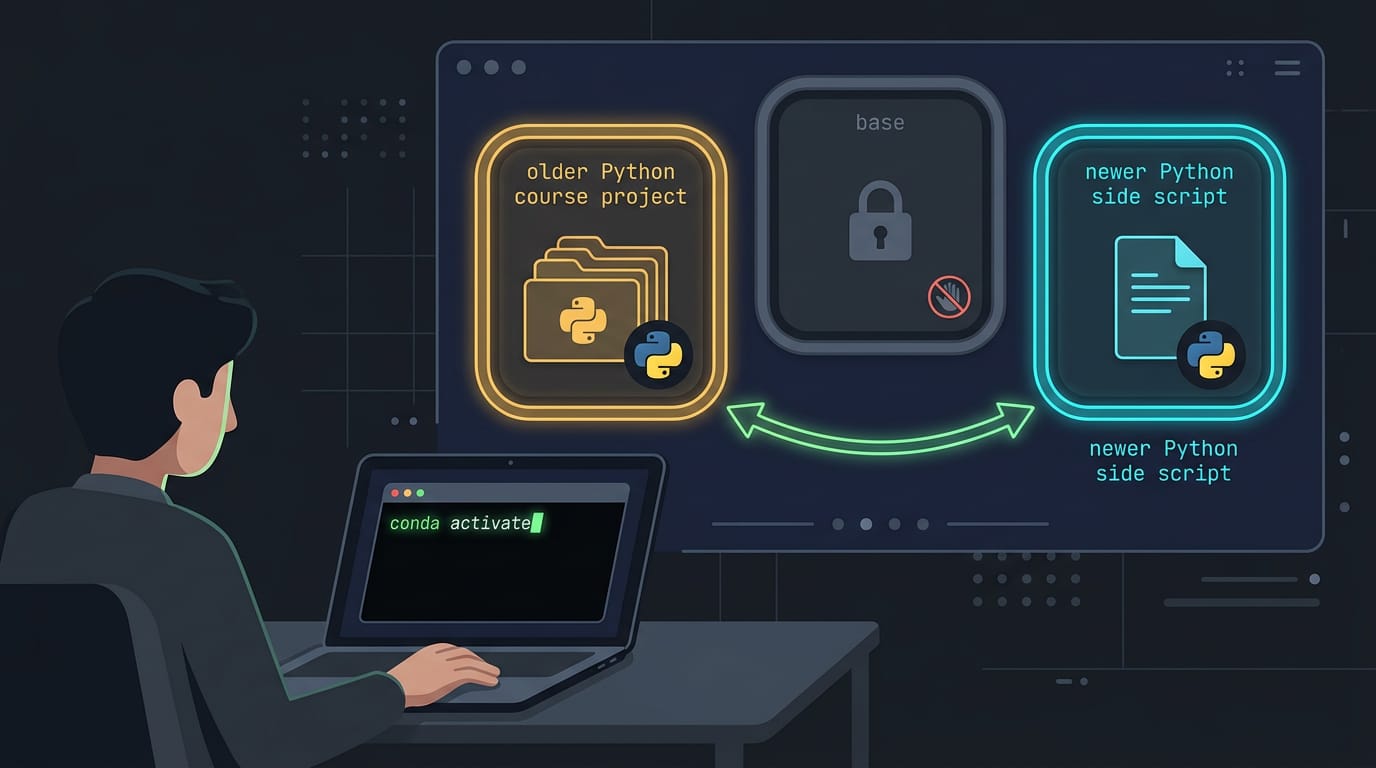
Treat base as off limits, since it’s where conda itself lives. The goal is isolation rather than convenience.
- Avoid installing into base. Piling packages there makes a mess that’s hard to undo.
- Separate env per project. Upgrading one project never ripples into another.
- Dependency graph complexity. Each package brings its own needs, so crowded environments are harder for conda to solve.
- Disable auto-activating base. Run
conda config --set auto_activate_base falseso new terminals start clean.
Think of a student on a Linux laptop with an older-Python course project and a newer-Python side script. Each gets its own environment, switching is a single conda activate, and neither breaks the other. That’s the whole trick.
Sharing your environment with others
Sharing means handing over a recipe, not your whole folder:
- Export your setup with
conda env export > environment.yml. The file lists channels and every package with its version. - Share it by committing it to Git or attaching it to an email.
- The other person runs
conda env create -f environment.yml. - They run
conda activate myproject.
Channels are where conda downloads packages from, so if the file names one your machine lacks, add it with conda config --add channels <channel-name> first.
Using mamba instead? These take the same arguments: mamba create -n myproject and mamba env create -f environment.yml.
How packages depend on each other
Every package has prerequisites, the other packages it needs to run. Conda pulls those in too, and their prerequisites after them, forming the dependency graph.
Each environment solves its own graph, so packages in myproject never touch base or your other projects.
Pip, Python’s own installer, bypasses conda’s dependency tracking, so conda can’t see those packages. Install with conda first and pip last, then list pip packages under a pip: key in environment.yml so they travel with the file.
Joining the Community and Building Packages
Once you’ve installed a few packages, you may want to share one. Here’s how.
Building your own conda package
Say you maintain a small tool for your team and you’re tired of sending install instructions. Packaging it means one conda install command does the work for everyone.
The tool for this is conda-build, which turns a recipe (the file describing your source and how to build it) into an installable package.
Once it’s ready for a shared channel, the recipe lives in a feedstock, a repository that keeps one package’s recipe in one place.
Work through the official build tutorials first, since they cover each step in order. Then test in a clean environment so your package works for others, not just you. Start small.
Events and places to get help
A few resources can point you toward answers:
- conda-forge: a community-maintained channel of packages.
- Bioconda: a channel focused on bioinformatics tools.
- Micromamba: a lightweight, standalone version of conda’s package manager.
- Anaconda webinars: online sessions that show conda workflows in action.
- Biweekly developer meetings: held every two weeks, so you can follow where conda is heading.
- The FAQ: the frequently asked questions (FAQ) page is the first stop for common errors, since many are already answered there.
Picture a grad student on Ubuntu who needs a bioinformatics tool. Bioconda probably has it, and the FAQ might explain an error before she has to ask.
Conda install is less about memorizing commands and more about building good habits. Choose your channels deliberately, give each project its own environment, and reach for pip only when conda can’t cover what you need.
Keep your Miniconda install apart from the system packages your distro relies on, and set your PATH and shell init once. Get that foundation right, and every new project starts on solid ground, not on a pile of conflicts.
Questions
What is the conda install command?
Use `conda install package_name` to install a package from your configured default channels. To choose a channel, add `-c`, for example: `conda install -c conda-forge package_name`.
What is conda used for in Python?
Conda installs, updates, and removes packages and manages isolated environments for Python projects. It also handles dependencies and can install non-Python software and libraries, helping keep each project’s tools and versions separate.
How do I install conda on Windows?
Download and install Miniconda for Windows, which includes conda and Python, or choose Anaconda if you want a distribution with many packages included. Follow the installer’s prompts, then run `conda init` in a conda-enabled terminal so conda is available in future shell sessions.
Should I use conda install or pip install?
Use `conda install` for packages available through Conda channels, especially when they include compiled dependencies such as libraries written in C or C++. Use `pip install` for packages that are only available on the Python Package Index (PyPI). If you use both in one environment, install Conda packages first and pip packages afterward.
Read next.
Update Fedora: Packages and Release Upgrades Explained
Update Fedora packages or move to Fedora 41 from the terminal or graphical interface, then check broken drivers and learn how to undo an upgrade.
Claude Code Install Guide: Every Method Explained
Claude Code install can fail when Linux Node.js or shell PATH settings don't match. Check Node.js, PATH, and login requirements, even on headless servers.
Install Raspberry Pi OS: A Complete Beginner's Guide
Install Raspberry Pi OS by choosing the right image and flashing an SD card with Raspberry Pi Imager, with clear steps from prep to first boot.