Install Raspberry Pi OS: A Complete Beginner's Guide
Install Raspberry Pi OS by choosing the right image and flashing an SD card with Raspberry Pi Imager, with clear steps from prep to first boot.
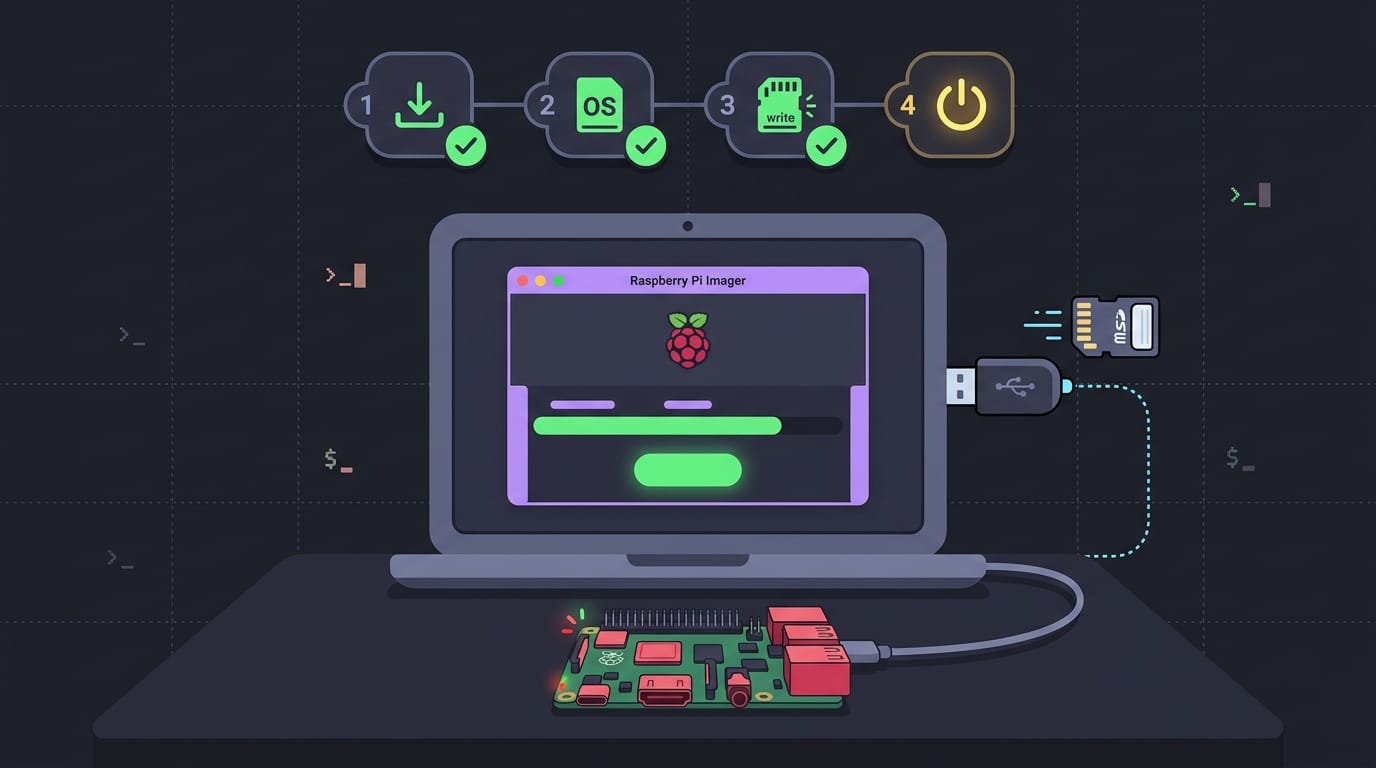
tl;dr the short answer
Raspberry Pi OS is an operating system designed for Raspberry Pi computers, which need an OS written to storage before they can start. Choose the version that fits your model and task, then use Raspberry Pi Imager to write it to an SD card, USB drive, or SSD; check the target carefully because writing erases it, and older Pi models may need a FAT-formatted boot partition. Set up Wi-Fi, a user, and SSH before writing for headless use, then allow the first boot to finish and update the system.
Think of a new Raspberry Pi like an empty apartment. The walls are up, but nothing feels like home until you move your stuff in. Installing Raspberry Pi OS, the operating system made for Raspberry Pi hardware, is that move-in day.
The short answer: choose the right image, flash it (write it onto your storage) with Raspberry Pi Imager, then get a clean first boot.
Along the way, we’ll walk through headless setup (running your Pi without a monitor or keyboard) and booting from a USB (Universal Serial Bus) drive or a solid-state drive (SSD).
Your Options to Install Raspberry Pi OS
Before you touch an SD card, we’ll sort out what you’re choosing from. The list is longer than most people expect, and it starts with the hardware.
What a Raspberry Pi is
A Raspberry Pi is a small single-board computer with its processor, memory, and ports on one circuit board. The Raspberry Pi Foundation makes it, and it ships without an operating system. You write one to an SD card, and that card becomes its storage.
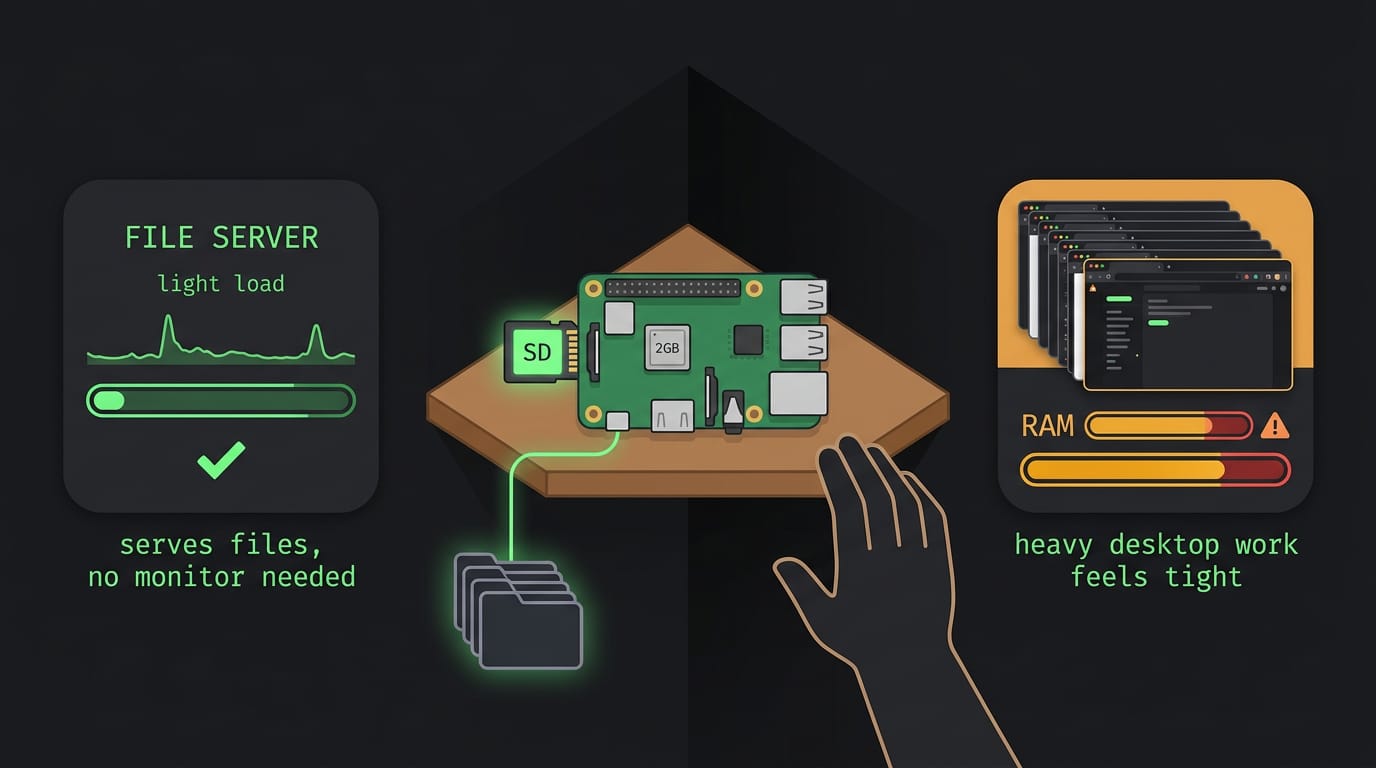
Is 2GB RAM enough? RAM (memory) varies by model, and 2GB handles lighter jobs well. Picture a homelabber with a little box in the closet that serves files and never needs a monitor. That job barely touches memory, so 2GB is usually plenty.
Heavier desktop work is where it’ll feel tight.
Operating systems you can choose from
Start with what you want the Pi to do. Here’s what you’ll run into:
- Raspbian: an OS built for the Pi.
- NOOBS: an installer menu for picking an OS at setup.
- Ubuntu MATE: Ubuntu with the MATE desktop, a classic-style interface.
- Windows 10 IoT Core: a slimmed-down Windows for small, dedicated devices.
- OSMC and LibreELEC: media center systems for films and shows on a TV.
Can you run Windows 11 on a Raspberry Pi? It’s listed as an option, but it’s a different route from Raspberry Pi OS, so check the current compatibility notes for your model first.
Two more choices come after the OS. For 32-bit or 64-bit, go with 64-bit if your model and software both support it.
For Lite or Desktop, Lite skips the graphical desktop, so it suits a Pi you’ll run remotely rather than at the keyboard. Pick the one that fits the job.
Prepare and Format Your SD Card
Before Raspberry Pi OS can boot, the card needs a file system the Pi’s firmware can read. Here’s how to choose the right one and set it up with a partition manager.
Which file system your card needs
Raspberry Pi 1, 2, and 3 have a few firm rules for the boot partition:
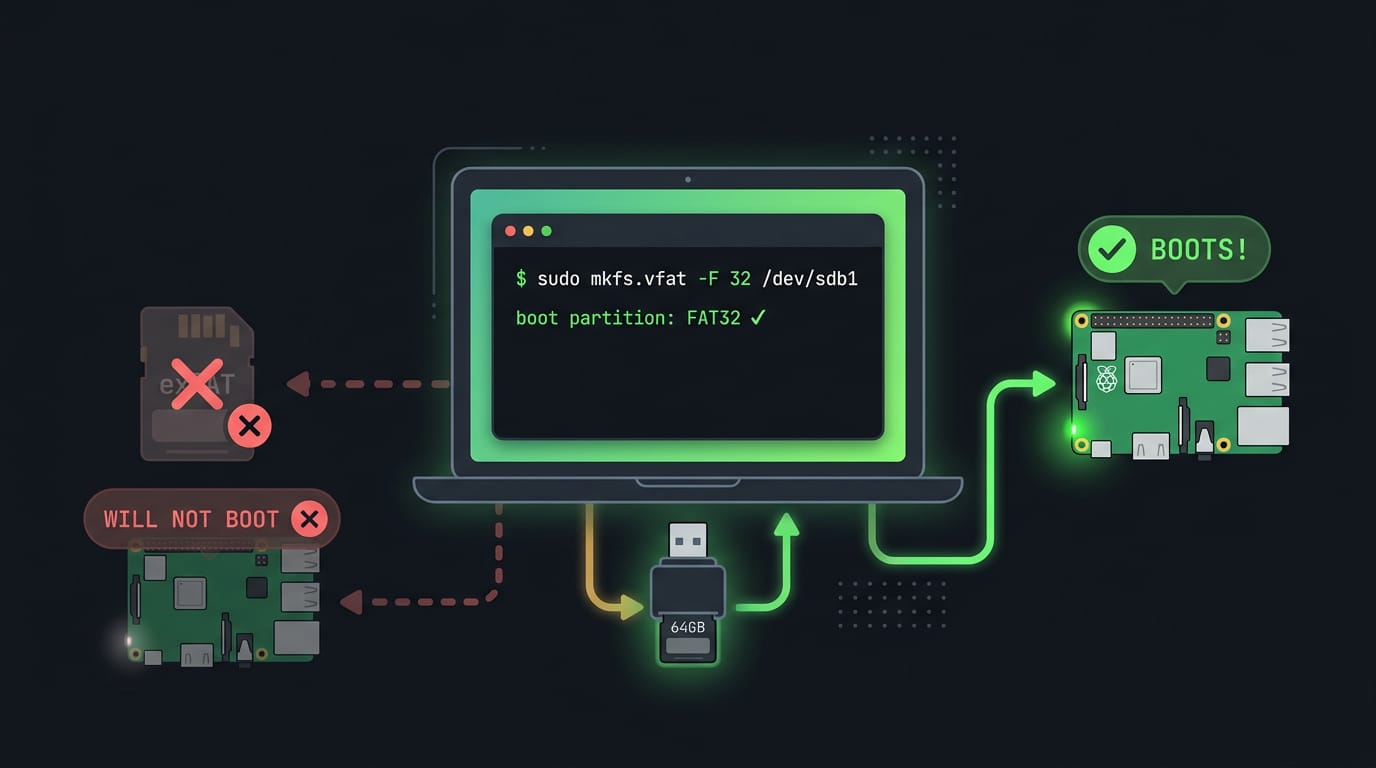
- The boot partition must use FAT (File Allocation Table), either FAT16 or FAT32.
- exFAT on SDHC and SDXC cards (the high-capacity and extended-capacity types) isn’t compatible.
- Cards over 32GB need FAT32.
The research backs this up. According to Easy as Pi: A Network Coding Raspberry Pi Testbed, these boards require a FAT-formatted SD-card boot partition.
A study on a micro operating system over an ARM architecture processor goes further and confirms they can’t boot directly from an exFAT card.
Say you’re a Linux user who pulled a 64GB card out of a drawer for a new Pi. Because it’s over 32GB, you’ll format it FAT32, and that one choice keeps the boot partition readable. Pick FAT32 over exFAT, even if the card came that way.
Format the card using a partition manager
Once you know the file system, a partition manager handles the formatting. This guide uses Qiling Partition Master, and the steps are:
- Select the SD card’s partition, then click Format.
- Set the label, the file system, and the cluster size (the chunk of storage the file system uses to hold each file).
- If the card still shows exFAT, convert it to FAT32 before you move on.
Check the file system twice, then format once.
Install the OS onto Your SD Card
We’ll put the image on your card with Raspberry Pi Imager and cover a few alternatives.
What you need to get started
- SD (Secure Digital) card: the storage your Pi boots from. Flashing wipes it, so back up first.
- Card reader or adapter: Pi boards use microSD cards, so you may need one.
- Windows PC: the machine that runs Imager.
Follow these steps in Raspberry Pi Imager
- Download and install Imager from the official site.
- Insert your SD card.
- Choose Raspberry Pi OS from the list.
- Select your SD card as the target, and double-check it.
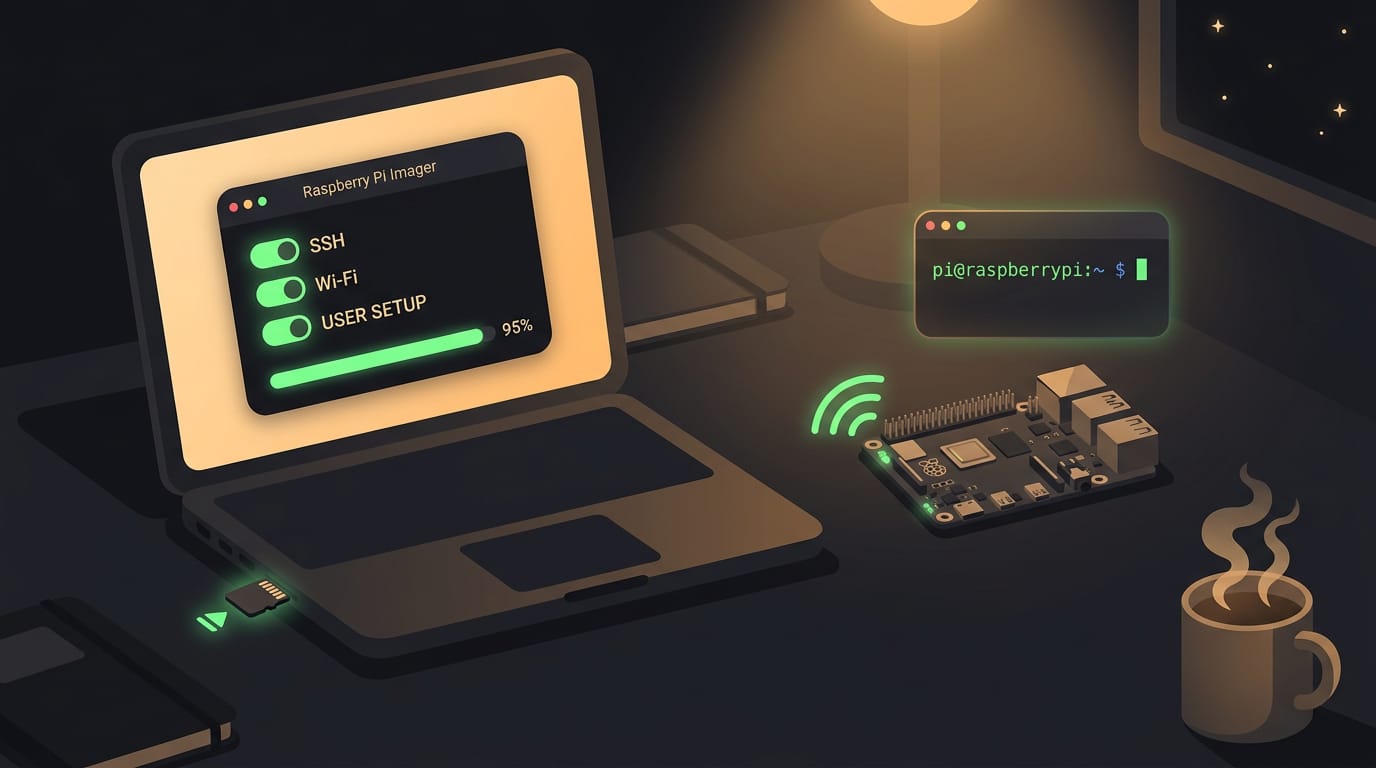
- Before writing, open the advanced settings to enable SSH (Secure Shell), add Wi-Fi, and create a user. That lets your Pi run headless (no monitor or keyboard attached).
- Click Write and wait. Grab a coffee.
- Eject the card when done.
On Linux, install Imager from your package manager and follow the same steps. Picture a student on an older ThinkPad: same clicks, no Windows machine needed.
To install Raspberry Pi OS with USB, use the same steps but choose a USB (Universal Serial Bus) drive or solid-state drive (SSD) as the target. Booting from it is a separate step.
The first boot does some setup, so be patient, then run an update once you’re logged in.
Other writing tools and downloads
- Win32DiskImager: a Windows alternative for writing image files.
- Official download page: get Imager and images here, and compare each image’s checksum (a fingerprint confirming the file is intact).
- dd (Linux): run
lsblkto find your card, then write to the whole device, not a partition, such as/dev/sdX. dd won’t ask for confirmation. Wrong target, wiped drive.
Formatting Your Windows C Drive
Wiping the Windows drive is what frees the whole disk for a new system, so it’s worth going slowly. Most of the work happens in the Windows installer, so have your Windows USB drive ready before you start.
Format the drive from Windows Setup
Work through these steps in order:
- Boot from Windows installation media. Plug in the USB drive and restart the PC.
- Enter BIOS and set the boot device. BIOS (the firmware settings screen your PC loads before Windows) usually opens with a key listed on the startup screen. Set the USB drive as the first boot device, then save and exit.
- Choose Custom (advanced) install. Pick Custom rather than Upgrade, since you want a clean slate instead of Windows kept in place.
- Use Drive options to format. Select the C drive, open Drive options (advanced), and choose Format. That erases everything on the partition, so double-check your selection first. There’s no undo.
Picture a self-hoster with an old desktop collecting dust in the closet. After this wipe, nothing from the old setup is left on the disk, so the new install starts on a blank disk and nothing gets in its way.
Installing Raspberry Pi OS doesn’t have to be a stressful job. You’ve chosen the right image, written it cleanly to your card or drive, and watched your Pi boot, with or without a screen attached.
Whichever storage you boot from, the same careful approach gets you there.
Take it one step at a time and double-check your choices before you flash anything. A clean install now saves you headaches later. Get the foundation right, and everything you build on top will feel that much smoother.
References
Questions
How to install Raspberry Pi OS with USB?
Download Raspberry Pi Imager, connect a USB drive or SSD, choose Raspberry Pi OS, select the USB drive as the target, and click **Write**. Writing erases the selected drive, so verify the target and back up any files first. Booting from USB is a separate step and depends on your Raspberry Pi model and its boot settings.
Is 2GB RAM enough for Raspberry Pi?
Yes. 2GB of RAM is usually enough for lighter tasks, such as serving files or running a headless Raspberry Pi. It can feel limited for heavier desktop use.
Can I run Windows 11 on a Raspberry Pi?
Some Raspberry Pi models can run Windows 11 through unofficial methods, but compatibility varies by model and may involve limitations. Check current compatibility information for your specific Pi before trying it.
Sources
Read next.
Install CMake on Every Major Platform: Complete Guide
Install CMake on Windows, macOS, or Linux with package managers, official binaries, or source builds, then check versions and fix Linux PATH issues.
Install Homebrew on macOS and Linux: Complete Guide
Install Homebrew on macOS or Linux, then set the right PATH and verify commands work before adding tools, updating packages, or fixing setup issues.
Ubuntu Screenshot Shortcut: Capture Full, Window, or Area
Ubuntu screenshot shortcut options cover screen, window, and area captures. Compare Scrot and editing tools, then set a custom key for the capture you need.