Build a Keyboard from Scratch, Step by Step
Build a keyboard to match your layout, feel, and sound. Get realistic costs, difficulty, and Linux-specific steps for flashing and testing your board.
tl;dr the short answer
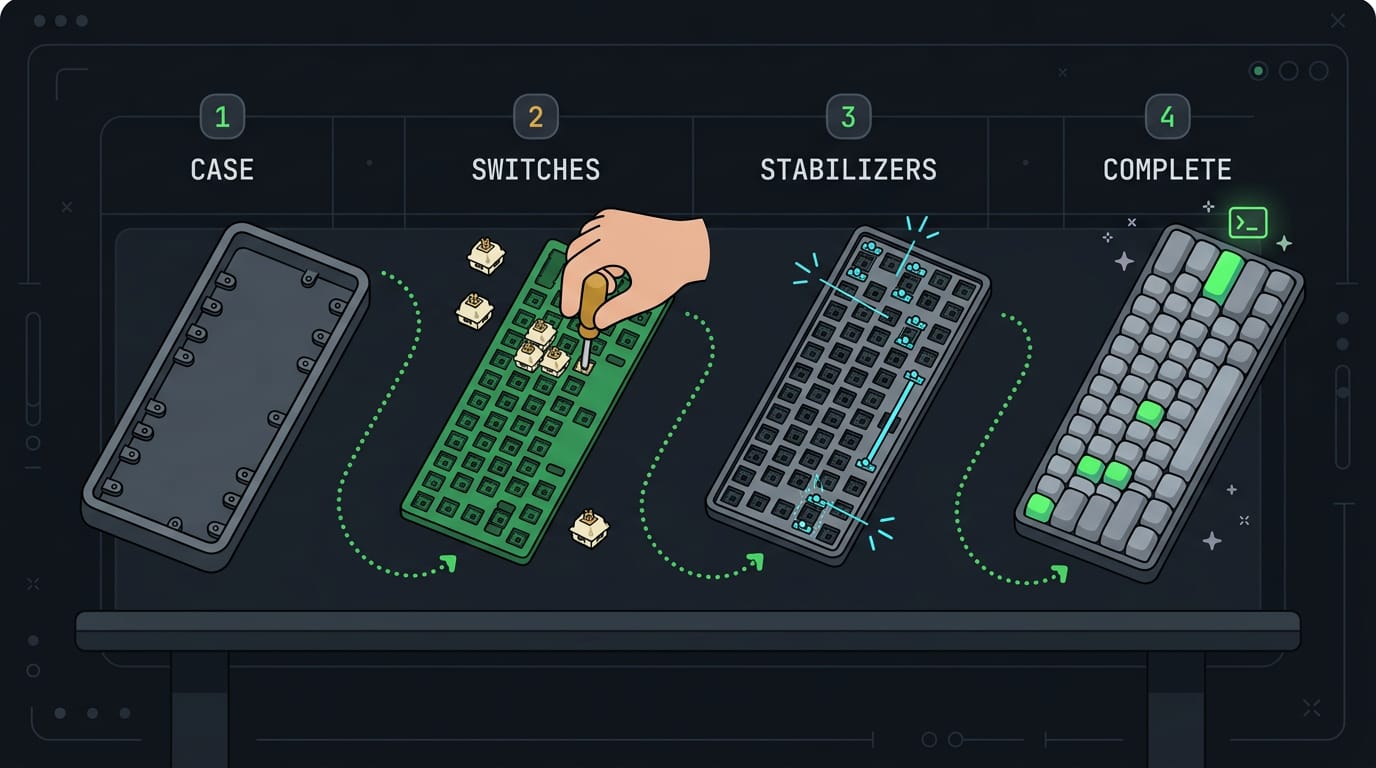
Building a keyboard means choosing a kit or designing a circuit board, then assembling the parts and programming the firmware that tells each key what to send. The practical choices include layout, switches, keycaps, soldering or hotswap sockets, and firmware such as QMK, VIA, or ZMK; costs depend on the parts and tools you need. Start with a compatible kit and simple build if you are new, and test each step so you finish with a working board tailored to how you type.
Think about a shelf you bought off the rack that almost fit your room. Most keyboards are like that: fine, but not built around how you type. Building your own puts the layout, feel, and sound in your hands.
Here’s the short version: you’ll pick a kit or base, choose your switches (the parts under each keycap that register a press), solder everything together, then flash firmware, the program that tells the board what each key sends.
Along the way we’ll cover real costs, honest difficulty, and the Linux-specific steps other guides tend to skip.
Different Ways to Build a Keyboard
Some people start with a kit, while others design every part themselves. Either way, you’ll solder, program, and test.
Starting from a barebones DIY kit
A barebones kit gives you the case and circuit board but no switches (the parts under each key that register your press) or keycaps (the plastic tops you touch).
Think of a Linux user who types in a terminal all day. They pick switches that feel right and end up with a board built around how they type.
Making one at home means gathering a soldering iron, solder, and basic hand tools, then assembling, programming, and testing. Is it hard to build your own mechanical keyboard? Less than you’d think, since the circuit board is already designed for you.
Is it cheaper to build your own keyboard? Not automatically, since the parts you pick set the final bill.
Customization and challenge drive much of the appeal, since every choice shows up in the finished board. You’re doing the work, not just buying the result.
Building one fully from scratch
Designing your own printed circuit board (PCB) is custom hardware: you lay out the wiring that links every key to a controller chip (the small brain that reads your presses).
Firmware is the software on that chip that decides what each key sends, so custom firmware changes how the board behaves.
Advanced builders want a layout or feature no one sells. For example, someone might design a small, pocket-sized board to toss in a bag for coding on the go.
What draws people to this hobby
Reddit communities share finished builds, and seeing one on someone’s desk is often the spark.
Many boards are open-source hardware and firmware, so anyone can read, copy, and tweak the designs and code.
For many people it’s less about owning a keyboard and more about making one. High-end custom boards show how far that can go.
Parts and Tools You Will Need
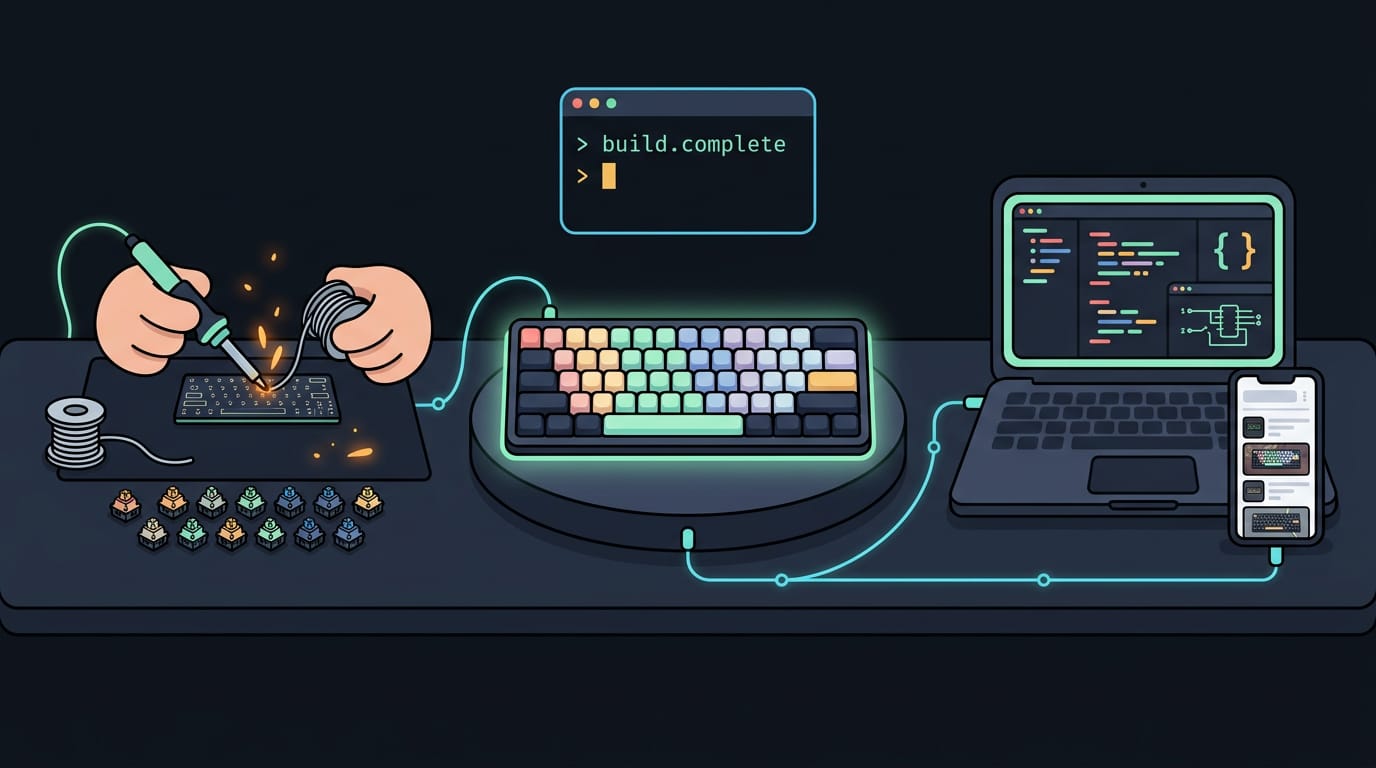
Before you touch a soldering iron, get every part and tool within reach. Here’s what we’d gather, and how to order your board without the scramble.
The core components you’ll need
Switches sit under each key and set its feel, while keycaps are the plastic tops. Pick a switch feel before buying a full set.
A case or barebones kit gives you the housing and board, but barebones kits usually skip switches and keycaps.
Every build needs a printed circuit board (PCB) to wire the keys together and a microcontroller, the chip that runs the firmware (the program that turns presses into keystrokes).
Grab a few spare tactile switches, the push buttons with a bump you can feel. Some boards use them for extra buttons, so check your layout.
Gathering tools and ordering your PCB
Gather tools first, so you’re never reaching for something mid-joint:
- A soldering iron, solder, and flux
- Tweezers for tiny parts
- Switch and keycap pullers
- A damp sponge or brass wool for the iron’s tip
Picture a Linux user on a secondhand ThinkPad working at the kitchen table. They only need a few extra tools, so the build starts sooner.
Solder your switches, any sockets, and the microcontroller one part at a time, and check each joint before moving on. It’s better to go slow than to rush and redo a bad connection.
A fab house is a manufacturer that turns your design files into bare PCBs. Upload the files, pick your options, and double-check the quantity before paying, since a wrong order means waiting all over again.
Color mostly changes how the board looks, while finish changes how it solders. For a first build, a common finish is the safer pick.
Picking the Right Kit or Base
Your kit is the frame, so pick it before the switches (the mechanism under each key).
Pick a layout and size
- 60% and 65%: the most compact options. A 65% keeps arrow keys, while a 60% usually drops them.
- 75%: slightly bigger, with a function row.
- 96% and TKL: 96% is near full size, while TKL (tenkeyless, no number pad) drops only the numpad.
- Numpad and macro pad kits: a numpad adds number keys, and a macro pad adds programmable shortcuts.
- Alice and ergonomic: Alice boards tilt the keys into a staggered shape, while ergonomic boards split or curve for comfort.
Features to look for in a kit
- Hotswap sockets: let you swap switches without soldering.
- Wireless connectivity: Bluetooth or a dongle, plus a battery to charge.
- Aluminum cases: heavier and more rigid, so the board stays put.
- RGB lighting: red, green, and blue lights that change the look, not the typing.
- Plateless or PC plate: the plate holds switches in place. Plateless boards skip it, while a polycarbonate (PC) plate feels softer.
How much does a custom keyboard cost?
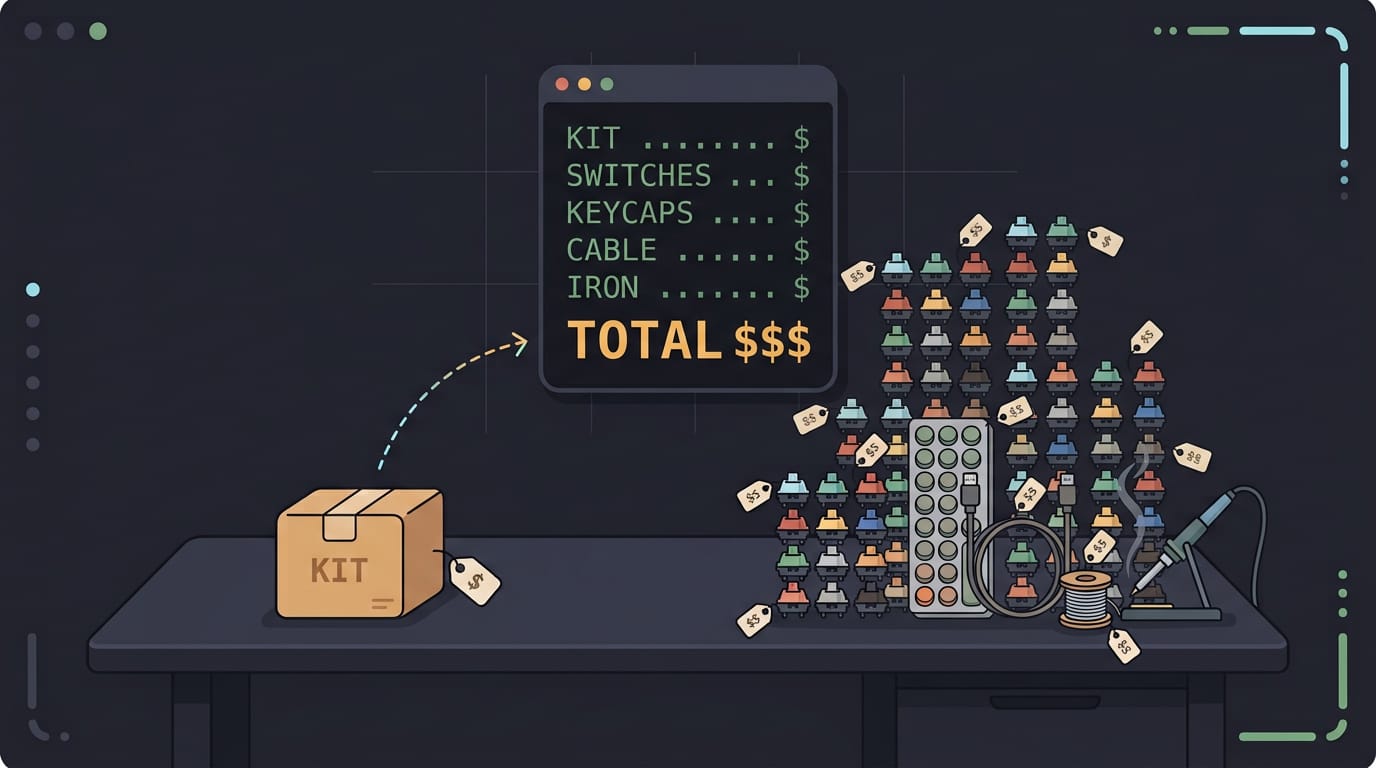
There’s no single price: a build is the kit plus switches, keycaps, a cable if needed, and a soldering iron if the board isn’t hotswap. Parts add up fast.
Line up KBDFans, Neo, and Tex against Keychron, Ducky, and Wooting by what’s included, not the headline price.
Budget kits under $100 make a solid first step, especially with hotswap sockets. A Debian student on an old ThinkPad can start cheap and swap switches later without soldering.
Premium group buys are community pre-orders where you pay upfront and you’ll wait for a batch.
A sale only saves you money if it covers the same parts as the regular price, so compare the parts lists.
Designing the Hardware and Circuit
Your circuit decides how many wires you’ll solder and how each key reports to your computer. Here’s how we’ll break it down.
Wiring switches in a grid saves pins
Each key is a switch, a simple button that closes a circuit when pressed. One pin per switch runs out fast, so most builds use a matrix instead: switches arranged in rows and columns.
The controller sends a signal along each row in turn and reads which column responds, so every key is identified by where its row and column meet. Say a Debian user builds a 4 by 4 grid: sixteen keys need only eight pins.
The trick is fewer pins, not fewer keys.
Picking a chip like the atmega32u4
Many builders pick the ATmega32U4 for its built-in USB support, so the chip shows up as a keyboard with no extra hardware. It’s also the chip inside the Arduino Pro Micro, a small board that gives you a proven starting point.
Pick it for compatibility, not just specs. Firmware, the software on the chip, has to support your choice. Verify that first.
Laying out the schematic and PCB
The schematic is your wiring diagram, and the PCB (printed circuit board) is the physical version. Map each row and column to a GPIO (general-purpose input/output) pin, and label them now.
Next, choose your routing: manual gives full control, while autoroute, a tool that connects the traces for you, is quicker but needs checking. Add the layer and silkscreen artwork, the printed labels, last.
Keep it simple: short traces, clear labels, and nothing you can’t explain.
Setting up Firmware and Software
Once your board is soldered, the firmware decides what each key sends. Here’s how to choose it and set it up on Linux.
Comparing QMK, VIA and ZMK firmware
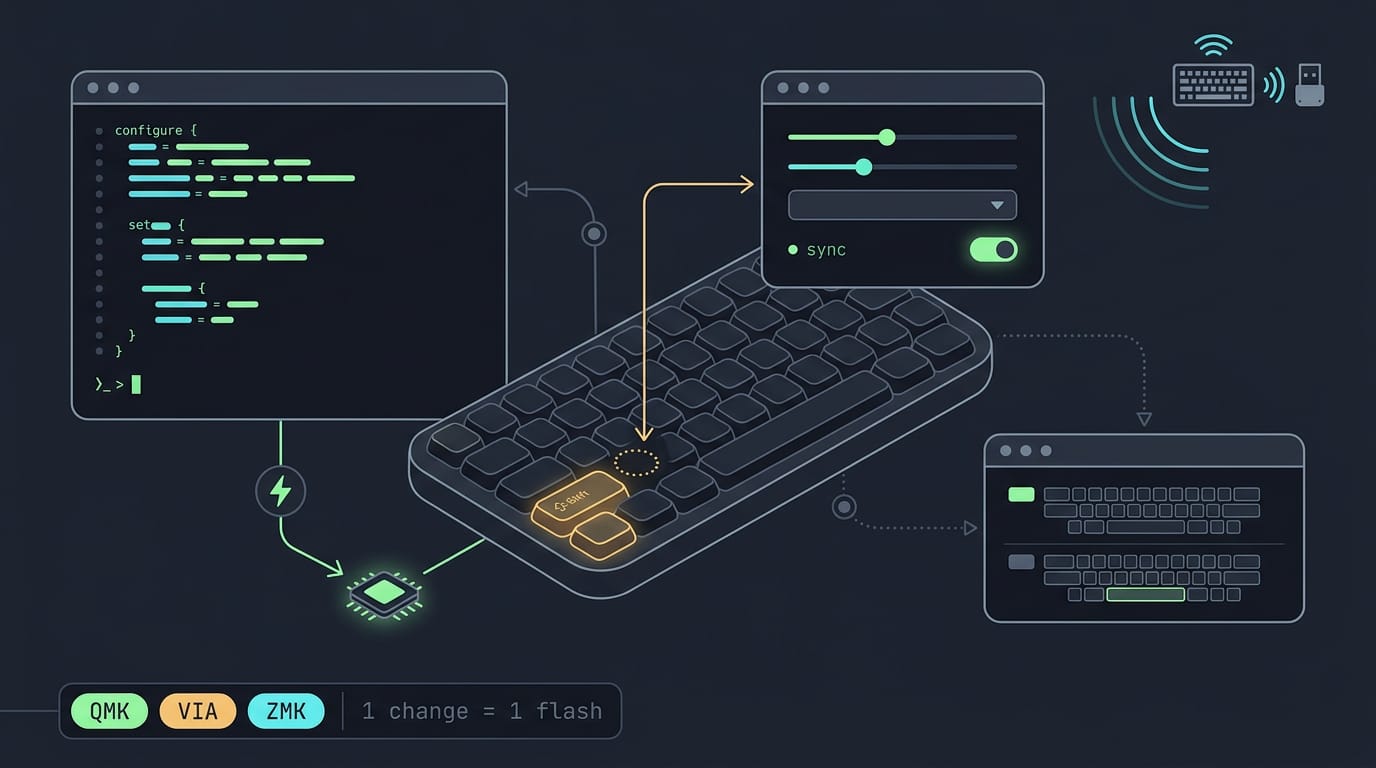
Firmware runs on your board’s microcontroller, which reads your switches. TMK is one open-source option, but we’ll go with QMK, which has existing keyboard support and good documentation. Check the QMK repository for your board before you write anything.
Here’s how they differ:
- QMK compiles a config you flash yourself.
- VIA remaps keys live from an app, on boards set up for it.
- ZMK is built for wireless boards.
Choose QMK if you want to write your config, and VIA if you’d rather adjust it from a window. Consider a Linux user who wants one thumb key to act as Shift when held.
They change that key in their board’s existing layout and flash it. One change, one flash.
Configuring pins and writing your keymap
Your switches connect to the microcontroller through GPIO (general-purpose input/output) pins, so your config must match your wiring. Switches sit in a grid of rows and columns.
The firmware finds each press where a row and column meet, so define how many of each you have.
Your keymap lists what each physical key sends, so write it to match where the keys actually sit. Small boards lean on function-layer keys to get more out of fewer keys. They don’t add keys so much as switch what the others do while you hold them.
Finally, install the QMK command-line interface (CLI) on Linux, since it compiles and flashes your config. Follow the official QMK docs, then confirm the CLI runs before editing anything. Rule out the tools first.
Assembling, Flashing and Seeing Results
Assembly follows a fixed order: solder, compile, flash, then test. Here’s how to handle each step, plus the keys that stay silent.
Soldering, compiling and flashing over USB
- Solder all components to the printed circuit board (PCB), then check each joint.
- Compile the firmware from the source files, the program that tells the board which key sends which code.
- Flash over USB with the dfu-programmer tool, a command-line program that writes the firmware onto the board.
Think of a Linux user who plugs in a new board, runs the flash command, and gets a permission error. A udev rule, a small config file, fixes that by giving your user account access to the board. Add the rule, reload it, and replug the board.
Then flashing runs from a normal terminal, no sudo needed.
What worked and what I learned
We got ours working on the first try. Yours might not, so the tips below are worth a read.
Your first impressions of typing shift once your fingers settle in, so run several test passes before you judge the switches. If one key stays silent, that’s a dead key (not the accent kind Linux layouts use). Check these:
- Make sure the switch is fully seated.
- Look for a cold or bridged solder joint on that key.
- Confirm the key is mapped in your firmware.
Fix the cause, not just the symptom.
You’ll also pick up PCB and embedded skills, meaning how to program the small chips inside devices. The real win is learning why a key works, not just that it works.
Source files are shared on GitHub, so you can compare your build against ours.
Once you’ve soldered the last switch and watched the first keypress register, the board stops being a parts list and becomes yours. Every choice along the way, from the kit to the keycaps, shaped how it feels under your fingers.
Take it one step at a time. A working board with a quirk or two beats a half-finished one sitting in a box, and you’ll learn something at every stage. We hope this walkthrough saves you a few headaches. Now go type something on it, and make it yours.
Questions
How can I make my own mechanical keyboard at home?
Start with a barebones kit that includes a case and PCB, then choose compatible switches and keycaps. Gather a soldering iron, solder, flux, tweezers, and switch and keycap pullers; solder the switches and microcontroller, configure and flash firmware such as QMK, then test every key. A hotswap kit avoids soldering switches and makes it easier to change them later.
How much does it cost to build a custom mechanical keyboard?
There is no fixed price because the total depends on the kit, switches, keycaps, cable, and tools you need. Budget kits can cost under $100, but premium parts and a soldering iron can raise the total considerably; compare what each kit includes when checking prices.
Is it cheaper to build your own keyboard?
Not necessarily. Building can be cheaper if you choose inexpensive parts and already have the tools, but a custom board can cost more than a ready-made keyboard once the kit, switches, keycaps, and soldering equipment are included.
Is it hard to build your own mechanical keyboard?
It is manageable for a first-time builder, especially with a kit whose PCB is already designed. You will need to solder components, configure or select firmware, flash it, and troubleshoot any keys that do not work; hotswap kits reduce the soldering required.
Read next.
Cent Symbol on PC Keyboard: Alt Codes and Shortcuts
Need the cent symbol on a PC keyboard? Find Windows Alt codes, Mac and Word methods, phone options, and fixes for when the sign won't appear.
Install Tar Archives on Linux, Step by Step
Install tar.gz software by extracting it, following its instructions, and building or running it from the unpacked folder; keep installs easy to undo.
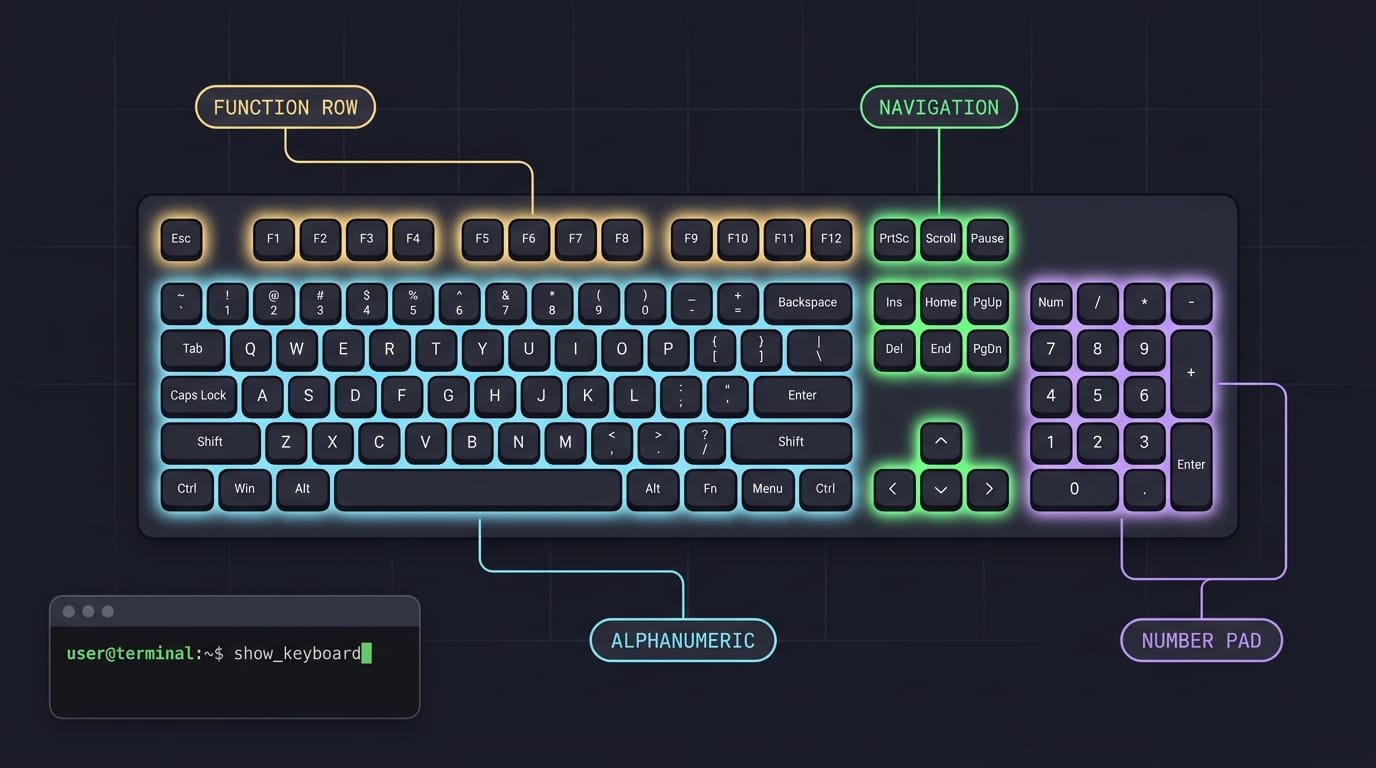
Full Size Keyboard Layout: The Complete Guide
Full size keyboard layout keeps the function row, navigation keys, and number pad together. Compare its desk space and trade-offs with compact boards.