Install CUDA on Linux: Driver, Toolkit, and Kernel Steps
Install CUDA without guesswork: match the driver to the toolkit, then check Linux, Windows 11, containers, and rollback steps before you start.
tl;dr the short answer
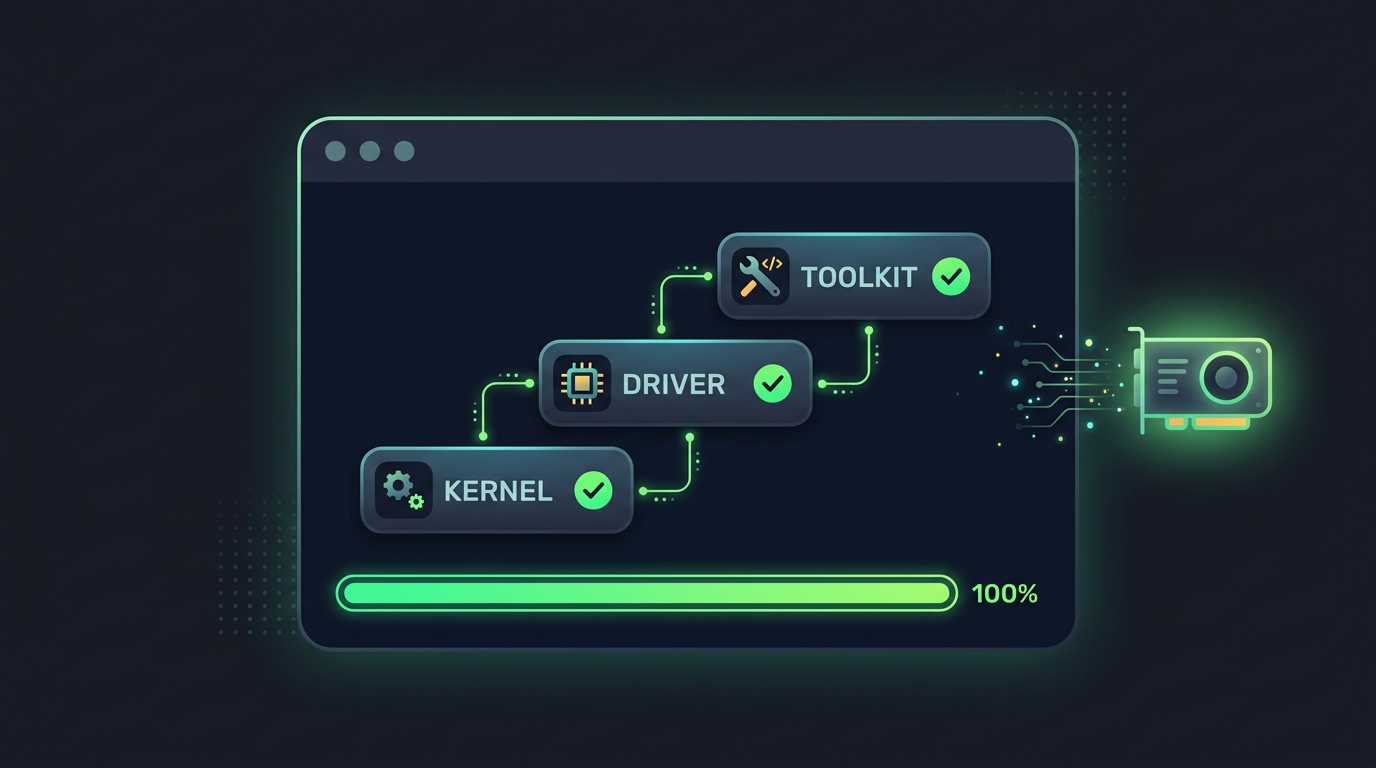
CUDA is NVIDIA’s platform for running software on NVIDIA graphics processors, with a toolkit that includes a compiler, libraries, and developer tools. To install it, confirm your GPU and operating system are supported, match the toolkit to your driver, choose a package or installer suited to your system, then configure and verify the setup. Careful version choices and a rollback plan help prevent driver, Secure Boot, or kernel-update problems and make CUDA easier to maintain.
Think about assembling flat-pack furniture without the instructions. You can usually get it standing, but one wrong screw and the whole thing wobbles.
Installing CUDA on Linux can feel like that, with a driver, a toolkit, and a kernel that all need to agree.
The short answer: a clean setup comes down to matching the driver to the toolkit, choosing the install method your distro supports, and checking each step as you go.
You’ll find all of it here, plus the Secure Boot, kernel-update, and rollback steps that generic guides tend to skip.
Getting Ready for Your CUDA Install
Before you download anything, it helps to know what CUDA does, what your machine needs, and how your driver fits in.
What is CUDA used for?
CUDA is NVIDIA’s GPU computing platform, the platform for writing software that runs on NVIDIA graphics processors. It comes with libraries, a compiler, and debugging tools, and you can write it in C, C++, or Fortran.
Is CUDA free? That depends on NVIDIA’s license terms, so read them before you rely on CUDA for commercial work.
What your system needs first
Run through this checklist before you install anything:
- A CUDA-capable NVIDIA GPU. That’s the graphics processor in your machine. A PyCUDA write-up lists it first among its requirements.
- A supported operating system. Confirm your distro and version are supported before you go further.
- About 5GB of disk space. Keep that much free for the install itself.
- Admin or root privileges. You’ll need them to install the toolkit and driver.
- A compatible GPU driver. It’s the software that lets your system talk to the card, and it has to be compatible with the CUDA version you pick.
The CUDA runtime your driver includes
Your NVIDIA driver ships with a CUDA runtime, so you already have some CUDA support. To see how much, run nvidia-smi. Its output shows the maximum CUDA version your driver supports.
That number is the highest CUDA version your driver can handle, not one you must install.
Consider a Linux user with a desktop NVIDIA card who wants to run a GPU-accelerated Python script. They check nvidia-smi first, then pick a toolkit that fits under that maximum.
Check that number first and you’ll likely skip a few trial-and-error reinstalls.
Getting the Installer from NVIDIA
You need the right file before anything else, so let’s sort it out. NVIDIA publishes several per release, and the best pick depends on your distro, your driver, and how you like your packages managed.
Where to find current and past releases
Start with the CUDA Toolkit downloads page on NVIDIA’s developer site, which offers the newest release. Older versions sit in the archive of previous releases, which you’ll need when a project expects an older toolkit.
Before you download, skim the release notes for your version: they cover what changed, the minimum driver it needs, and the matching documentation.
Picking your OS and matching the driver
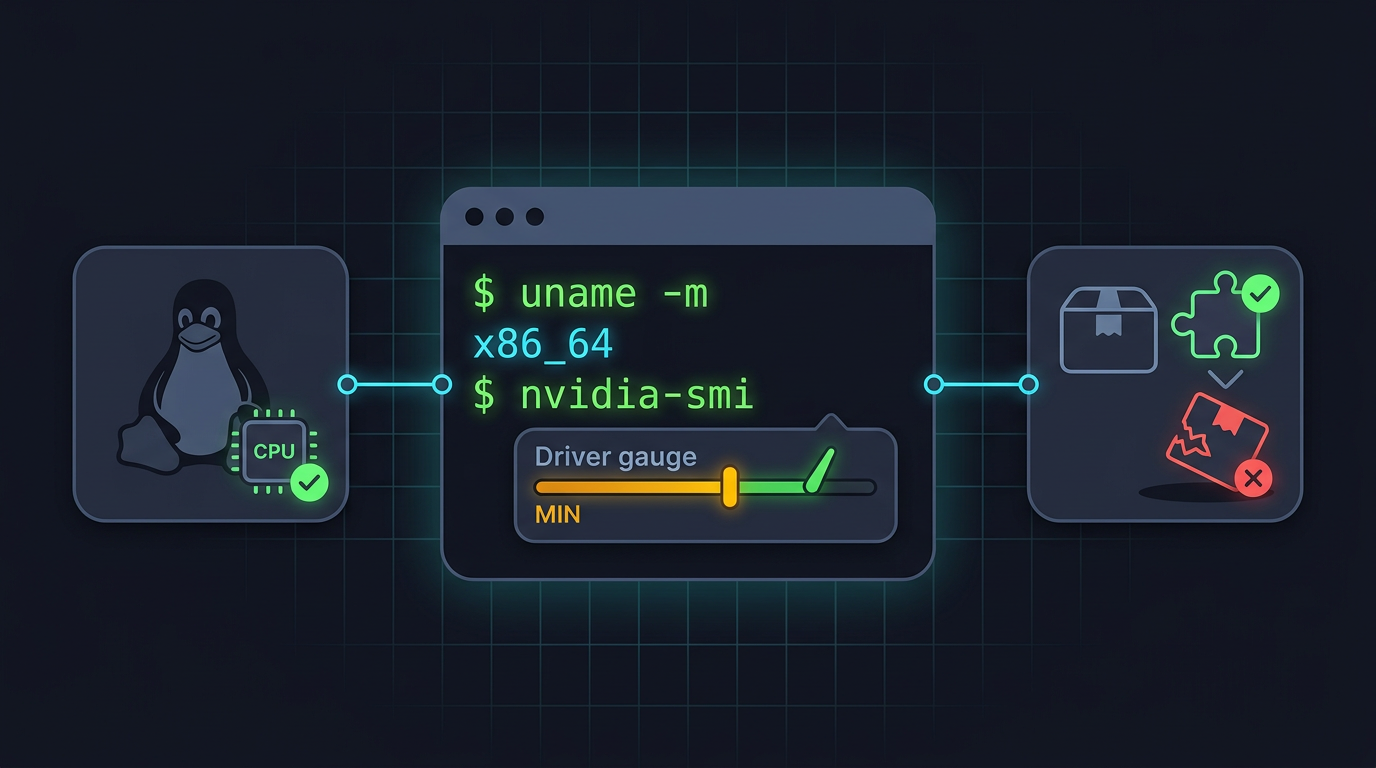
Choose Linux and your CPU architecture. Run uname -m in a terminal to check it. Then pick your exact distribution and version.
Think of a Fedora user who grabs a Debian-style package by mistake: they’d spend an evening untangling software that never belonged on their machine. Next, choose an installer type.
Finally, match the driver: the toolkit needs a driver at or above its driver minimum, as listed in the release notes. Run nvidia-smi to see yours. Match the toolkit to what it requires, not to whatever happens to be installed.
Which installer format to choose
Here’s how the main options compare:
- Runfile (local): a self-contained script you run with
sudo sh. It bypasses your package manager, so updates and removal take more care. - deb and rpm packages: deb suits Debian and Ubuntu, while rpm suits Fedora-style systems. Both plug into apt or dnf, so updates stay familiar.
- Network vs. local installers: a network installer downloads components during install, while a local one bundles everything up front, which suits offline machines.
- Windows exe installers: built for Windows, so skip them here.
Prefer a package when your distro offers one. The real question is less about how big the download is than about how you’ll maintain it.
Accepting the license and extra resources
Before the download or install goes through, you’ll accept the CUDA EULA (end user license agreement). Read it, since it sets out what you can do with the software. Then keep the samples, developer forums, and FAQ close for testing and troubleshooting.
If you’d rather skip the installer, the tarball (zip on Windows) lets you extract the toolkit yourself. Full control, full responsibility.
Setting up CUDA on Linux
CUDA is NVIDIA’s platform for running code on your graphics card (GPU).
Choose by version rather than convenience: use the runfile installer to pin a specific release, the CUDA repository for updates through your package manager, or distro packages if a slightly older version is fine.
Running the runfile installer
Download the script with wget using the link NVIDIA lists for your system, then make it executable and run it:
chmod +x cuda_*_linux.runsudo ./cuda_*_linux.run
For a no-prompt install, add --silent, --toolkit, and --samples to skip the menus, install the toolkit, and include the sample programs. If a working driver is already installed, leave the driver out so the installer doesn’t replace it.
Installing with apt, yum, or dnf
Add NVIDIA’s CUDA repository first so your package manager can find the packages. Then install the cuda package, which pulls in the full toolkit:
- Debian and Ubuntu:
sudo apt install cuda - Fedora and Red Hat-based systems:
sudo dnf install cuda(orsudo yum install cudaon older systems)
Using distro packages on Ubuntu or Pop!_OS
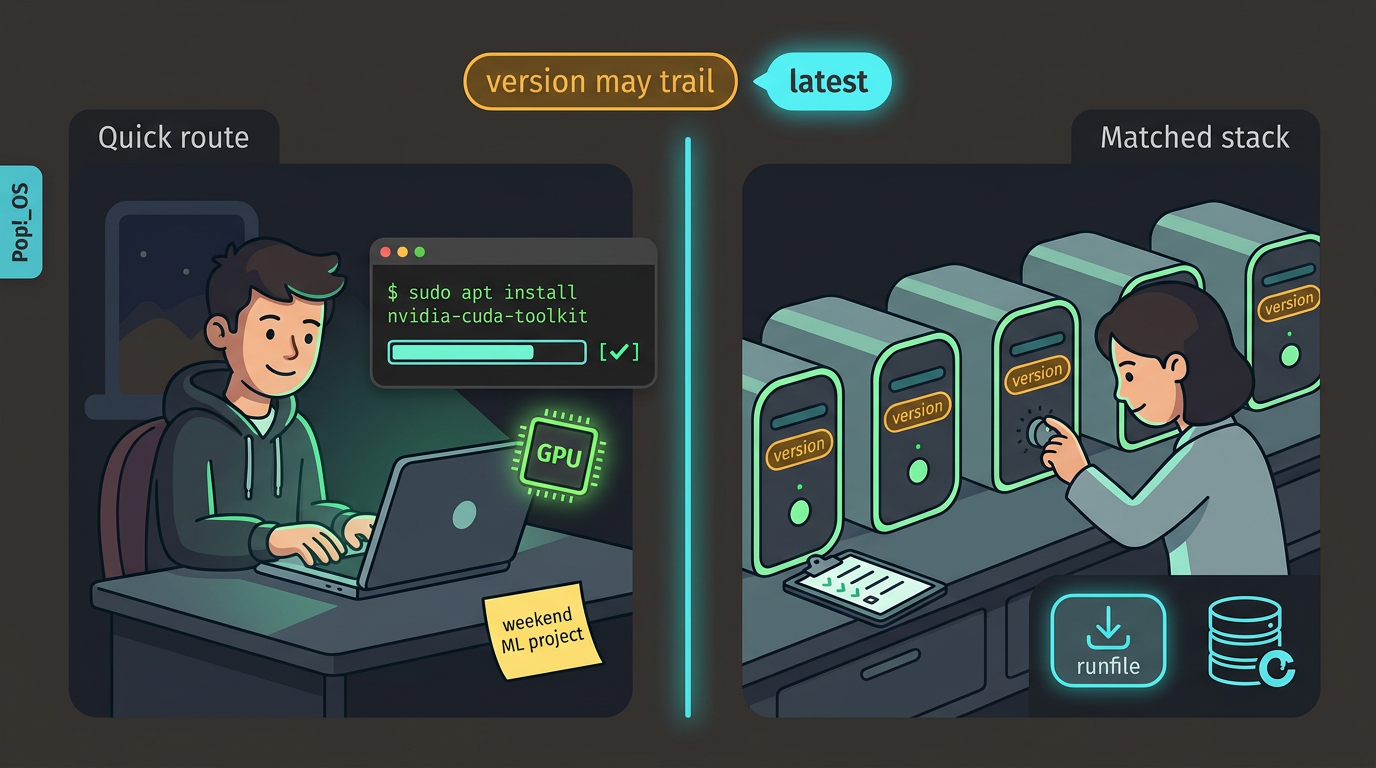
On Ubuntu, the quickest route is sudo apt install nvidia-cuda-toolkit. That package may trail NVIDIA’s current release, so don’t build anything on top of it until you’ve checked the version.
Pop!_OS users get System76’s own CUDA and cuDNN (NVIDIA’s deep learning library) packages instead, and these are tied to specific Pop!_OS versions, so install the one that matches your release.
Consider an Ubuntu student with a weekend machine learning project. One apt command gets them to a first training run fast, so for that job the easy route wins. A lab matching a shared software stack should stick with the runfile or the repository.
Common install snags to watch for
Keep these in mind:
- Exit your X server. The driver installer needs the graphical display server (X) stopped, so switch to a text console first.
- Possible reboot. You may need to restart before the new driver loads.
- Use the dedicated driver installer. If the driver is what’s failing, use that installer rather than relying on the copy bundled with the toolkit.
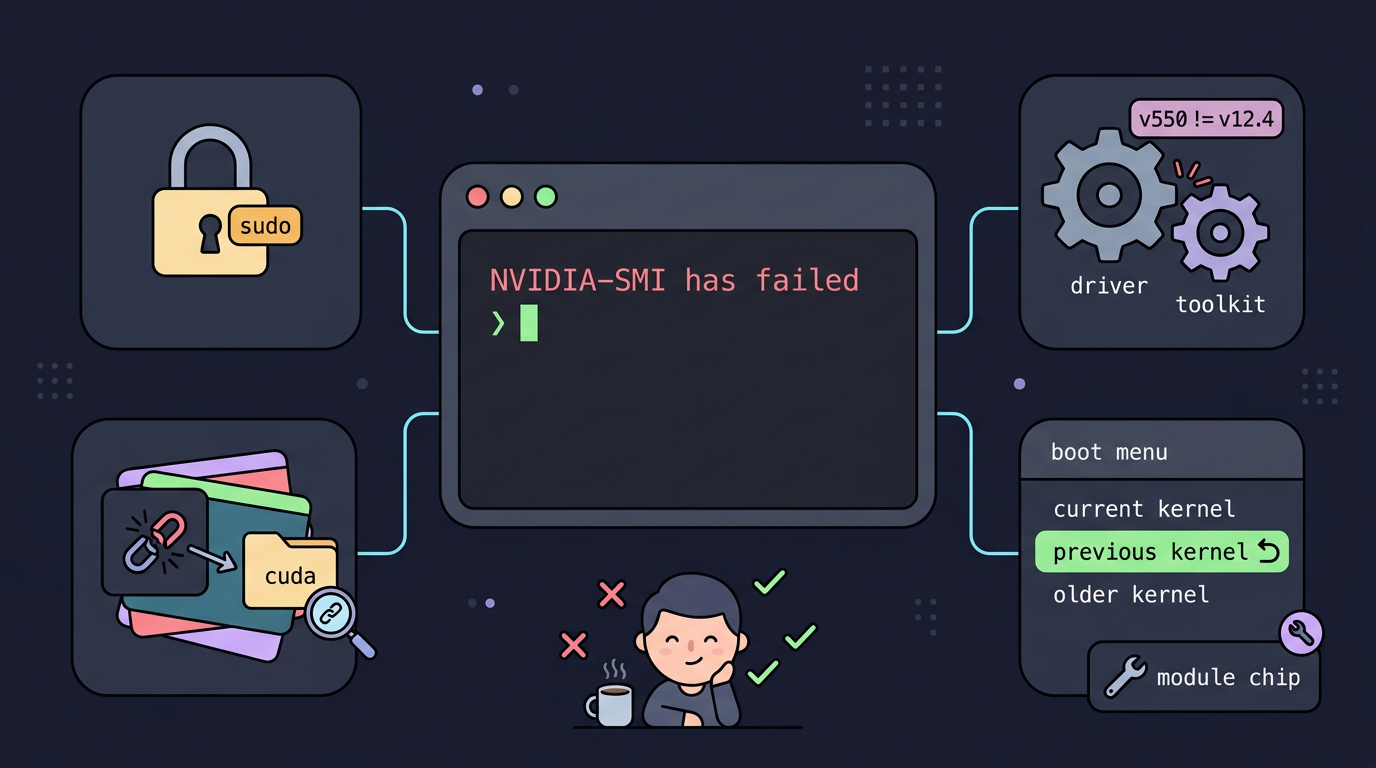
- Secure Boot module signing. With Secure Boot on, the kernel can refuse an unsigned NVIDIA module. If the driver won’t load after reboot, check module signing first.
Watch the installer output.
Setting up and Checking After the Install
The installer only puts files on disk, so your shell still needs directions.
Telling your system where CUDA lives
On Linux, PATH tells your shell where nvcc, the CUDA compiler, lives, and LD_LIBRARY_PATH tells running programs where the CUDA libraries are. Add both to your ~/.bashrc (adjust the paths if your install lives elsewhere):
export PATH=/usr/local/cuda/bin:$PATH
export LD_LIBRARY_PATH=/usr/local/cuda/lib64:$LD_LIBRARY_PATH
Then open a new terminal or run source ~/.bashrc. On Windows, the installer usually sets CUDA_PATH for you, so check that it exists in your environment variables.
Think of a student on a ten-year-old ThinkPad who gets a command not found error from nvcc right after installing. Two lines in ~/.bashrc fix that for good.
Checking that the install worked
Run nvcc --version to confirm the compiler responds, then run nvidia-smi, which queries the driver and prints your GPU and driver details.
Its CUDA Version field shows the highest version your driver supports, which isn’t always the toolkit you installed. A mismatch is normal as long as your toolkit isn’t newer than the driver allows. If nvidia-smi itself fails, start with the driver.
How do I install CUDA in Python? Usually you skip the toolkit. Install a compatible driver, then PyTorch with pip using the command from its install selector.
PyTorch’s pip packages bundle their own CUDA libraries, so you only need the full toolkit and nvcc when compiling CUDA code yourself. Check with python -c 'import torch; print(torch.cuda.is_available())', which should print True.
Build and run the sample projects
Clone NVIDIA’s cuda-samples repository, build it following its instructions, and run deviceQuery. A Result = PASS at the end means your driver, toolkit, and card are working together.
Fixing errors and broken installs
- Insufficient privileges. Installing and writing to
/usr/localneeds root, so usesudo. - Driver version insufficient. Your toolkit is newer than your driver supports. Update the driver or install a toolkit matching the CUDA Version from
nvidia-smi. - Conflicting existing installations. Leftover toolkits, or a driver installed through both your distro and NVIDIA’s runfile, can collide. Run
ls -l /usr/local/cudato see which version the link targets, then remove the extras. - Fix breakage after kernel updates. A ricer updates overnight and wakes to
nvidia-smifailing. Boot the previous kernel from GRUB, then reinstall the matching headers and rebuild the module. Keep that older kernel as your rollback.
How Do I Install CUDA on Windows 11?
Installing CUDA on Windows 11 is mostly about running the installer the right way and getting the prerequisites in place first. Here’s the short version: download the installer, run it as administrator, pick an install type, and confirm it worked.
Running the exe installer as admin
Start by downloading the exe installer for CUDA. Right-click it and choose Run as administrator. Don’t skip this step.
Next, pick your install type. Express installs the defaults, while custom lets you choose the components yourself.
When the installer finishes, you’ll see a success dialog. That’s your confirmation.
Visual Studio and SDK you’ll need
Visual Studio is needed for this setup, so install it before you run the CUDA installer. Add the Windows SDK (Software Development Kit, a bundle of tools for building Windows software) only if your setup calls for it.
Logging into a cloud GPU instance
Picture a homelab tinkerer with a Windows 11 laptop who rents a cloud GPU instance for a weekend project.
The work happens on the rented machine, so they log in with WebRDP, a remote desktop login for the instance, and install CUDA there without buying a GPU.
Once you’re logged in to a Windows instance, the steps above stay the same, so you’ll see the same success dialog. If the instance runs Linux, connect through Secure Shell (SSH) or OrcaTerm instead.
Using Containers and Several CUDA Versions
Keeping CUDA out of your main system is often the cleanest route. Here’s how to use containers, plus how to juggle several versions on one machine.
Setting up Docker for GPU containers
A container is a self-contained environment with its own libraries, so the GPU (graphics processing unit) work runs inside it while your host stays clean. To get there:
- Install the NVIDIA Container Toolkit and Docker.
- Add your user to the
dockergroup so you don’t needsudofor every command. - Run
nvidia-ctk, the toolkit’s command-line helper, to configure Docker’s runtime. - Run an image from
nvidia/cudato confirm the GPU shows up inside the container.
Think of a student whose machine learning course needs a GPU but who doesn’t want its libraries cluttering the desktop. The container gets the GPU, and the desktop stays clean.
Switching between several CUDA versions
Some projects need an older release while others want the newest, so you may keep several installs side by side. Give each one its own install directory so nothing overwrites anything else.
Then set CUDA_HOME, the environment variable that tells build tools where CUDA lives, to the version you want.
To decide which installed version a shared link points to, use update-alternatives, the system tool that manages where shared names point. That way you can switch versions instead of reinstalling them each time you change projects. Switching is quick.
Consider a developer with one project pinned to an older release and another that needs the newest. Both installs stay on disk, and each project sets CUDA_HOME before it builds, so neither one breaks.
Getting CUDA running is mostly about order: match the driver to the toolkit, pick the install method that suits your distro, and verify each step before you build on top of it.
Keep a rollback plan ready for Secure Boot and kernel updates, and your setup is far more likely to survive the next system upgrade.
Keep your versions and verification commands written down, so your next reinstall takes minutes instead of an afternoon. Your GPU is ready when you can prove it works, not when the installer says it’s done.
References
Questions
What is CUDA used for?
CUDA is NVIDIA’s GPU computing platform for running software on NVIDIA graphics processors. It includes libraries, a compiler, and debugging tools, and supports programming in languages such as C, C++, and Fortran.
How do I install CUDA in Python?
For many Python projects, you don’t need to install the full CUDA Toolkit. Install a compatible NVIDIA driver, then install a CUDA-enabled PyTorch package using the command from PyTorch’s install selector; check it with `python -c 'import torch; print(torch.cuda.is_available())'`. You need the full toolkit and `nvcc` if you plan to compile CUDA code yourself.
How do I install CUDA on Windows 11?
Download the CUDA Toolkit exe installer for Windows from NVIDIA, then right-click it and choose **Run as administrator**. Install Visual Studio first, choose Express for the default components or Custom to select components, and include the Windows SDK if your setup requires it. After installation, check that `CUDA_PATH` is set in your environment variables.
Is nvidia cuda free?
CUDA is available under NVIDIA’s license terms, but whether and how you can use it depends on those terms. Review the CUDA EULA, especially before using it for commercial work.
Sources
Read next.
Install CMake on Every Major Platform: Complete Guide
Install CMake on Windows, macOS, or Linux with package managers, official binaries, or source builds, then check versions and fix Linux PATH issues.
Install Oh My Zsh: Setup, Themes, and Plugins Explained
Install Oh My Zsh and turn a bare prompt into your own workspace: check Zsh prerequisites, choose a theme, add plugins, and fix common setup issues.
Wayland vs X11 for ricing: what changes and what to use
Where GNOME, Plasma, Xfce and Cinnamon stand now, which X11 tools a rice swaps on Wayland, from picom to xdotool, and the cases where X11 still fits.