Vscode Install Guide for Windows, macOS, and Linux
VS Code install takes minutes; choose the right method for Windows, macOS, or Linux, verify your first launch, then add extensions and source control.
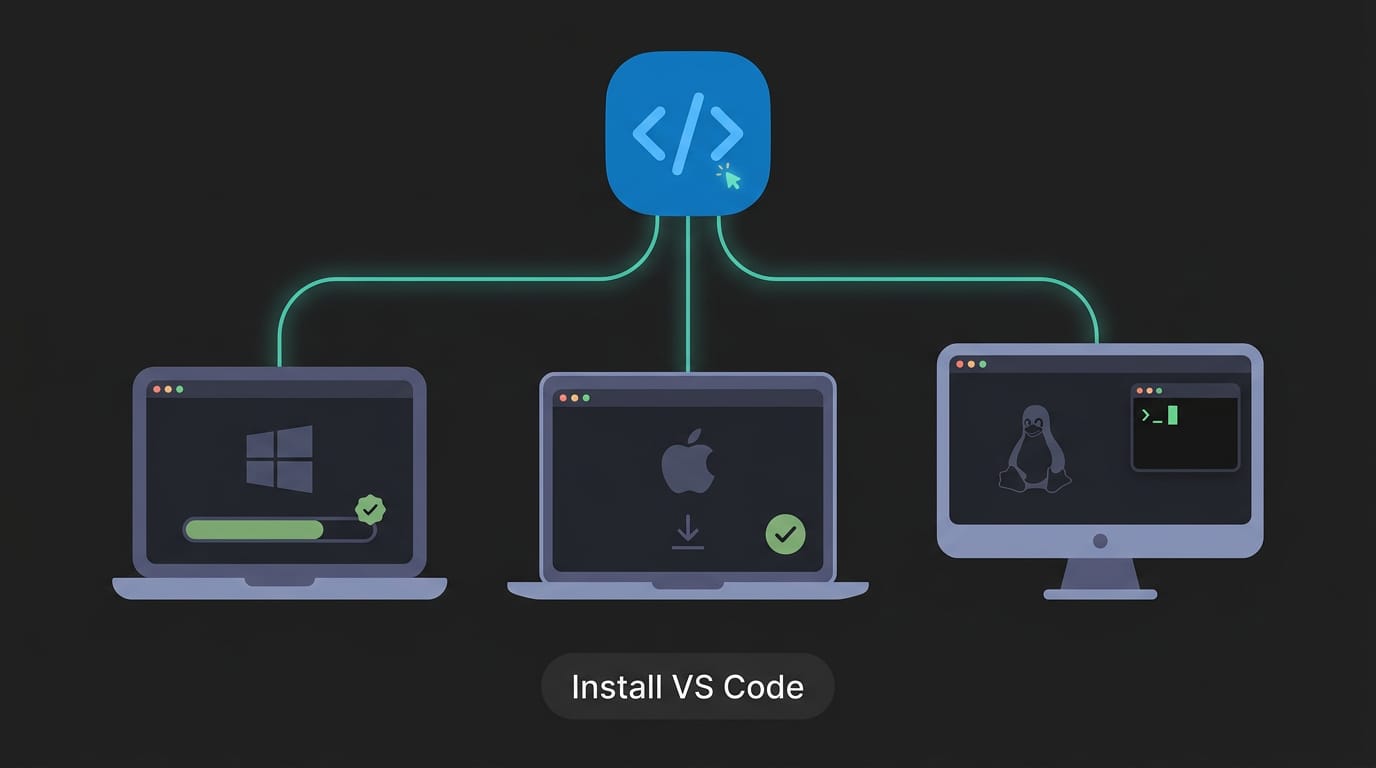
tl;dr the short answer
VS Code is a free code editor for Windows, macOS, and Linux that you can extend with tools and settings for your work. Choose the installer or package that matches your operating system and, on a Mac, its chip; verify the version after installation, then set up updates and add only the extensions you need. A careful install and simple first-run setup make the editor easier to use and maintain across future coding sessions.
Think of moving into a new apartment. A little planning up front saves you hassle for years.
Installing VS Code works the same way: the install itself is quick, but choosing the right method, confirming it runs, and setting it up cleanly makes the difference between a tool you enjoy and one you fight with.
Visual Studio Code, usually called VS Code, is a code editor that runs on Windows, macOS, and Linux.
This guide covers each operating system and install method, then adds a Linux layer on repository-based updates, package format tradeoffs, and matching the editor to your desktop theme.
VS Code Install Basics and What’s Covered
Before you install anything, it helps to know what VS Code is and how this guide is laid out.
A quick look at VS Code
VS Code (short for Visual Studio Code) is a program for writing and editing code. Think of it less as a finished product and more as a starting point you shape to fit your work. Four things define it:
- Free source code editor. Source code is the text of your programs, and VS Code costs nothing to use.
- Cross-platform availability. It runs on Linux, macOS, and Windows, so what you learn carries over.
- Extension ecosystem. Add language support or themes only when you need them.
- Intuitive interface. The layout feels familiar fast, so you spend less time hunting and more time coding.
Who this guide is for
This guide is for a wide range of readers, and it covers three things:
- Beginners and seasoned developers. New to code? Follow every step. Been at it for years? Jump straight to the method you need.
- Install plus customization. We cover getting VS Code running, then making it feel like yours.
- Step-by-step walkthrough. Each install method ends with verification and first-run checks, so you know it worked.
Linux users also get a layer on repo-based updates, package formats, and matching the editor to the desktop theme.
Picture a Linux user who just reinstalled Linux and wants a working editor before the weekend. They follow the walkthrough, confirm the install, and tune the theme to match the desktop. Weekend saved.
Install vs Code on Your Operating System
Every route starts in the same place, so find your OS below and follow its steps.
Grab the installer from the official site
Head to the official download page at code.visualstudio.com. It auto-detects your OS, but check the file: Macs need the right chip build, and Linux needs the right package format.
Installing VS Code on Windows
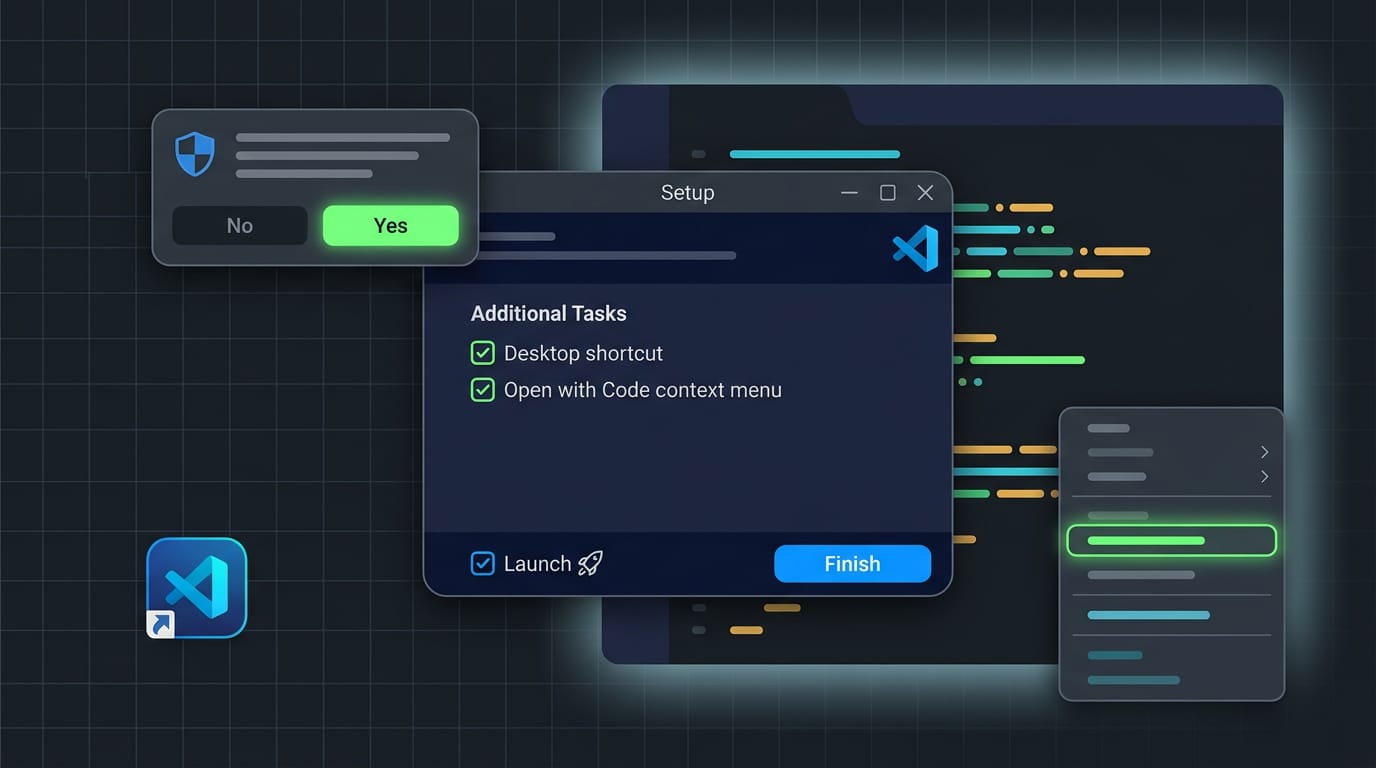
Double-click VSCodeSetup.exe. When the UAC prompt (User Account Control, a permission check) appears, click Yes. Choose a destination folder, where the default works for most people.
On the Additional Tasks screen, tick desktop shortcuts and the context menu entries that let you right-click a file or folder to open it in the editor. Click Finish with the launch box checked, and VS Code opens right away.
Setting up VS Code on a Mac
Check About This Mac in the Apple menu to see which chip you have. The chip decides which download you need, not the age of your Mac. Intel Macs use the Intel build. Macs with Apple Silicon (Apple’s own M-series chips) use the Apple Silicon build.
- Download the matching build as a DMG file, macOS’s standard installer image.
- Open the DMG and drag the VS Code icon onto Applications.
- Optional: right-click the running app’s Dock icon, choose Options, then Keep in Dock.
Getting VS Code running on Linux
Pick the option that matches your distro (your Linux distribution, like Ubuntu or Fedora):
- .deb with dpkg on Ubuntu: install it with dpkg, Debian’s low-level package tool.
- .rpm for Fedora and Red Hat: install it with your package manager.
- Snap package: a sandboxed app from the Snap Store.
- AUR via yay on Arch: install from the AUR (Arch User Repository) with yay, an AUR helper.
Type code in a terminal to launch it. If you see “command not found,” check your PATH, the list of folders your terminal searches for programs.
Snap vs Flatpak: both formats sandbox apps, keeping them isolated but sometimes limiting file and tool access. If your distro already leans on one, it’s usually the simpler path to stick with it.
Want updates to arrive with your system? Add Microsoft’s repo for your package manager before installing: apt on Debian and Ubuntu, or dnf on Fedora and Red Hat. A repo is a software source your package manager checks for updates.
Take a Fedora user refreshing an old ThinkPad for a weekend project. With Microsoft’s dnf repo added, the editor updates alongside everything else. No separate download to remember.
Choose VS Code (Microsoft’s official build) or VSCodium (the open-source build). Both install as separate apps.
Running the installer on other systems
Running something else? Download the matching installer from the official page and follow its prompts. Prefer the terminal? Winget (the Windows Package Manager) and Homebrew (for macOS and Linux) can install VS Code too.
Once it’s in, open the About dialog to confirm the version. If an install fails, check for a wrong-chip build, missing admin rights, or a half-finished download, then retry.
To uninstall, use Apps in Windows Settings, drag the app to the Trash on a Mac, or use the package manager you installed it with.
Your First Launch and Basic Setup
Once the install finishes, you’re a click or two from a working editor, and we’ll walk through the basics.
Opening VS Code after you install it
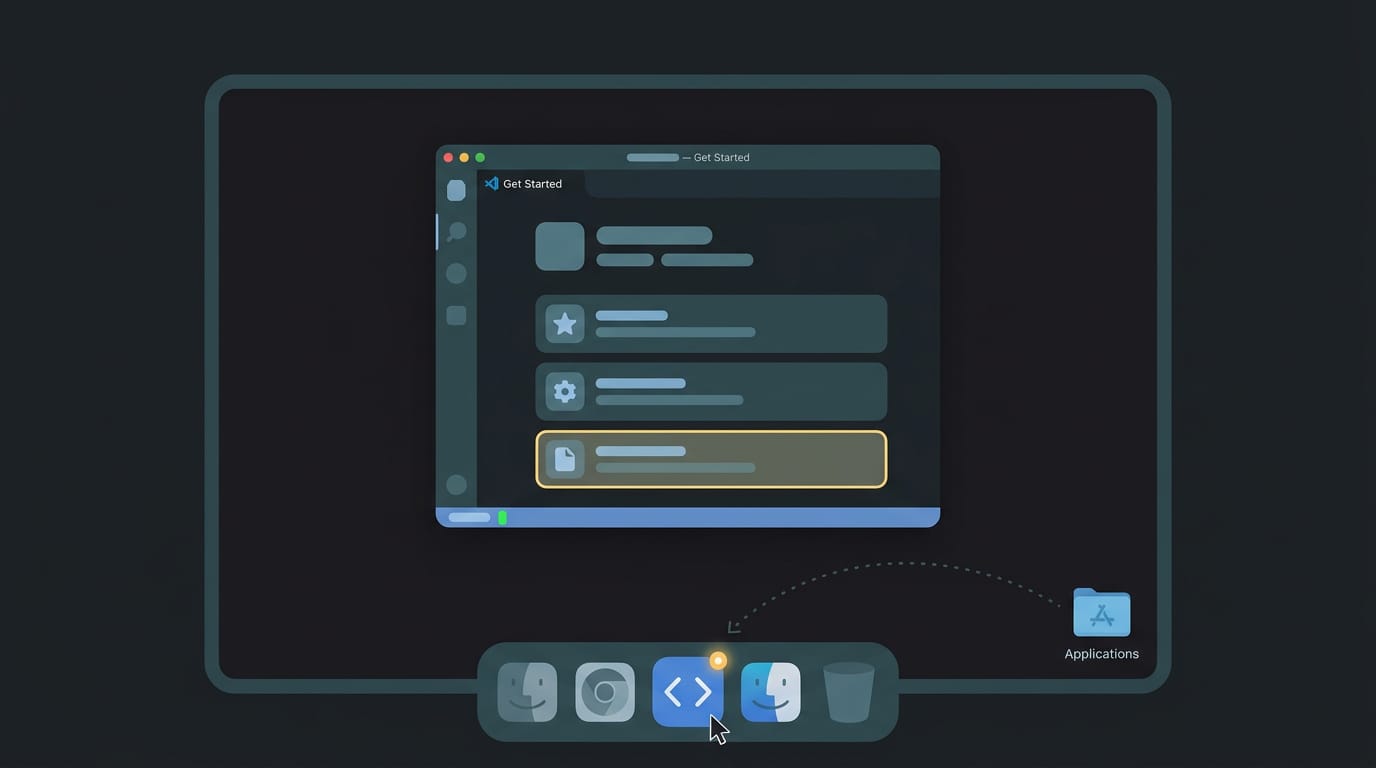
If the installer window is still open, you can launch VS Code from there. Otherwise, find it in the Applications folder on macOS or the Start Menu on Windows.
Once it’s running, pin it to your Dock or taskbar. A Linux user on a fresh install gets one-click access and skips the search.
The Get Started page points you to the basics. Skim it once.
Getting around the interface
The activity bar on the left edge switches the sidebar between tools. Click through its icons once to learn what’s where. To start real work, open a folder or clone a repository.
Keep the settings shortcuts handy, since you’ll reach for them often. Turn on sync and your settings follow you to every machine you use. No copying required.
Customizing how VS Code looks
These settings shape the look:
- Editor font size. Raise it in Settings if your code strains your eyes.
- Window zoom. Zoom scales the whole window, which helps on high-resolution screens.
- Color theme. Pick one from the list. A theme changes how the editor looks, not what it can do.
- Theme shortcut. A keyboard shortcut opens the theme picker, so you can swap looks fast.
- Match your desktop palette. Pick a theme whose background and accent colors sit close to your wallpaper and bar, so the editor doesn’t clash.
- Monospace font and ligatures. Pick a monospace font, where every character is the same width, so columns line up. Turn on ligatures for pairs like
=>drawn as single symbols.
Adding Extensions to vs Code
In this section, we’ll cover how extensions add features to VS Code, plus a few picks worth trying.
Finding and installing extensions
Extensions come from the VS Code Marketplace, the catalog built into the editor. Open the Extensions tab in the sidebar, search by name or keyword, and click install.
If you already know what you want, skip the mouse. Open Quick Open and type ext install followed by the extension’s unique identifier, which joins the publisher and extension names with a dot.
Picture a Linux user who just finished a fresh install with a list of identifiers in a note. Pasting that list into Quick Open beats hunting through results one by one.
Not everything earns its spot. Disable anything that gets in the way from the Extensions tab, so you can turn it back on later. Install what you use rather than everything you find.
Productivity extensions worth trying
Try these one at a time so you can tell what actually helped.
- Sourcegraph code search. Search across your whole codebase from inside the editor.
- Prettier formatting. Keeps code layout consistent so you spend less time fixing spacing.
- Docker management. Work with containers without constantly switching to a terminal.
- Color Highlight. Shows the color behind a hex code right in your editor.
- Project Manager. Save your projects and jump back to any of them in a click.
- Markdown All in One. Shortcuts and helpers for writing Markdown, handy for READMEs and notes.
Start small. Pick two, use them for a week, and keep only what sticks.
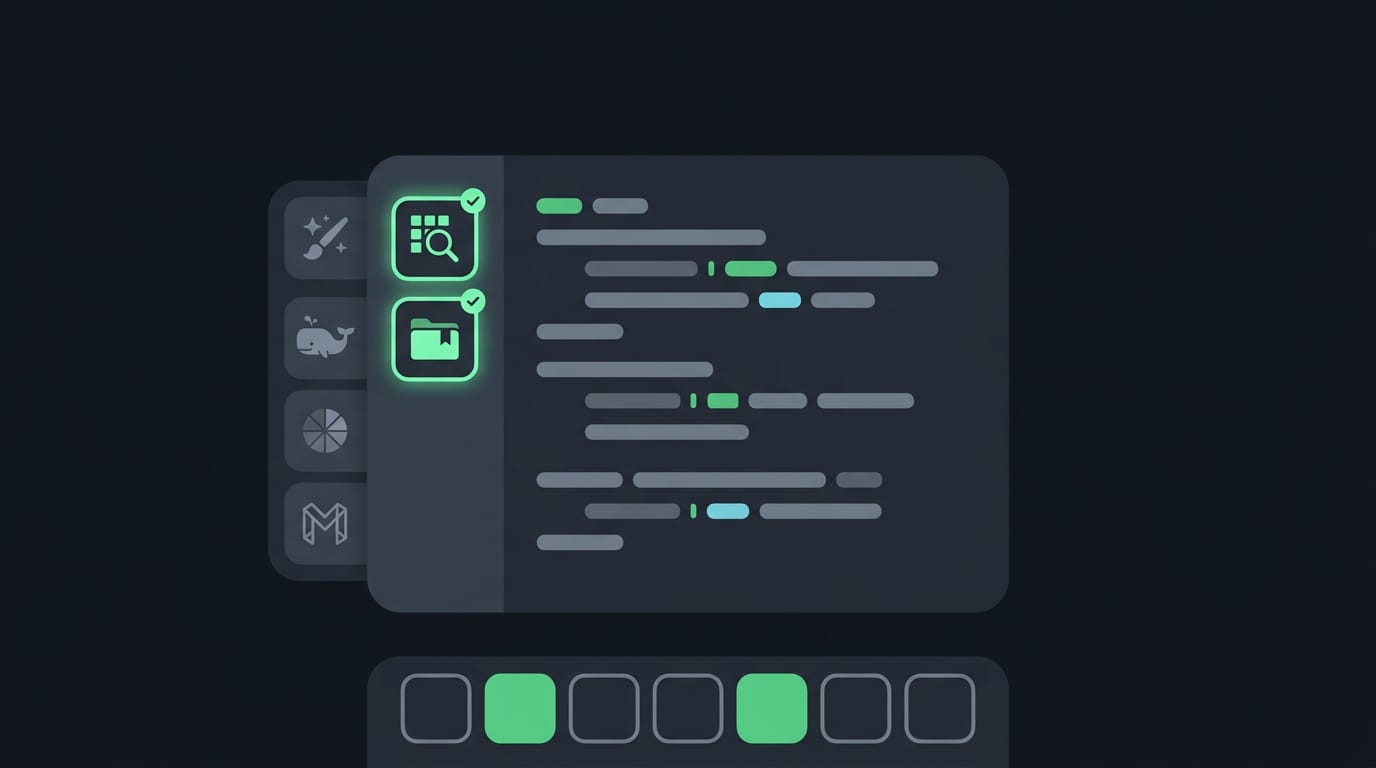
Handy utility and front-end extensions
Front-end work, which means the HyperText Markup Language (HTML) and Cascading Style Sheets (CSS) behind a page’s look, has helpers too.
- Spell Right spellcheck. Catches typos in your comments, docs, and other text.
- CodeSnap screenshots. Turns a selection of code into a clean image you can share.
- Emmet Live. Helps you see HTML and CSS changes as you edit them.
- TailwindCSS IntelliSense. Autocompletes Tailwind class names as you type.
Consider a student building a portfolio page on a ten-year-old ThinkPad. CodeSnap turns a snippet into an image for their write-up, and Spell Right catches typos before anyone else sees them.
Extensions for PHP development
PHP, the server-side language behind many websites, has its own set of helpers.
- PHP Intelephense. Adds smarter code completion and navigation for PHP files.
- Getters and setters generator. Writes getter and setter methods for your class properties.
- Namespace resolver. Adds the right namespace import when you reference a class you haven’t imported yet.
- Laravel Artisan. Runs commands from Artisan, the command-line tool for the Laravel PHP framework, without leaving your code.
For example, a developer on a Linux home server building a Laravel app can generate a class’s getters and setters and run Artisan commands from the same window. That’s one window instead of three.
Where to learn more about customizing
If you write Python, the Python VS Code setup guide is your next stop. The post Extensions tailor environment covers making the editor fit your workflow.
Your editor should feel like yours, and a short, deliberate list of extensions gets you there.
Source Control Built Right into vs Code
VS Code includes source control, so you can track your file changes without leaving the editor. Here’s how the built-in tools fit into everyday editing.
Using the source control panel
Look at the left menu and find the third icon down. That’s the source control panel, and it’s where your changed files show up.
Consider a Linux user who keeps their dotfiles in a repo and tweaked their kitty colors at 1am. Instead of dropping into a terminal to check what changed, they open the panel, see the modified file listed, and review it right beside the editor.
Once they’re happy, they type a short message and commit. If the new colors look wrong, they discard the change and the old setup comes right back.
You’ll use two actions here:
- Commit your changes with a message describing them.
- Discard any changes you don’t want to keep.
The real win is that nothing here needs a terminal command. It’s less about typing syntax and more about seeing what you changed. No commands. No guesswork.
Once VS Code is installed, verified, and set up the way you like it, you have a solid base for everything else you build.
On Linux, keep your update path in mind so the editor stays current without surprises, and let the theme match the rest of your desktop so it feels like home.
Your editor should look like you and still open after the next update. Set it up once with care, and every session after that just works.
Read next.
Set Environment Variables on Mac: Every Method Explained
Set environment variables on Mac for lasting access across sessions, then choose between persistent zsh settings, launchctl, and PowerShell 7.
Linux Mint Theme Guide: Change Your Desktop Look
Linux Mint themes reshape windows, menus, icons, and pointers. Compare Cinnamon styles, install them, and see what customization can’t change.
How to change the colorscheme in Neovim
Try a scheme with :colorscheme, install it with vim.pack, lazy.nvim or LazyVim, make it stick in init.lua, and match Neovim to the palette of your terminal.